Spawn an IDE with ease thanks to Multipass and OpenVSCode Server

I often test "new things" (software, language, ...), and I need a new clean environment every time. For this, Gitpod is the perfect day-to-day tool (at least for me). But, sometimes, I need a local development environment, even several local development environments. I'm working with a MacBook pro M1 (arm architecture), and I tried several solutions.
The DevContainer solution with VSCode is too slow (I use the same image as my GitPod projects, and you can run linux/amd64 with Docker Desktop for Mac M1. It works, but it is slow, and I encountered issues with the Rut compilation of some projects).
So, I tried OpenVSCode Server with Docker; it's pretty nice, you get VSCode in your browser, and you can derive your own Docker image from gitpod/openvscode-server:latest and then add your tools (for example, install GoLang, Rust, ...). But there's always a time when I struggle with Docker, and I can't manage to install or configure the tools I want.
Ultimately, my last successful try was with OpenVSCode Server running in a Multipass VM.
Let me explain my process.
Prepare the project
Of course, you must install Multipass (my process should work on macOS and Linux).
I created a directory with sub-directories with the following structure:
.
├── config
│  └── .env
├── scripts
│  └── .gitkeep
├── vm.cloud-init.yaml
└── workspace
   └── .gitkeep
I will share the two sub-directories scripts and workspace with the OS of the VM and my host system. The config directory is to store a .env file (used when creating the VM) and some generated files at the end of the process.
This is the content of the .env file:
VM_NAME="my-little-ide"
VM_CPUS=4
VM_MEM="8G"
VM_DISK="20GB"
VM_DOMAIN="my-little-ide.local"
OPENVSCODE_SERVER_VERSION="1.74.2"
OPENVSCODE_SERVER_OS="linux"
OPENVSCODE_SERVER_ARCH="arm64"
OPENVSCODE_SERVER_PORT="8080"
This is the content of the vm.cloud-init.yaml file:
package_update: true

manage_etc_hosts: "localhost"
This file allows to tune the install of the Multipass VM (more information here: https://ubuntu.com/blog/using-cloud-init-with-multipass)
The VM creation script
At the root of the main directory, I added a create-vm.sh script (with the execution rights: chmod +x create-vm.sh):
#!/bin/bash

set -o allexport; source config/.env; set +o allexport

echo "🖥️ creating ${VM_NAME}"

multipass launch --name ${VM_NAME} \
--cpus ${VM_CPUS} \
--mem ${VM_MEM} \
--disk ${VM_DISK} \
--cloud-init ./vm.cloud-init.yaml

# share the directories
multipass mount scripts ${VM_NAME}:scripts
multipass mount workspace ${VM_NAME}:workspace

VM_IP=$(multipass info ${VM_NAME} | grep IPv4 | awk '{print $2}')

multipass info ${VM_NAME}

echo "${VM_IP} ${VM_DOMAIN}" > config/vm.hosts.config

# Install and Start OpenVSCode Server
multipass --verbose exec ${VM_NAME} -- bash <<EOF
echo "💾 Installing OpenVSCode Server"
wget https://github.com/gitpod-io/openvscode-server/releases/download/openvscode-server-v${OPENVSCODE_SERVER_VERSION}/openvscode-server-v${OPENVSCODE_SERVER_VERSION}-${OPENVSCODE_SERVER_OS}-${OPENVSCODE_SERVER_ARCH}.tar.gz
tar -xzf openvscode-server-v${OPENVSCODE_SERVER_VERSION}-${OPENVSCODE_SERVER_OS}-${OPENVSCODE_SERVER_ARCH}.tar.gz
rm openvscode-server-v${OPENVSCODE_SERVER_VERSION}-${OPENVSCODE_SERVER_OS}-${OPENVSCODE_SERVER_ARCH}.tar.gz

echo "🚀 Start OpenVSCode Server"
cd openvscode-server-v${OPENVSCODE_SERVER_VERSION}-${OPENVSCODE_SERVER_OS}-${OPENVSCODE_SERVER_ARCH}
./bin/openvscode-server --port ${OPENVSCODE_SERVER_PORT} --host ${VM_IP} --without-connection-token &
echo "🌍 http://${VM_IP}:8080/?folder=/home/ubuntu/scripts"
echo "🌍 http://${VM_IP}:8080/?folder=/home/ubuntu/workspace"
EOF

echo "+-----------------------------------------------+"
echo "🖐️ update your /etc/hosts file with:"
cat config/vm.hosts.config
echo "+-----------------------------------------------+"
Then, execute ./create-vm.sh in a terminal. Regarding the speed of your internet connection, you should get a running VM more or less quickly:
🚀 Start OpenVSCode Server
🌍 http://192.168.64.42:8080/?folder=/home/ubuntu/scripts
🌍 http://192.168.64.42:8080/?folder=/home/ubuntu/workspace
Server bound to 192.168.64.42:8080 (IPv4)
Extension host agent listening on 8080

Web UI available at http://localhost:8080/
[16:04:29] Extension host agent started.
[16:04:29] Started initializing default profile extensions in extensions installation folder. file:///home/ubuntu/.openvscode-server/extensions
[16:04:29] Completed initializing default profile extensions in extensions installation folder. file:///home/ubuntu/.openvscode-server/extensions
The script has generated a vm.hosts.config file in the config directory:
config
├── .env
└── vm.hosts.config
The content of vm.hosts.config is like this: 192.168.64.42 my-little-ide.local
If you add this line to the
/etc/hostsfile, you can open the Web IDE with this URL http://my-little-ide.local:8080 instead of this one http://192.168.64.42:8080
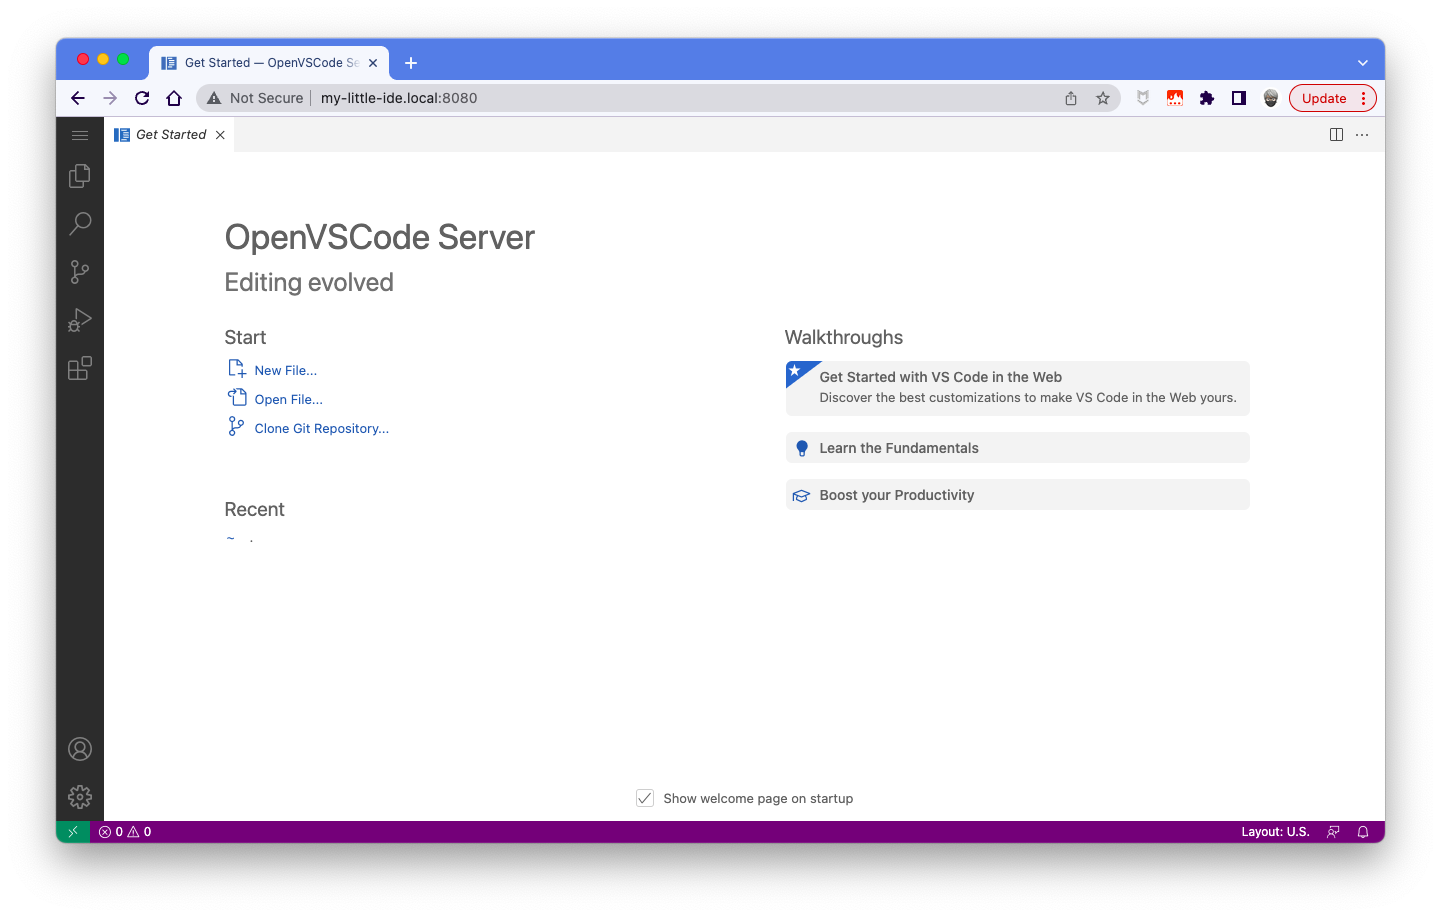
Open the IDE
Open http://my-little-ide.local:8080 with our browser. You should get something like this:
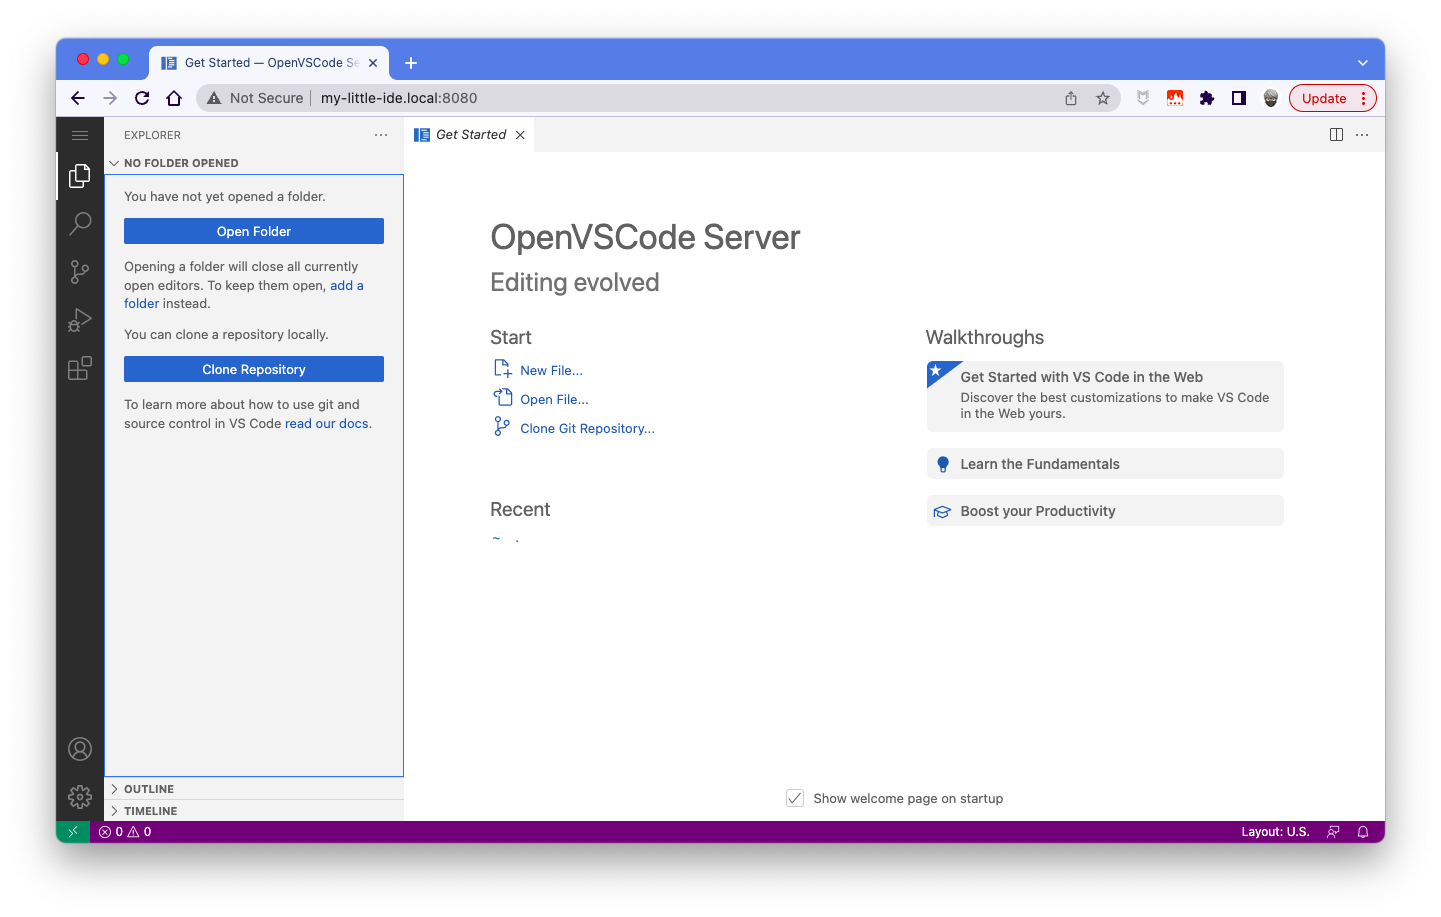
Click on the document icon in the left menu bar:
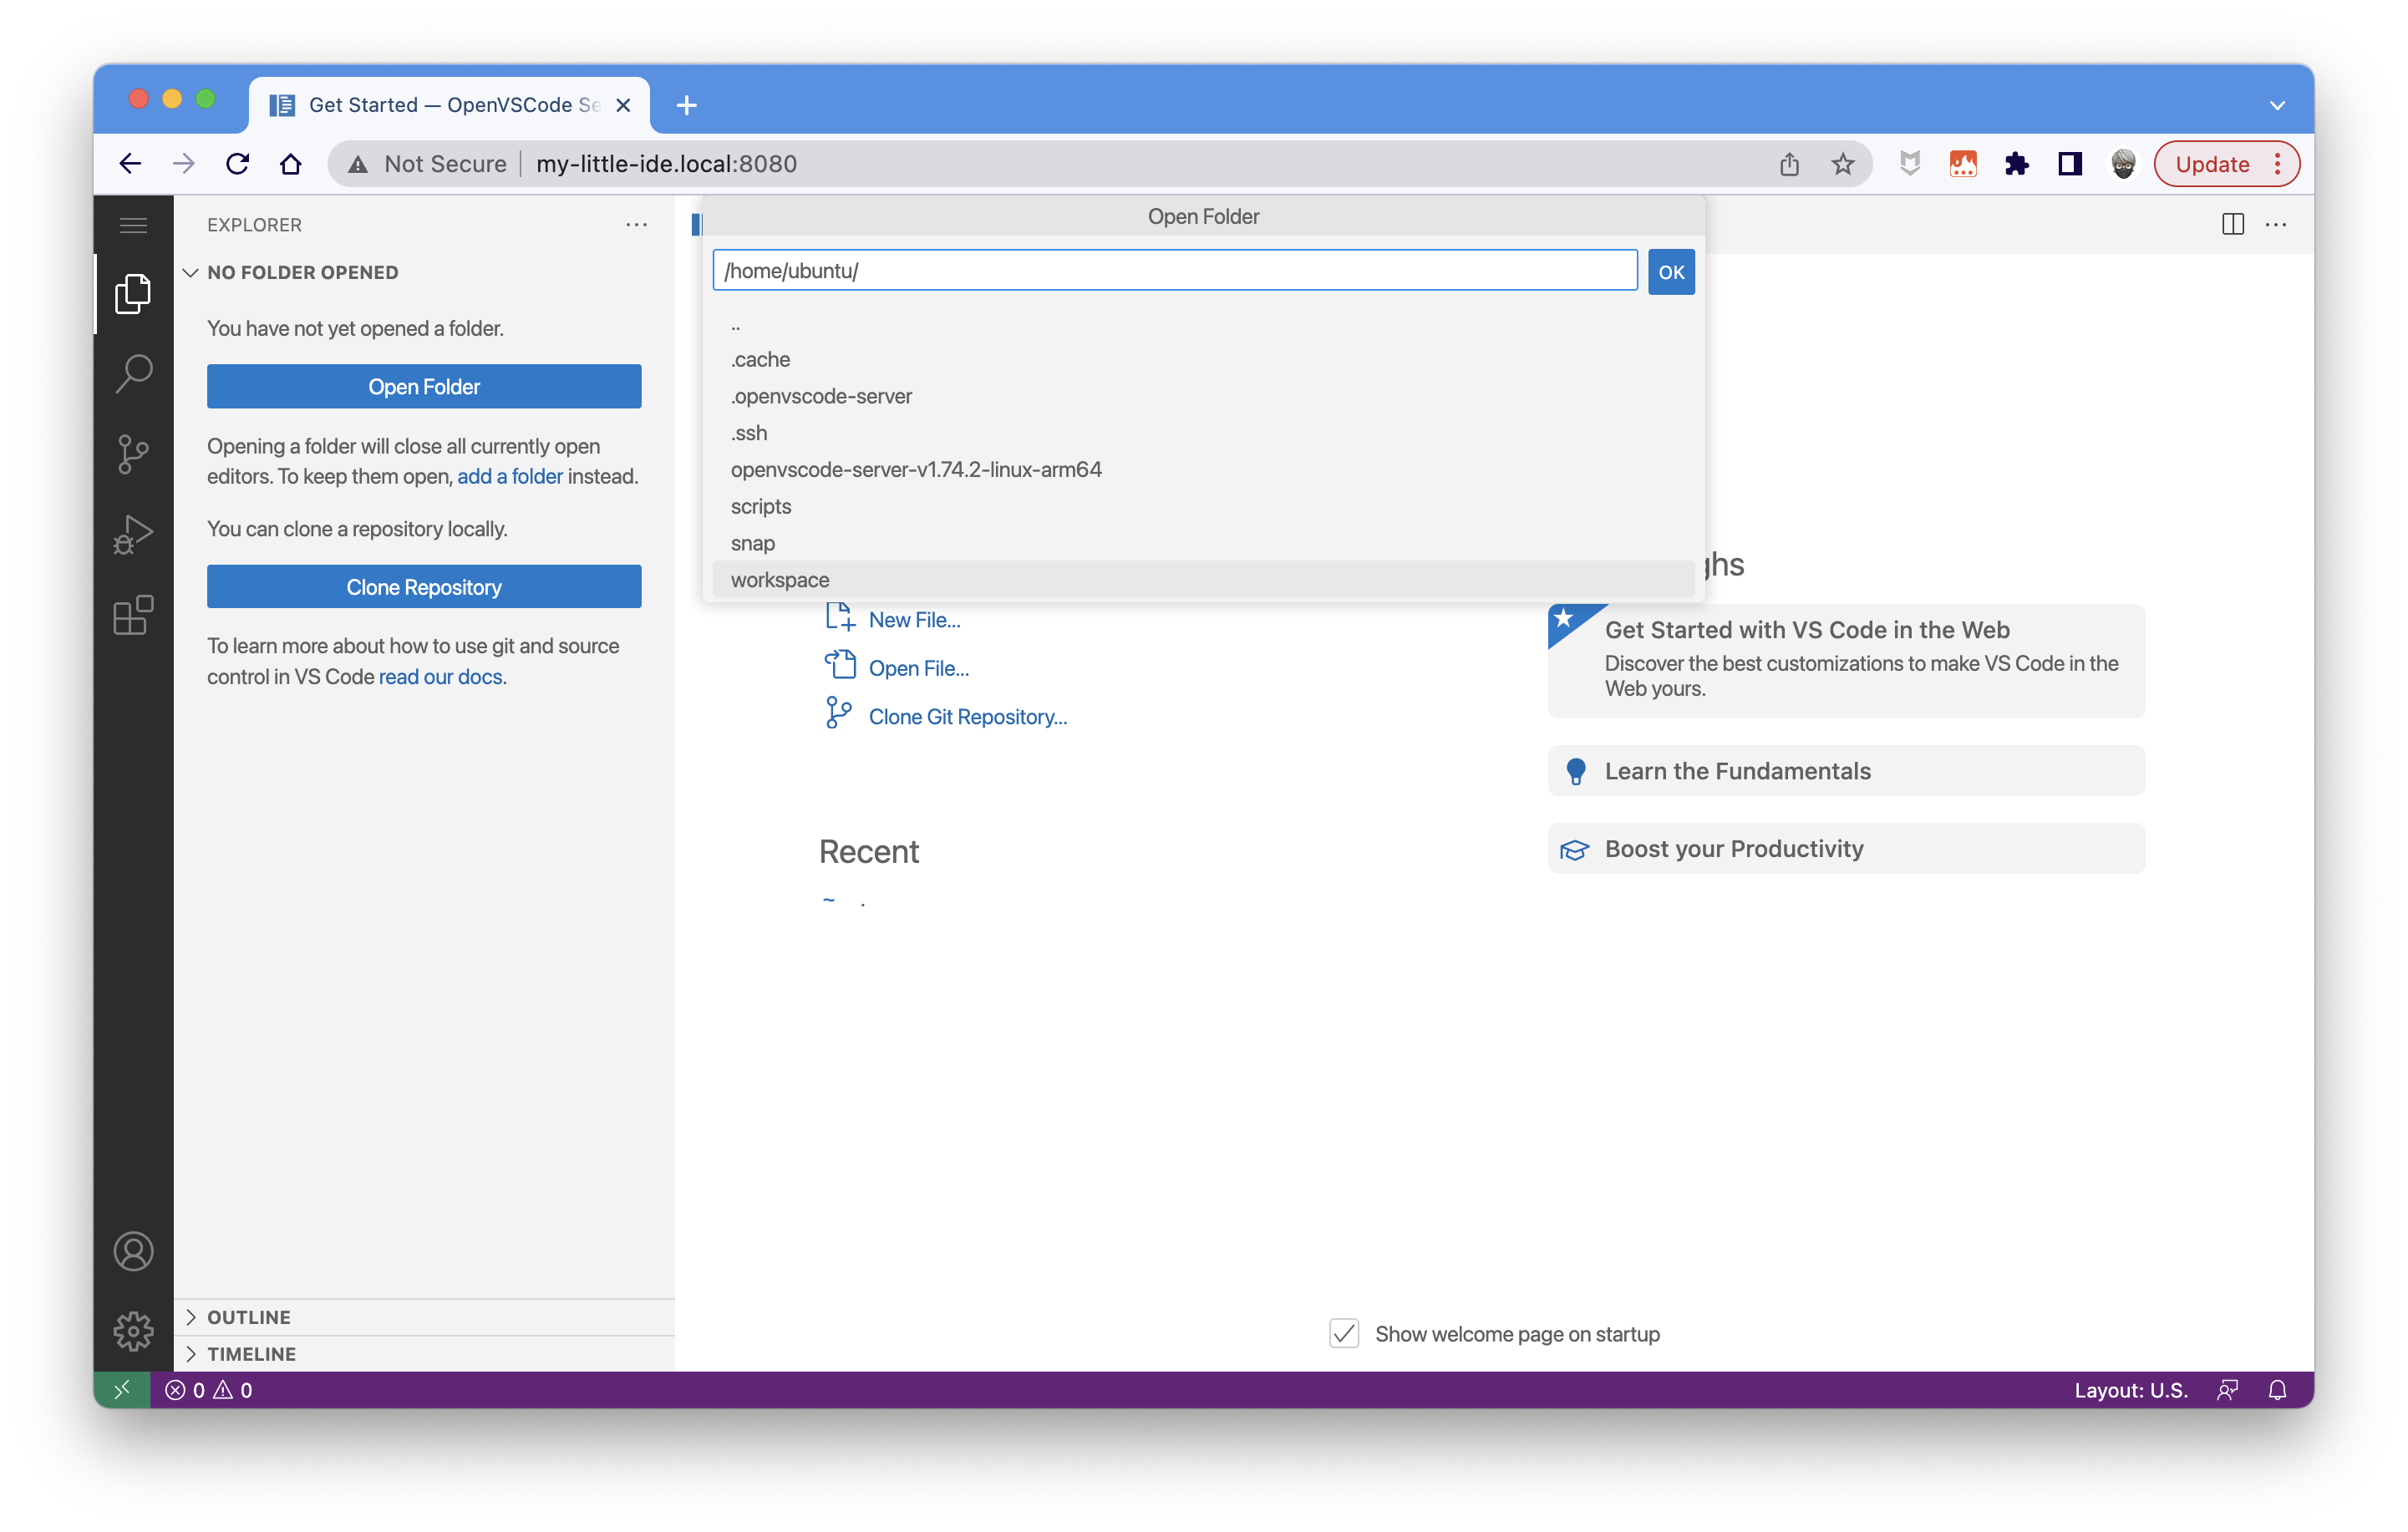
Choose the "Open Folder" option. You see that you can select the /home/ubuntu location or the shared directories scripts and workspace:
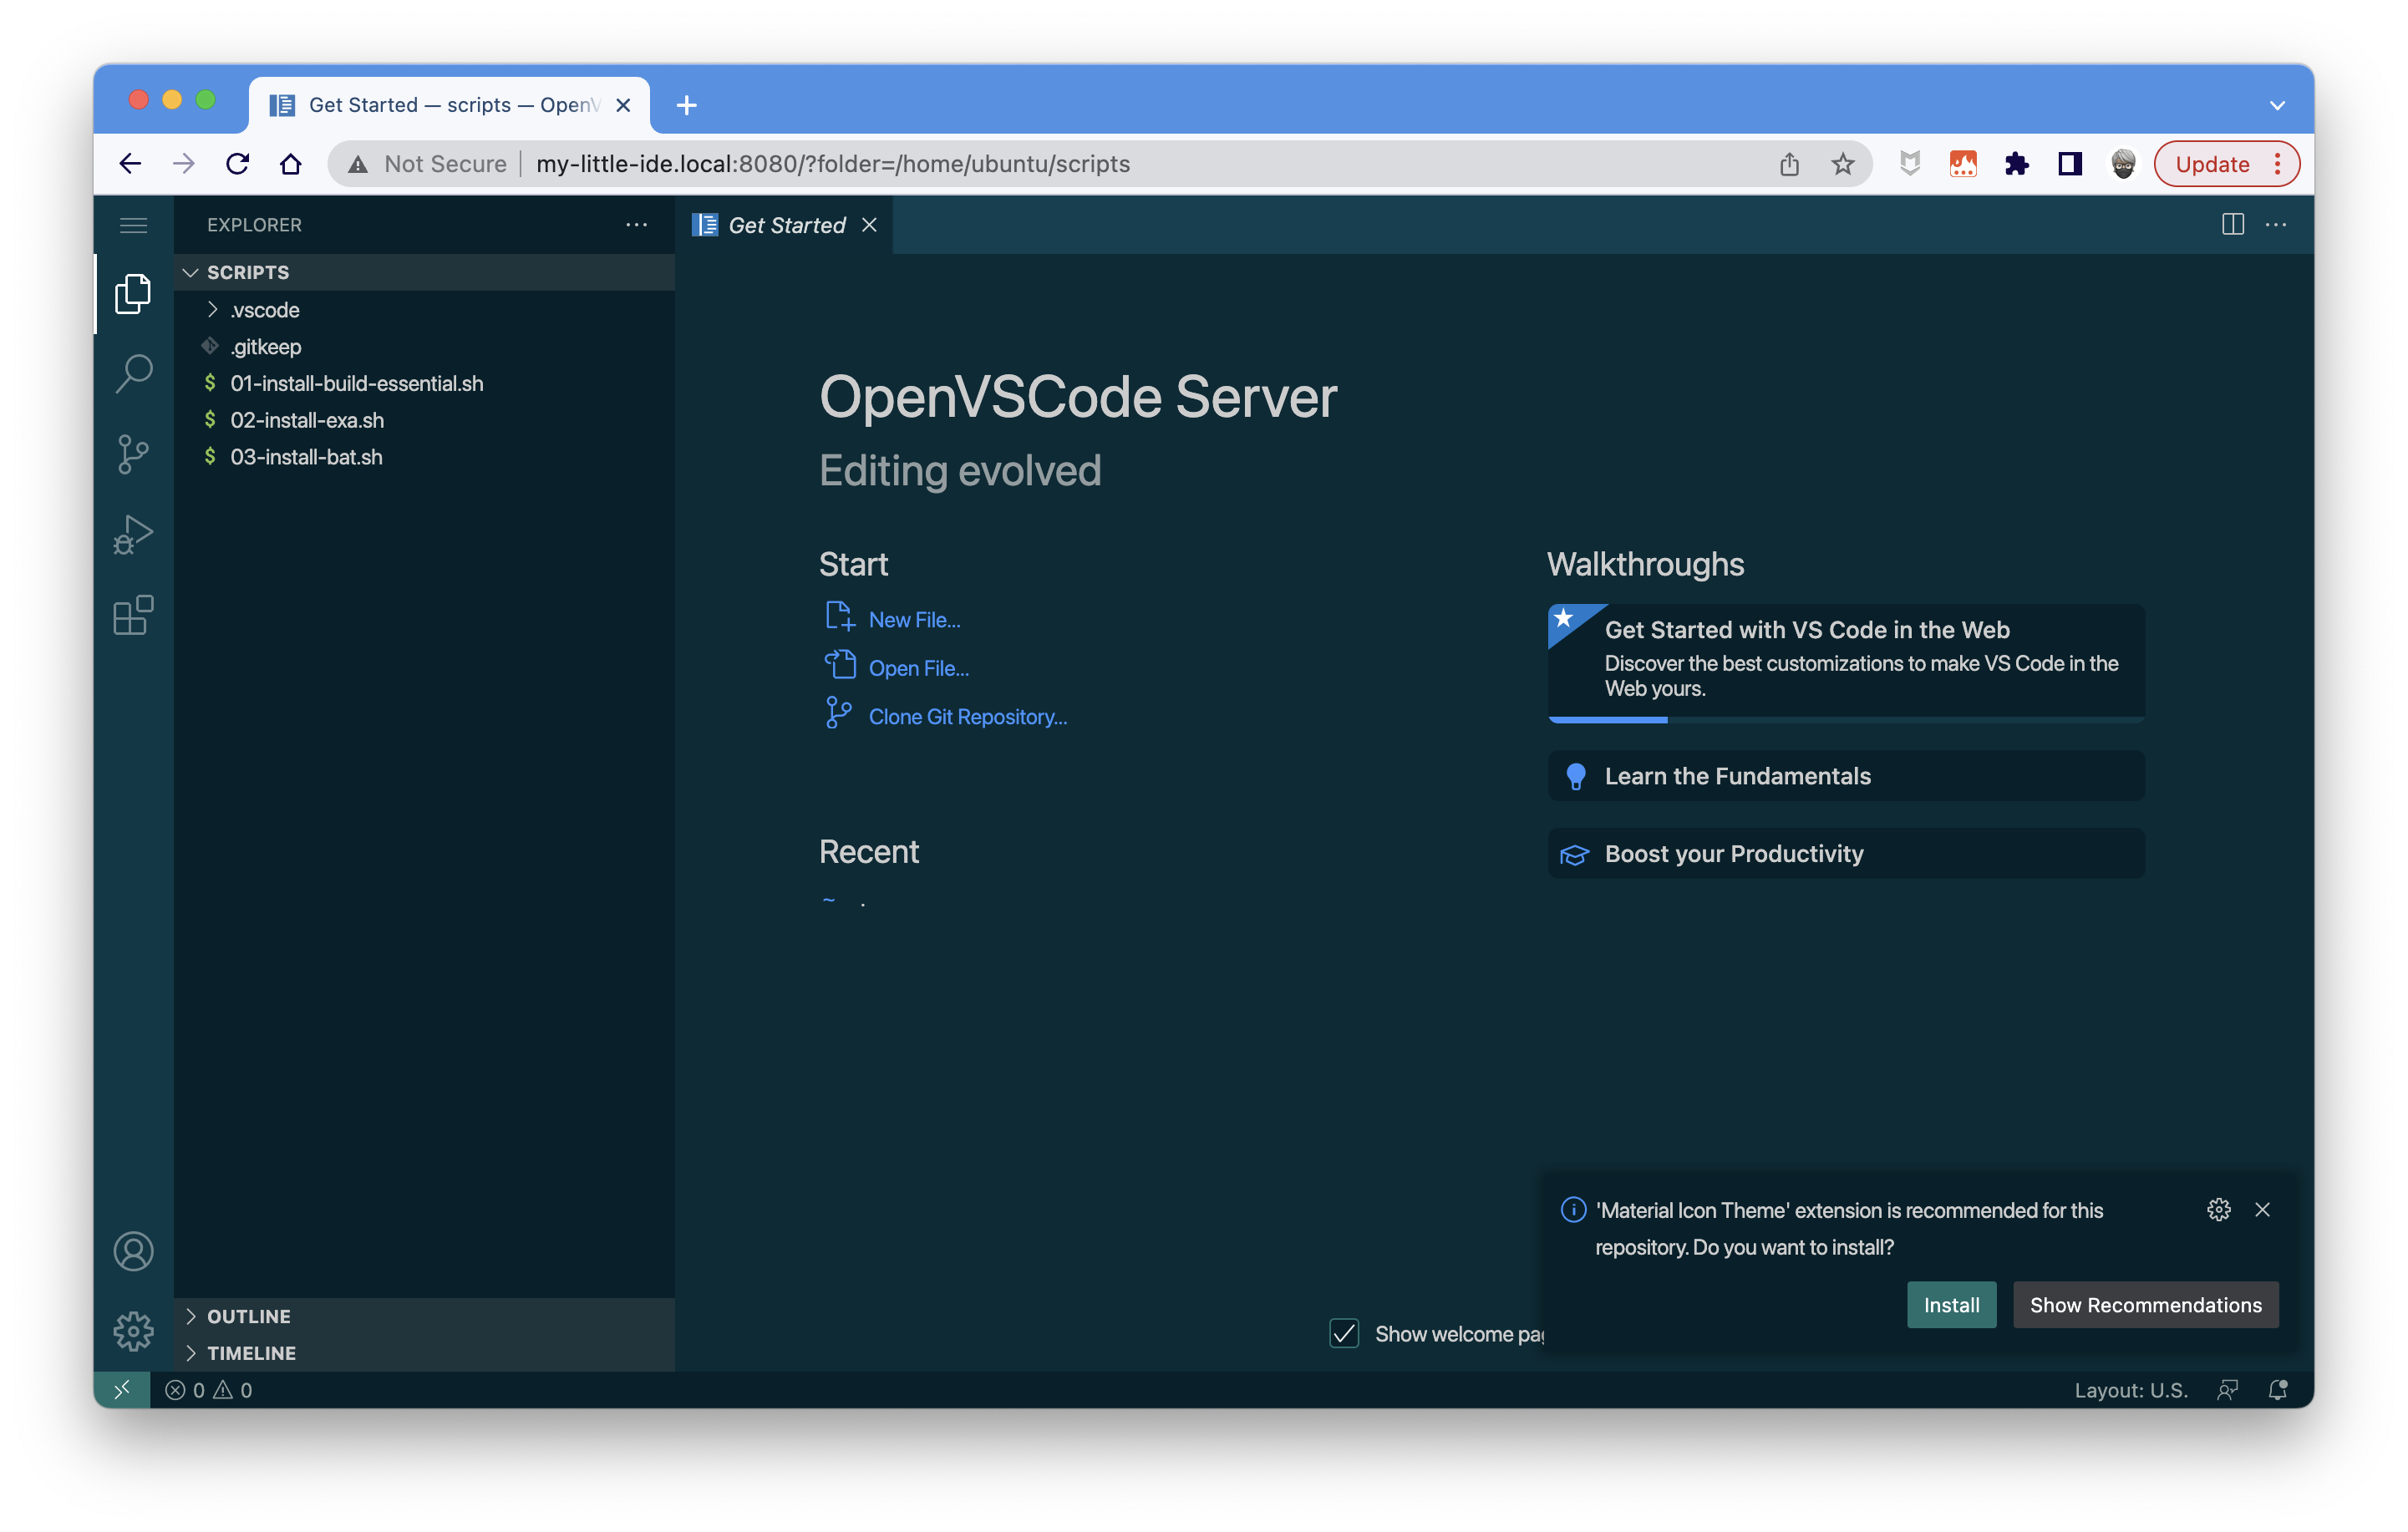
Select scripts:
Remarks
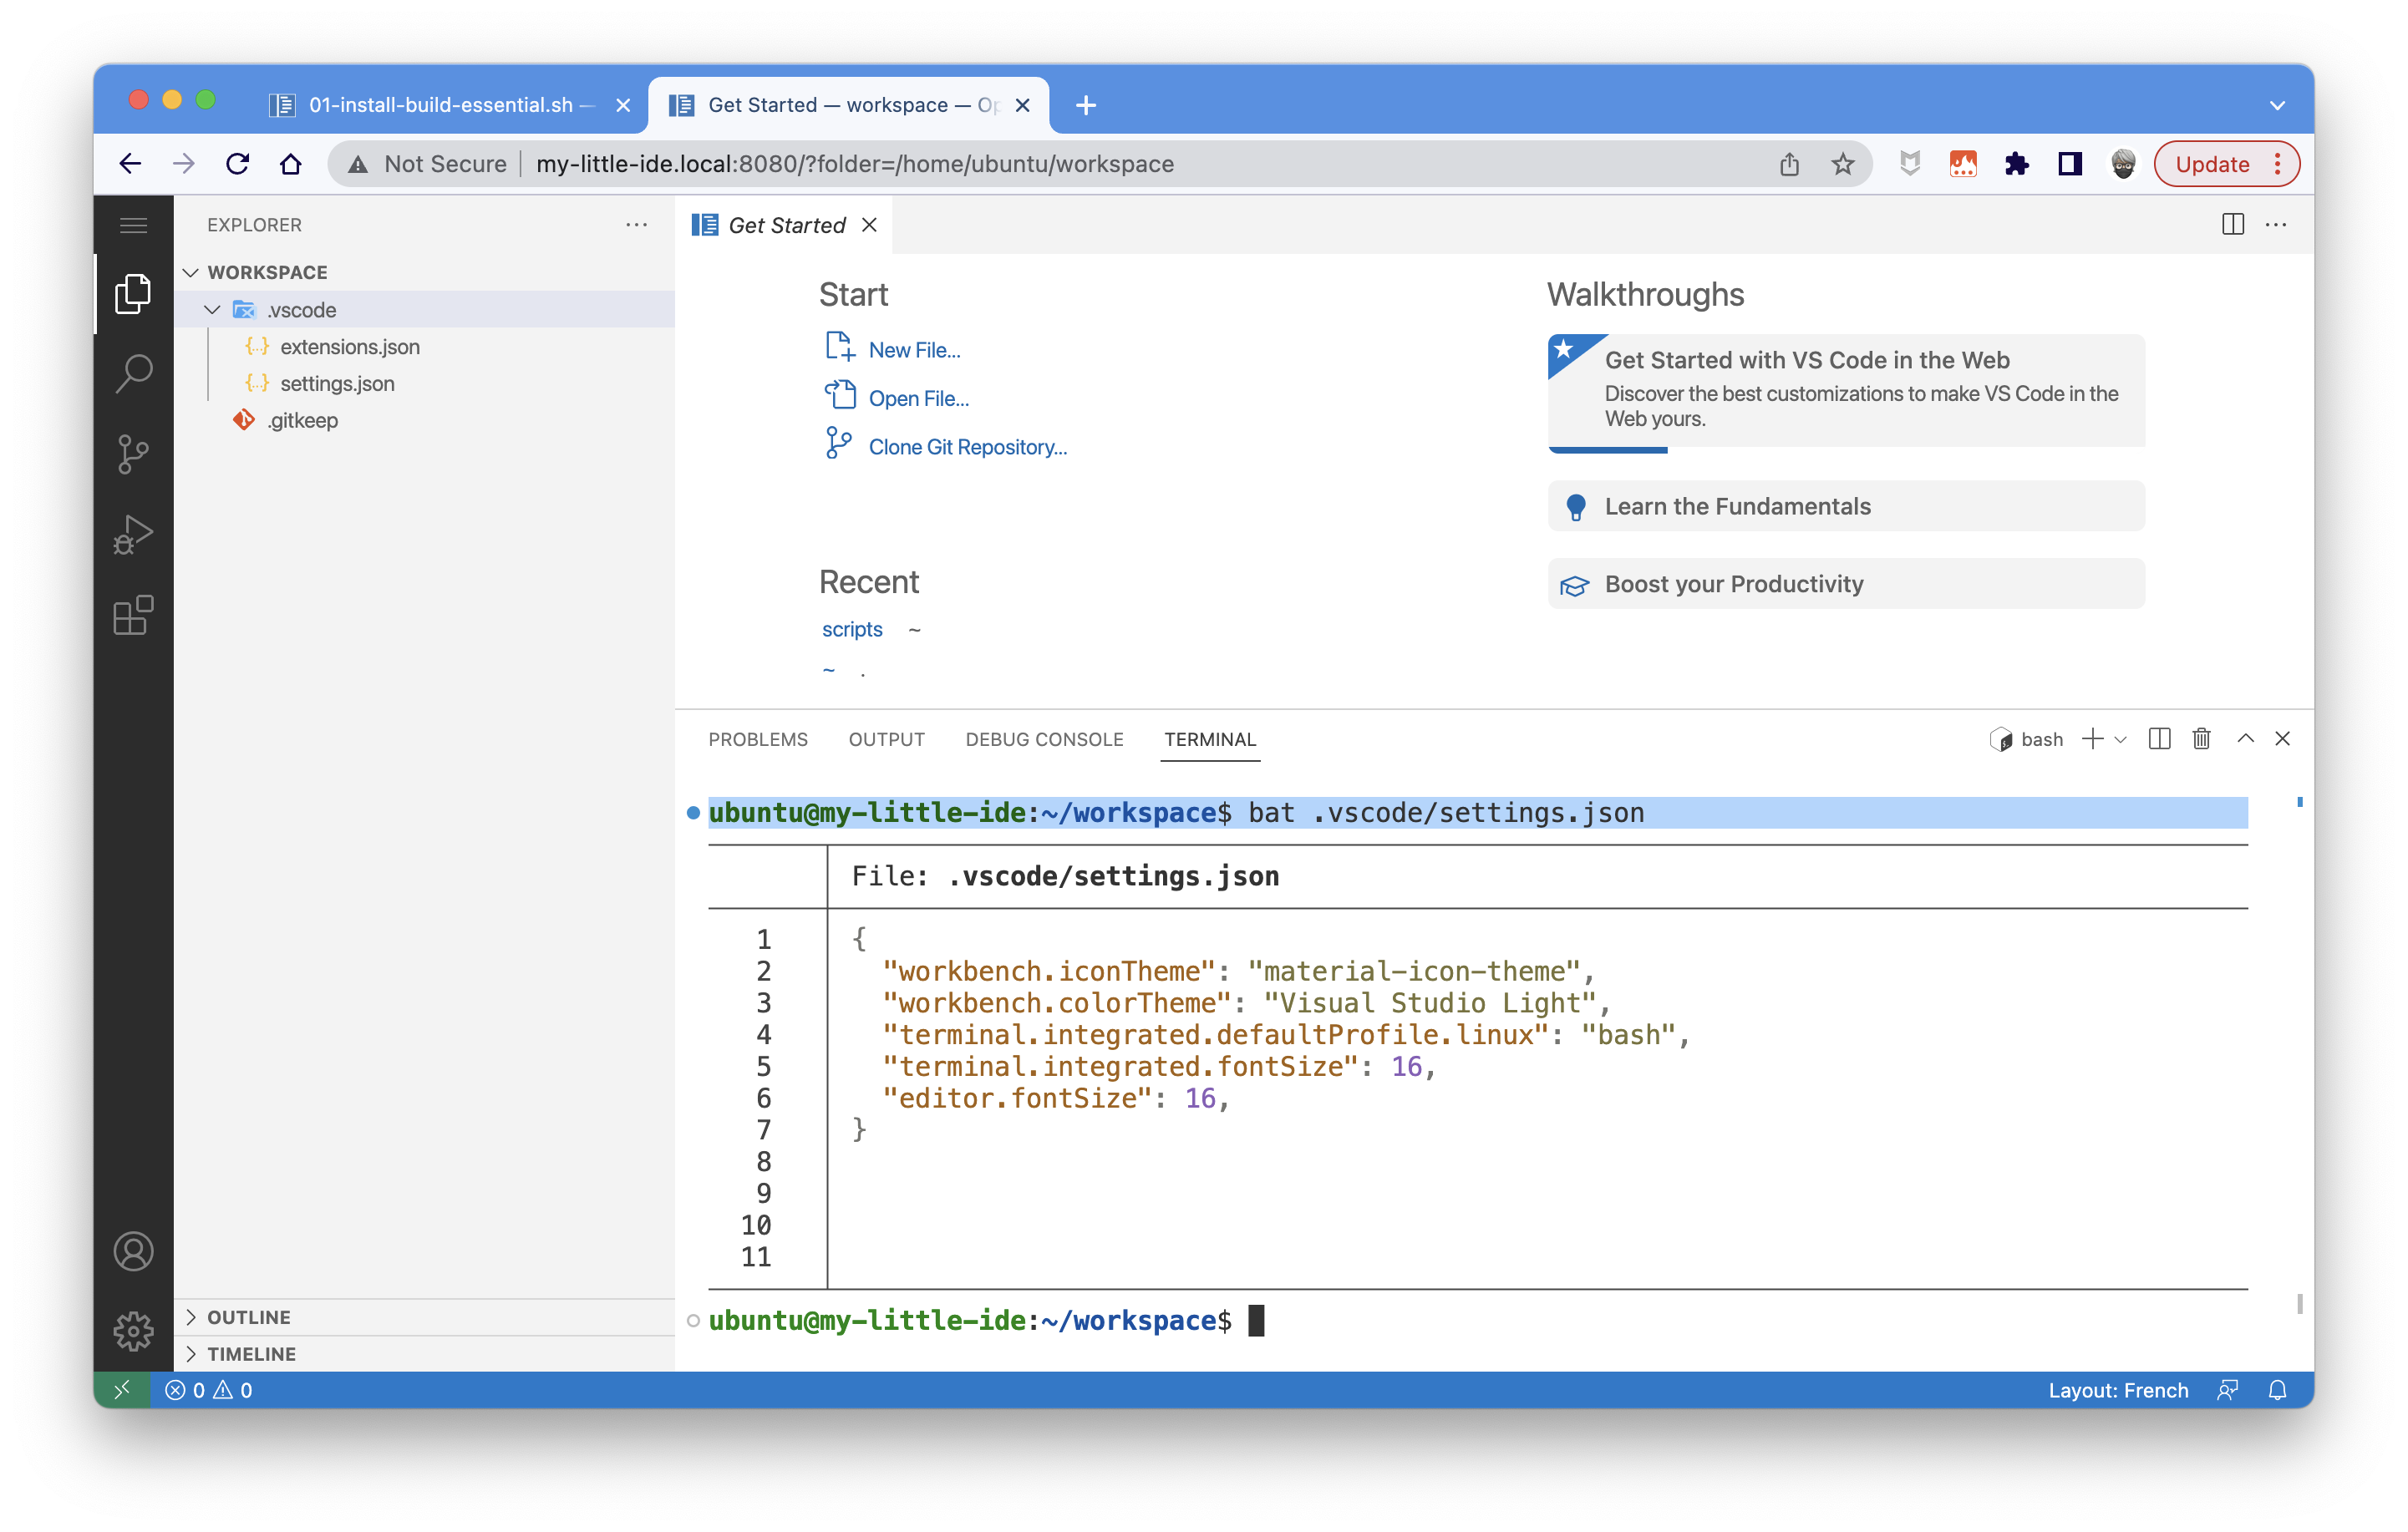
Usually, I put all my installation tools scripts in the scripts directory and the source code of my projects in the workspace directory. And in these directories, I add a .vscode directory with some VSCode configuration files:
scripts
└── .vscode
   ├── extensions.json
   └── settings.json
For example:
settings.json
{
  "workbench.iconTheme": "material-icon-theme",
  "workbench.colorTheme": "Solarized Dark",
  "terminal.integrated.defaultProfile.linux": "bash",
  "terminal.integrated.fontSize": 16,
  "editor.fontSize": 16,
}
extensions.json
{
  "recommendations": [
    "pkief.material-icon-theme"
  ]
}
When the IDE prompt for installing extensions, click on the "Install" button:

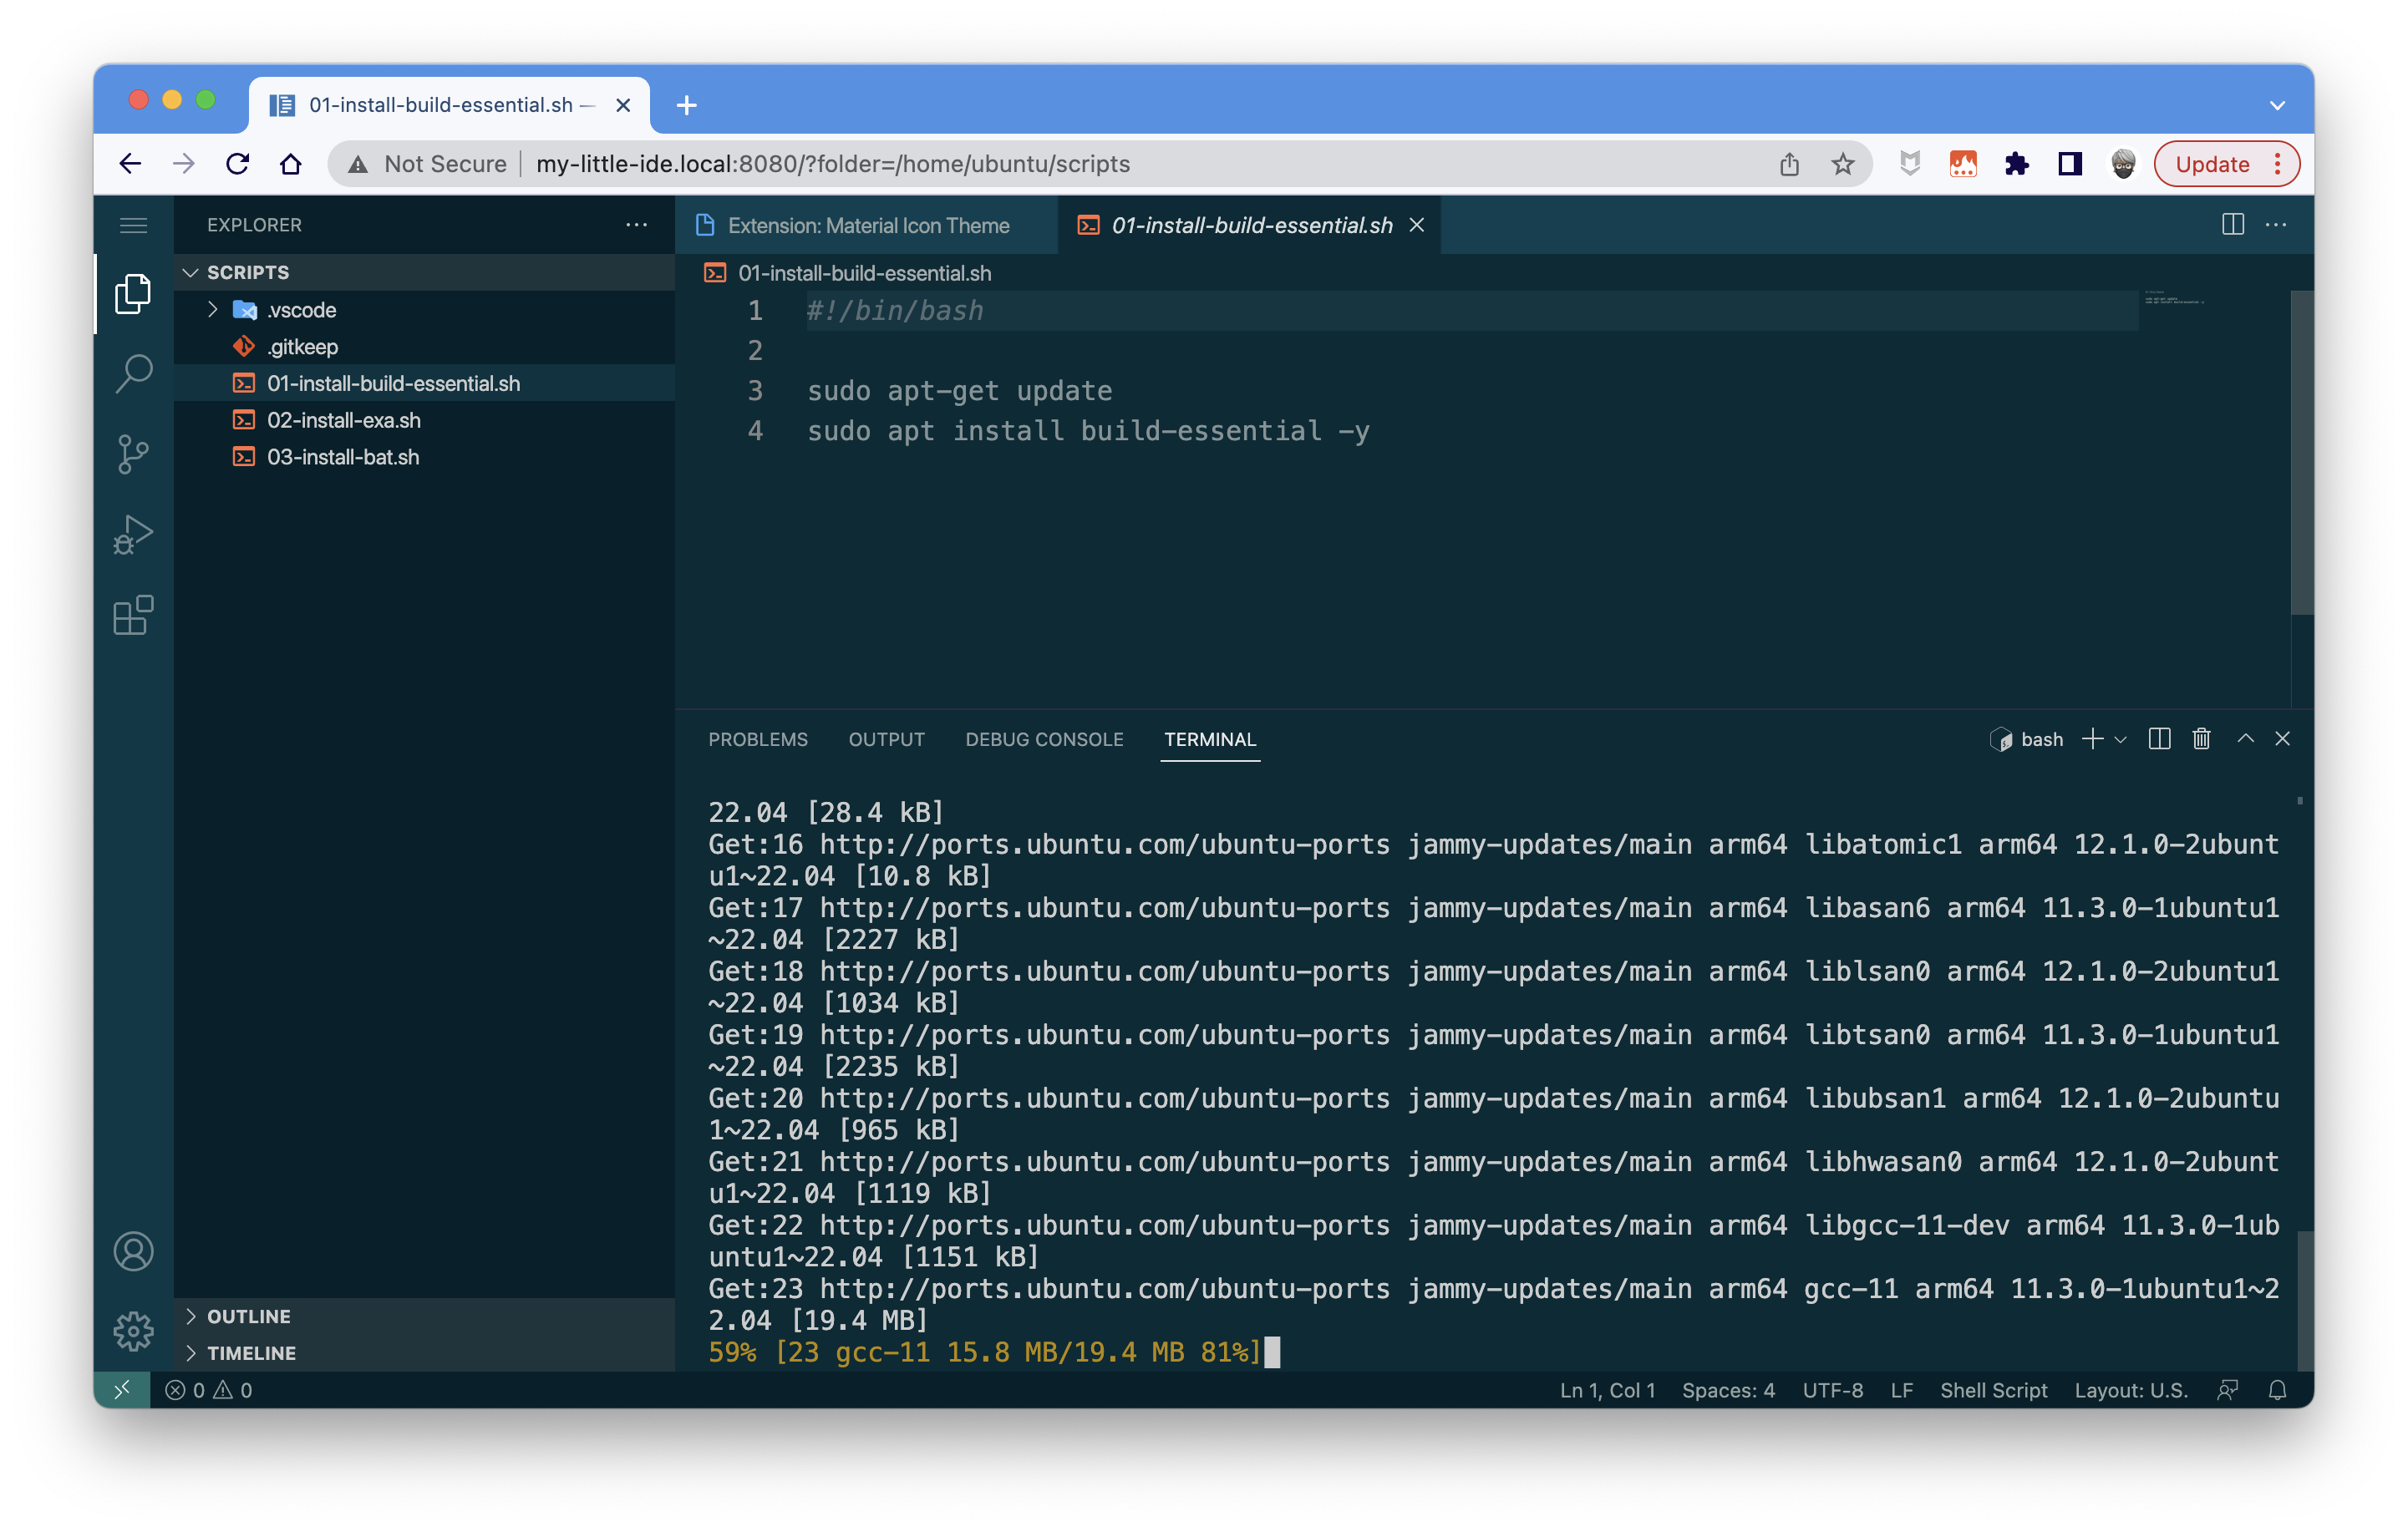
Now, you can run your scripts to install what you want in your VM:
If you wish to access the workspace directory, you simply need to use this URL: http://my-little-ide.local:8080/?folder=/home/ubuntu/workspace and check if your tools are correctly installed:
Some useful commands to handle the VM
Stop the VM
#!/bin/bash
set -o allexport; source config/.env; set +o allexport
multipass stop ${VM_NAME}
Start the VM
#!/bin/bash
set -o allexport; source config/.env; set +o allexport
multipass start ${VM_NAME}

VM_IP=$(multipass info ${VM_NAME} | grep IPv4 | awk '{print $2}')

multipass --verbose exec ${VM_NAME} -- bash <<EOF
cd openvscode-server-v${OPENVSCODE_SERVER_VERSION}-${OPENVSCODE_SERVER_OS}-${OPENVSCODE_SERVER_ARCH}
./bin/openvscode-server --port ${OPENVSCODE_SERVER_PORT} --host ${VM_IP} --without-connection-token &
EOF
Connect to the shell of the VM
#!/bin/bash
set -o allexport; source config/.env; set +o allexport
multipass shell ${VM_NAME}
Drop the VM
#!/bin/bash
set -o allexport; source config/.env; set +o allexport
multipass delete ${VM_NAME}
multipass purge

rm  config/*.config
That's it for this tutorial.
You can find all the source code and scripts here https://github.com/bots-garden/spawn-ide