My baby steps with Couchbase
First contact

For an upcoming project, I was looking for a data server that could allow me to store JSON documents and easily query them. I had already used Couchbase last year to experiment with WebAssembly (developing a host function allowing WASM modules to connect to a Couchbase server). So, quite naturally, my choice once again fell on Couchbase. And therefore, so that it can be helpful to others, I explain today how to install it and make your first requests. I would then write other articles to explain my experiments.
Install Couchbase
The setup is pretty straightforward. I used a Multipass VM (Ubuntu 22) on a Macbook M1 (then it's an ARM architecture), but the following scripts are easily adjustable:
curl -O https://packages.couchbase.com/releases/7.2.0/couchbase-server-community_7.2.0-linux_arm64.deb
sudo dpkg -i ./couchbase-server-community_7.2.0-linux_arm64.deb
sudo apt-get update
sudo apt-get install couchbase-server-community -y
rm ./couchbase-server-community_7.2.0-linux_arm64.deb
To find the appropriate package for your machine, go to https://www.couchbase.com/downloads/?family=couchbase-server
For this blog post, I'm using the community version of Couchbase Server.
Create a cluster
First of all, you will have to create a cluster using the following commands:
PATH=$PATH:/opt/couchbase/bin
couchbase-cli cluster-init -c 127.0.0.1 \
--cluster-username admin \
--cluster-password ilovepandas \
--services data,index,query \
--cluster-ramsize 4096
Where the admin user name is
adminand its password isilovepandas
You should get this message if everything runs well: SUCCESS: Cluster initialized
Create a bucket
From the documentation of Couchbase: "A bucket is the fundamental space for storing data in Couchbase Server. Each bucket contains a hierarchy of scopes and collections to group keys and values logically."
PATH=$PATH:/opt/couchbase/bin
couchbase-cli bucket-create -c 127.0.0.1:8091 \
--username admin \
--password ilovepandas \
--bucket my-bucket \
--bucket-type couchbase \
--bucket-ramsize 1024
Where the name of the bucket is:
my-bucket
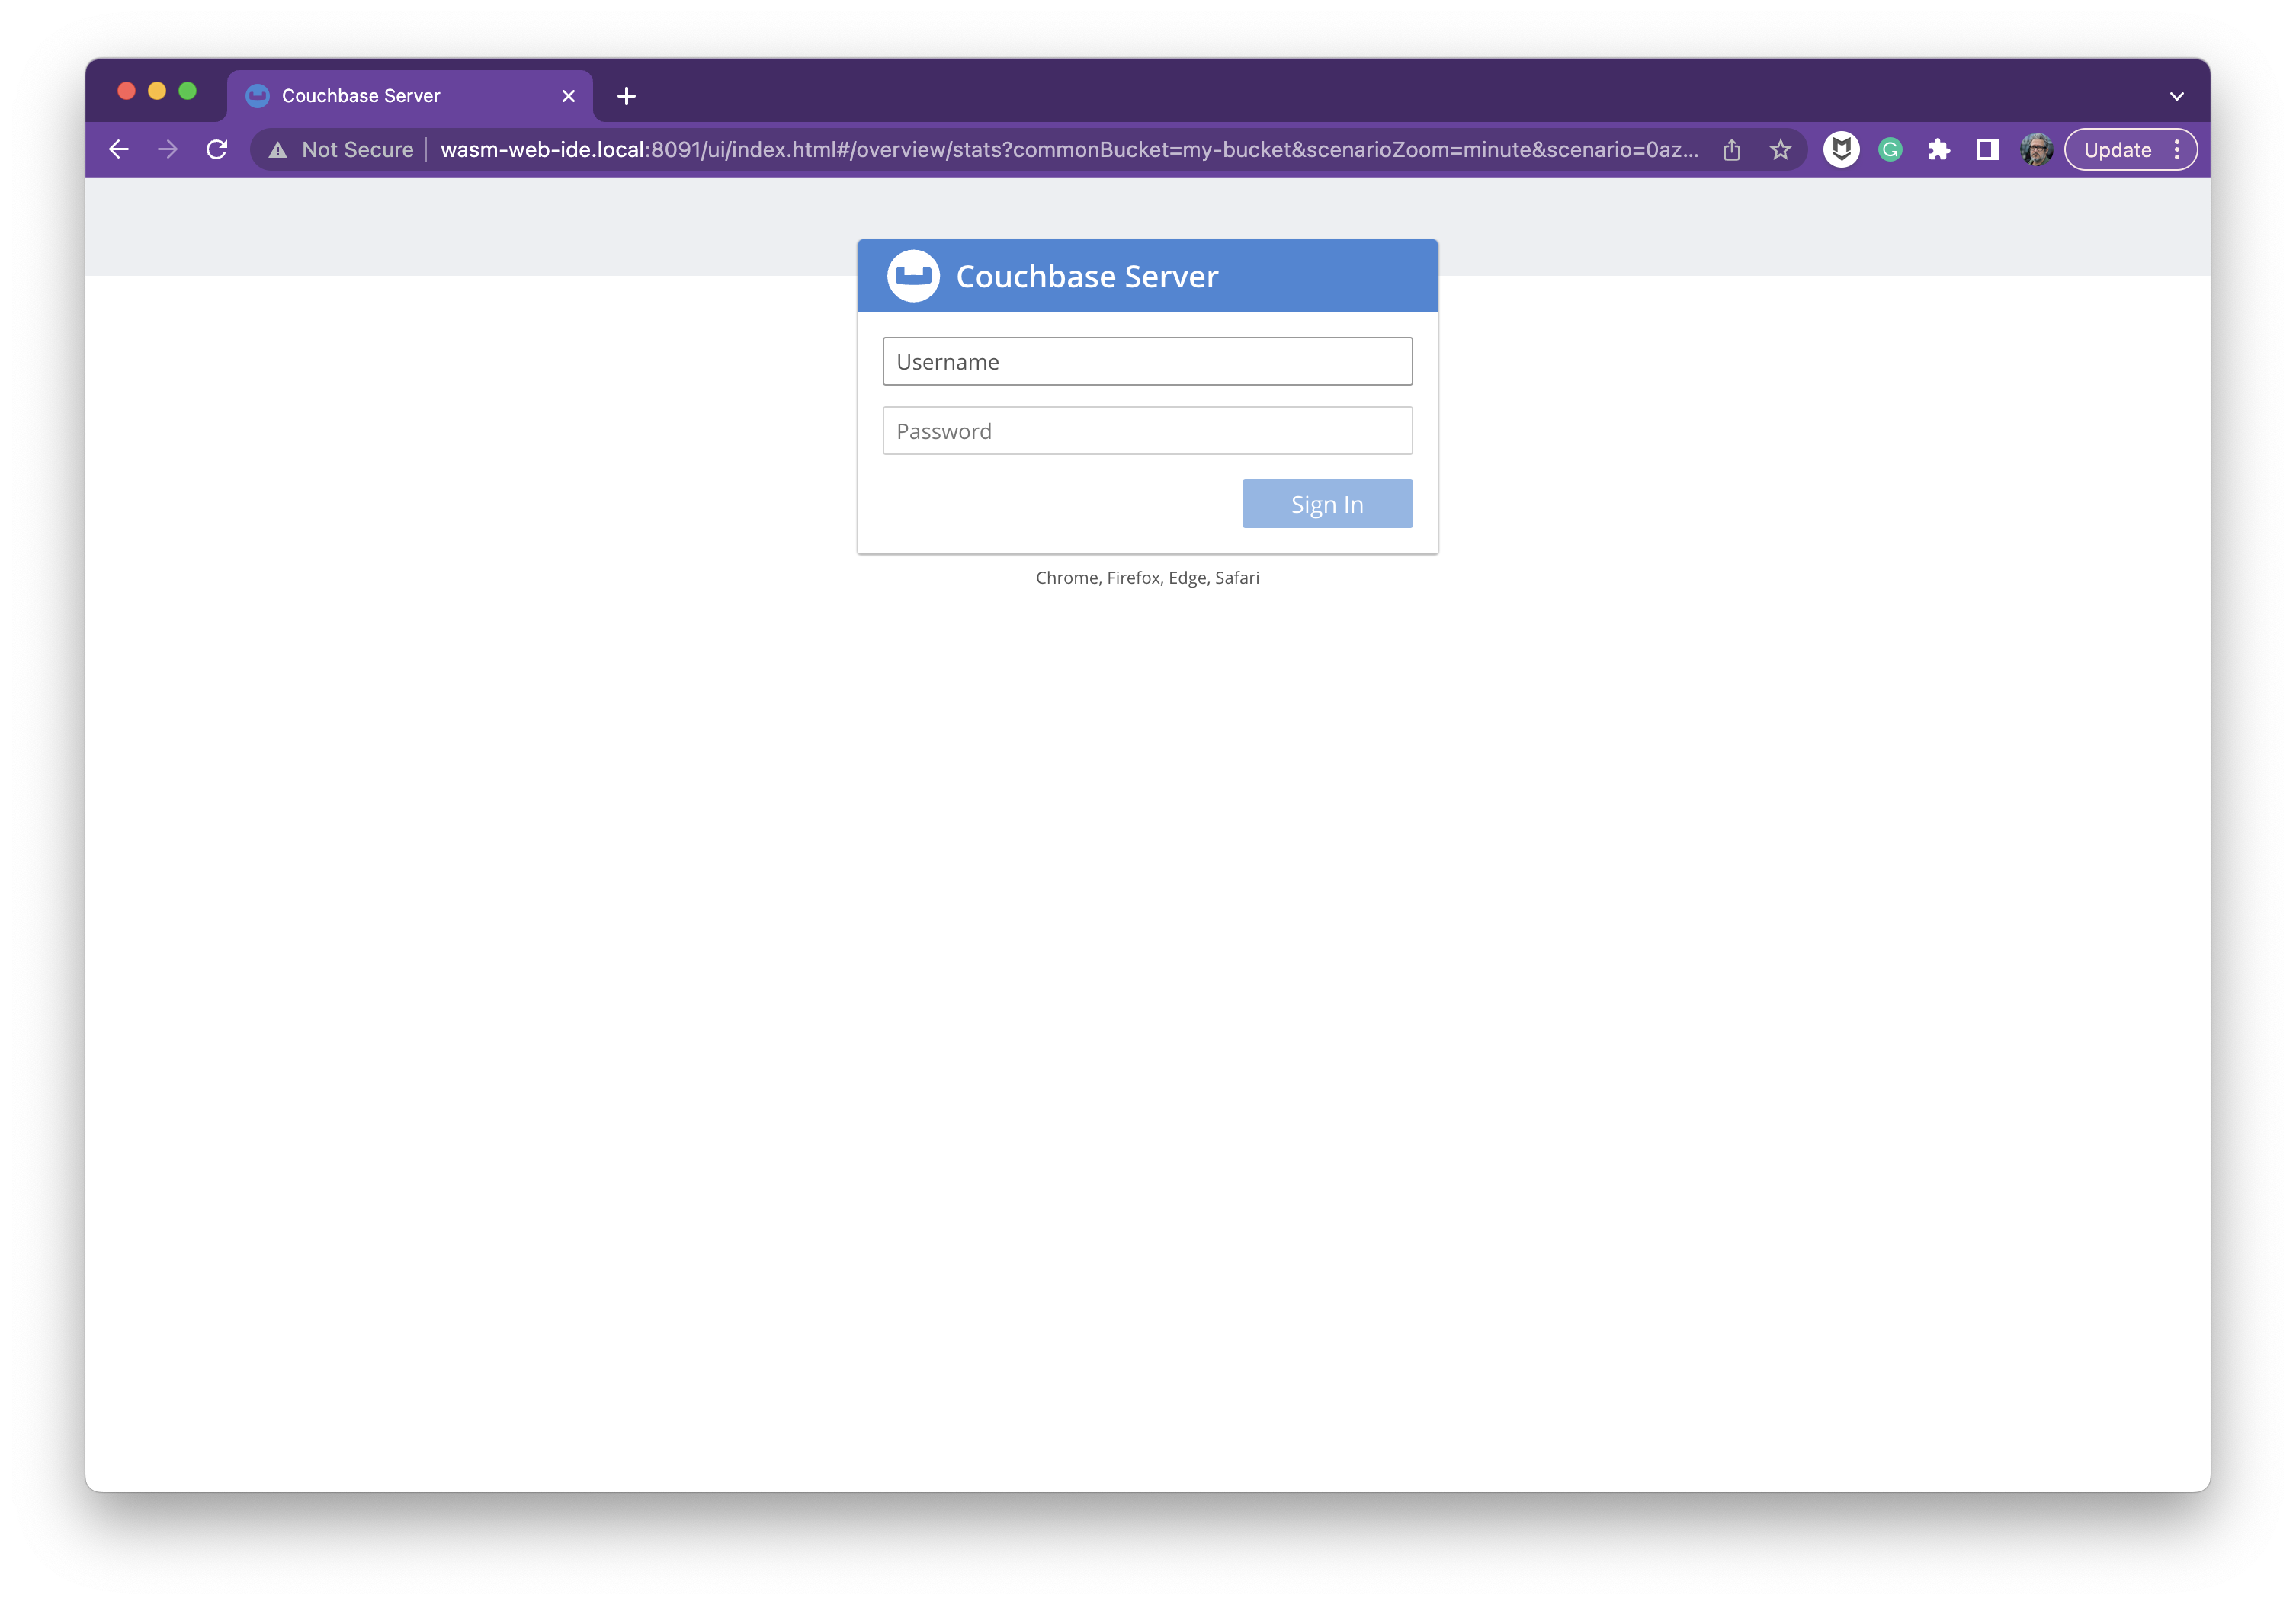
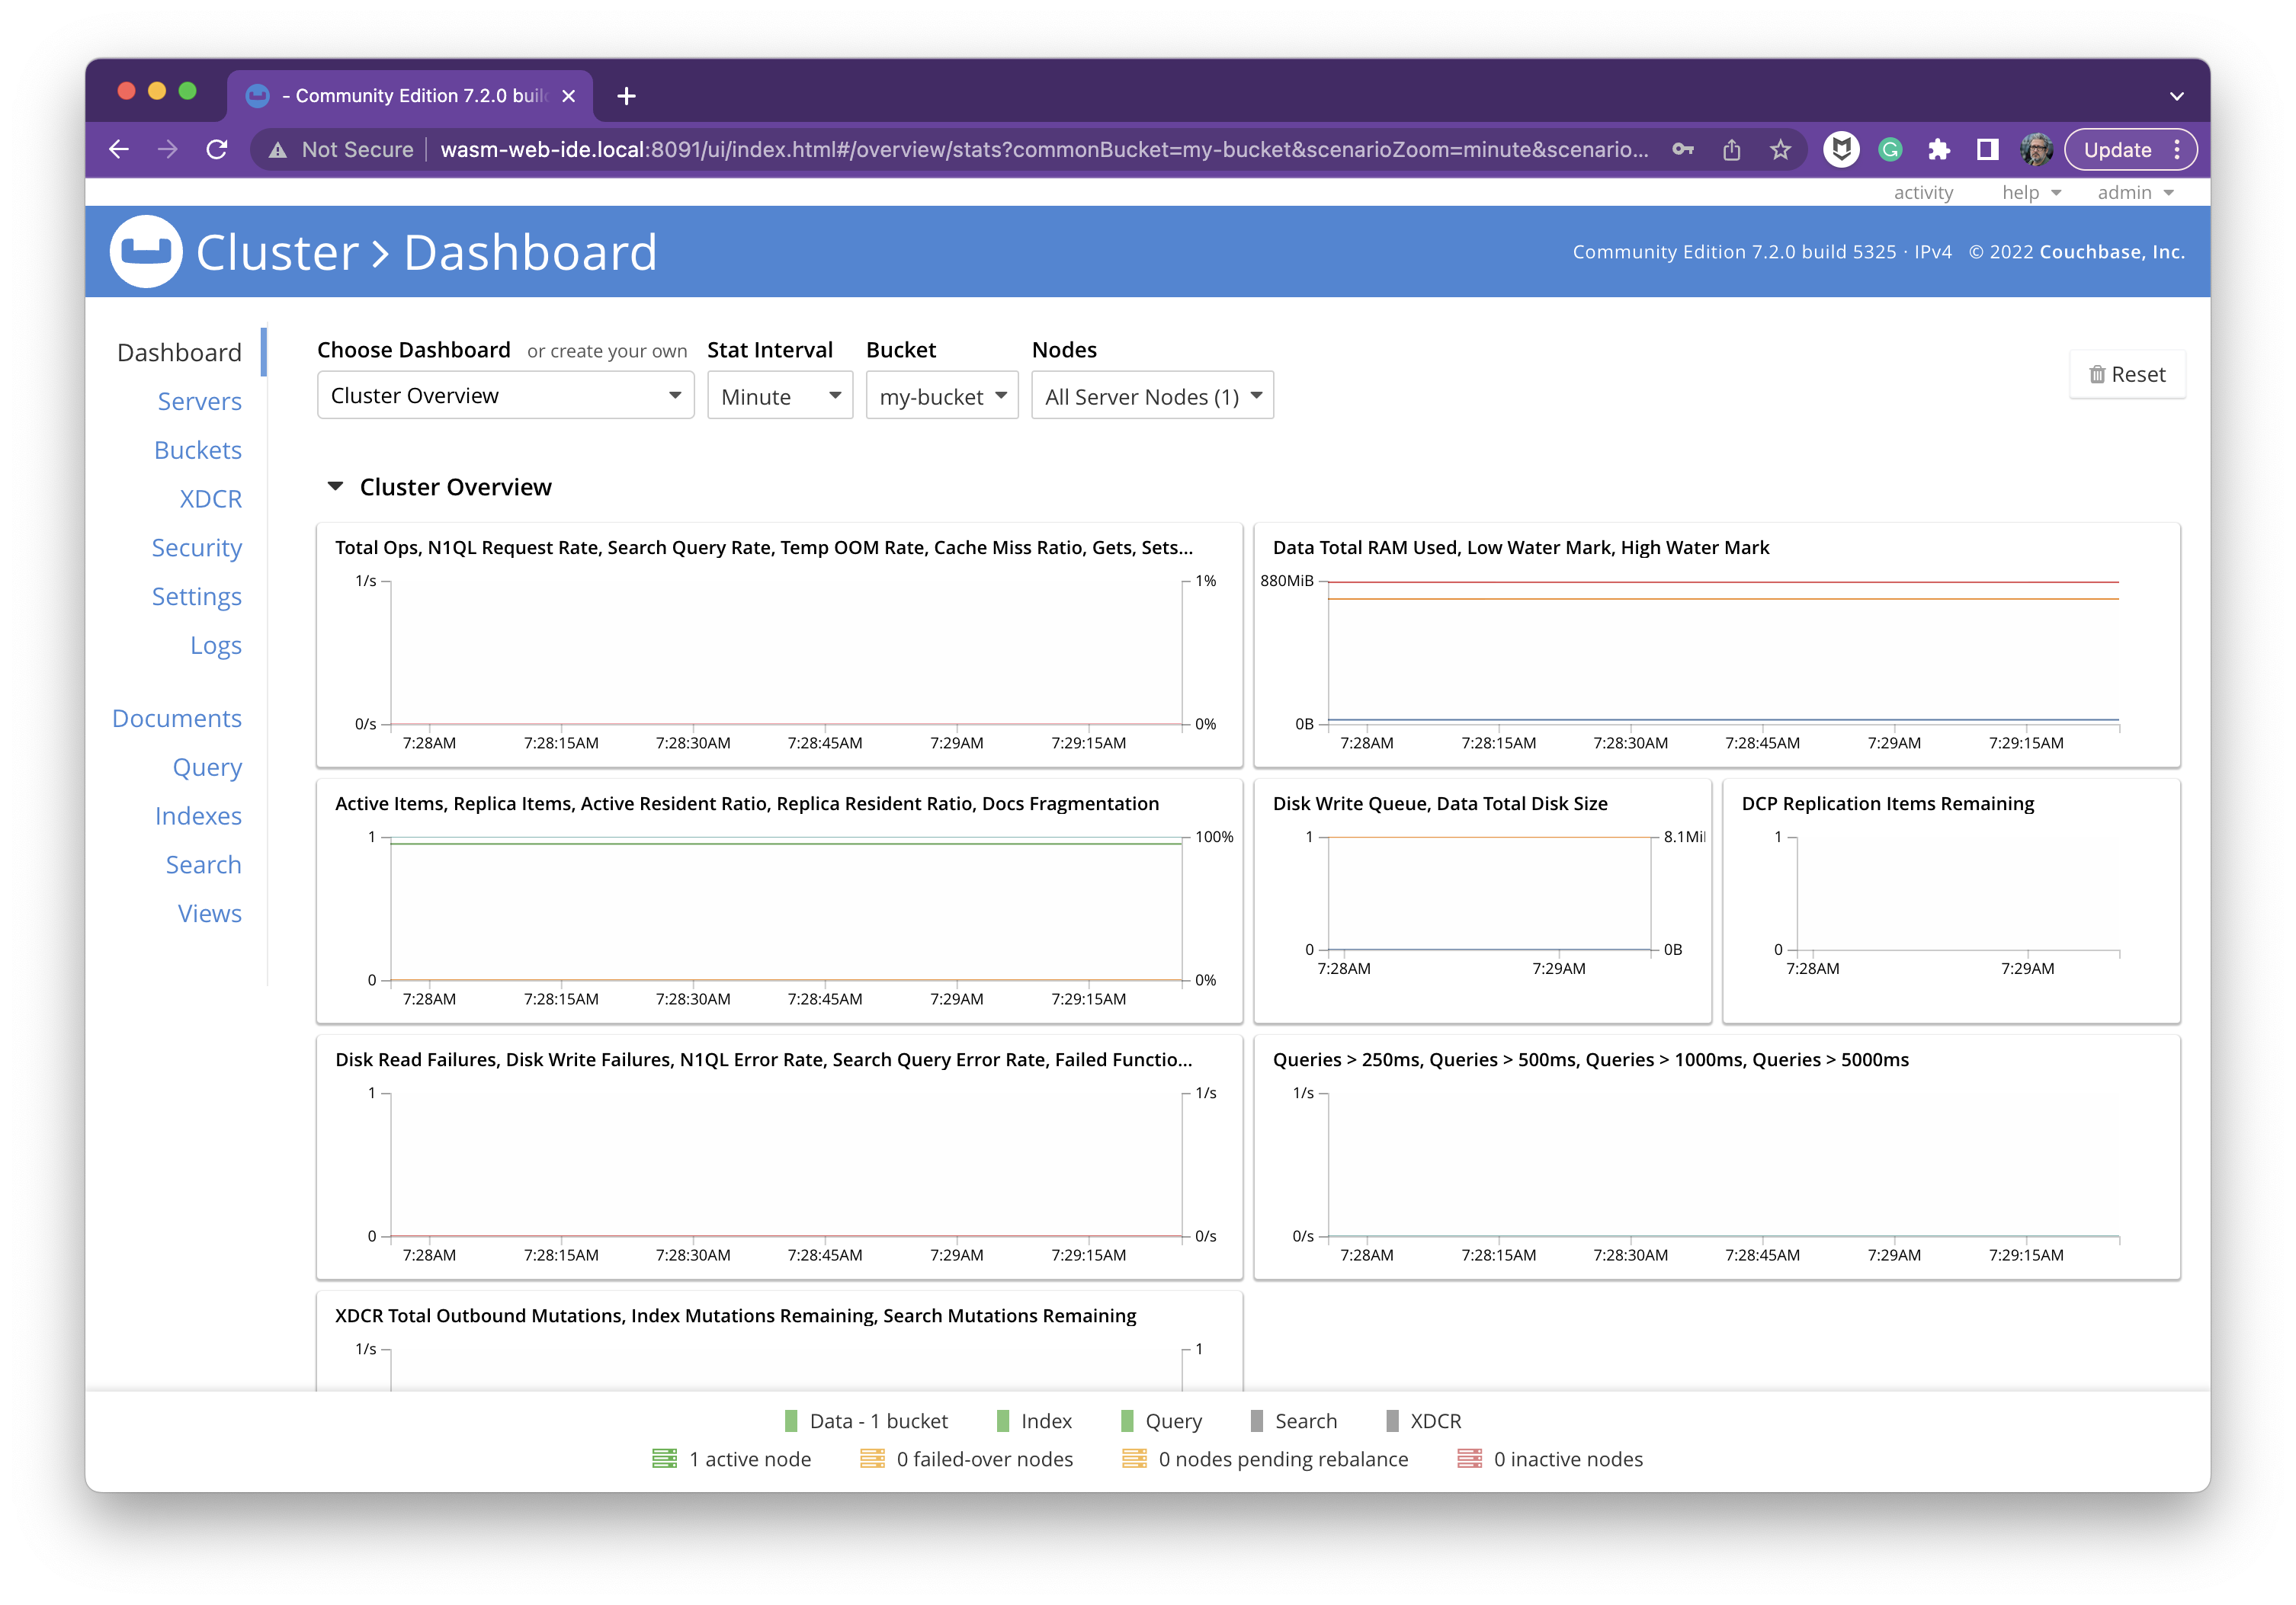
Accessing the Couchbase Server console is now possible through your web browser, using this URL http://ip-address-of-your-VM:8091 (or something like http://localhost:8091 if you installed the server directly on your computer):
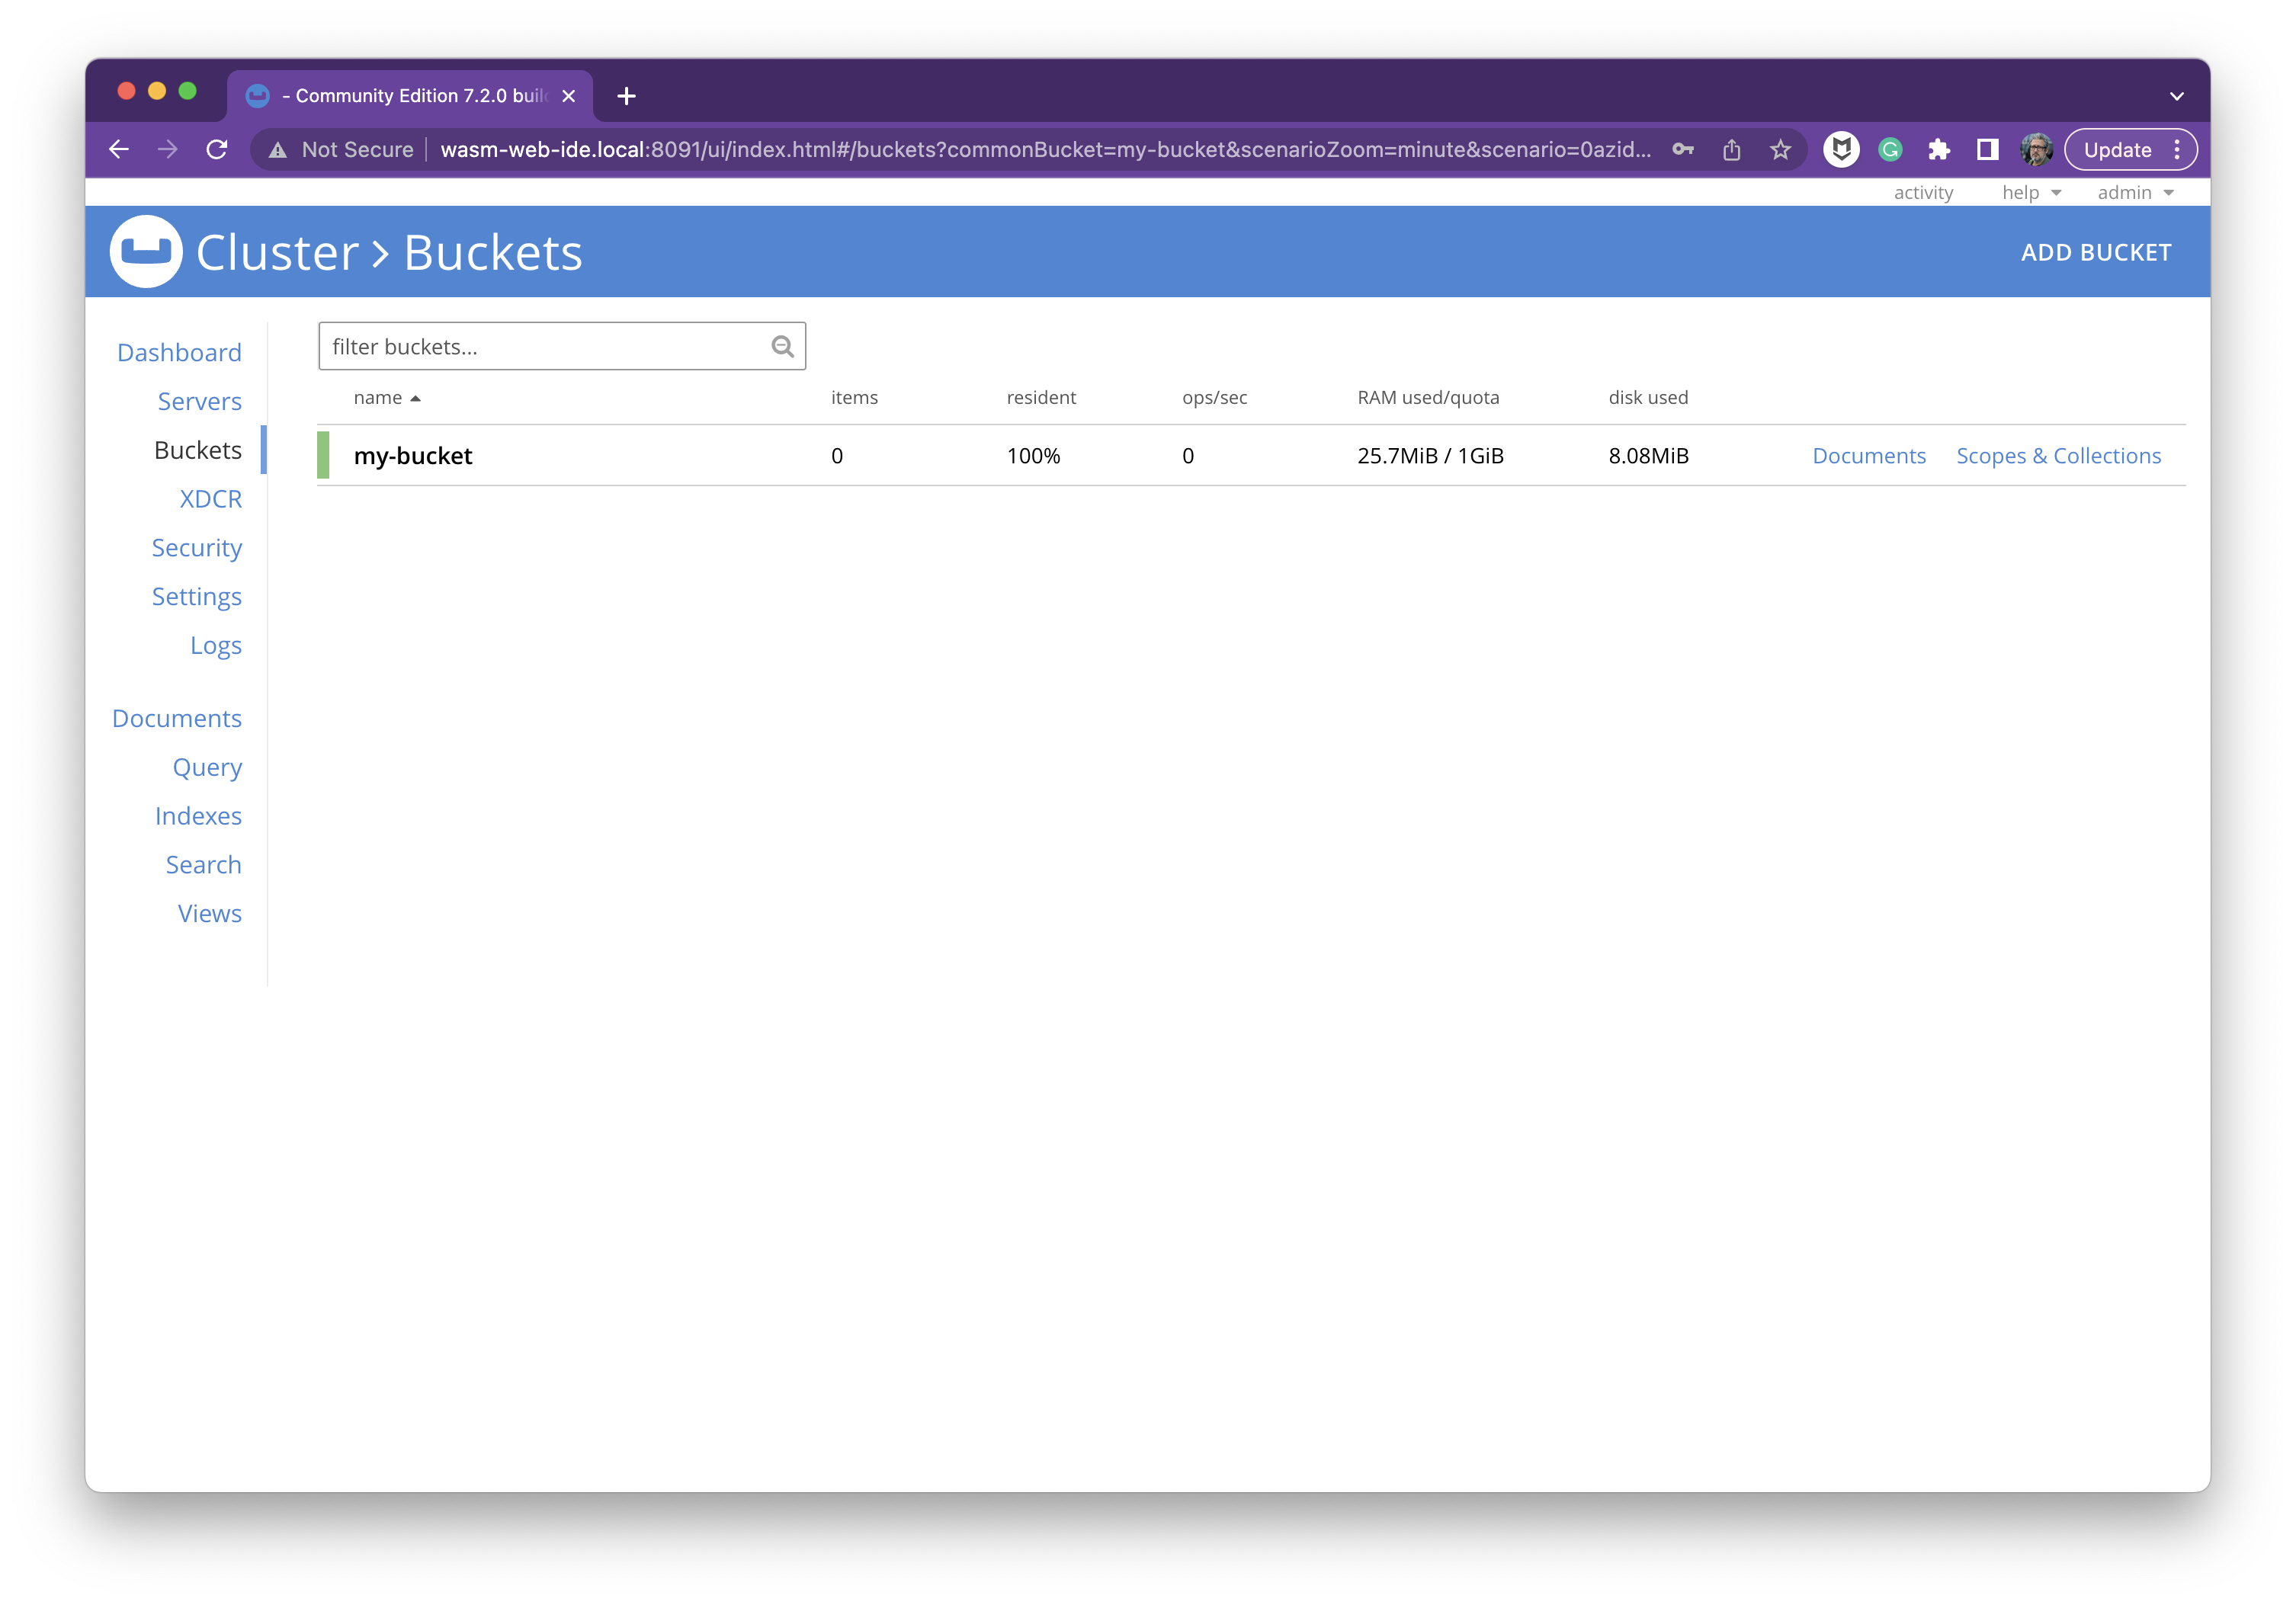
If you click (into the left menu) on the Buckets option, you will get the list of the existing buckets:
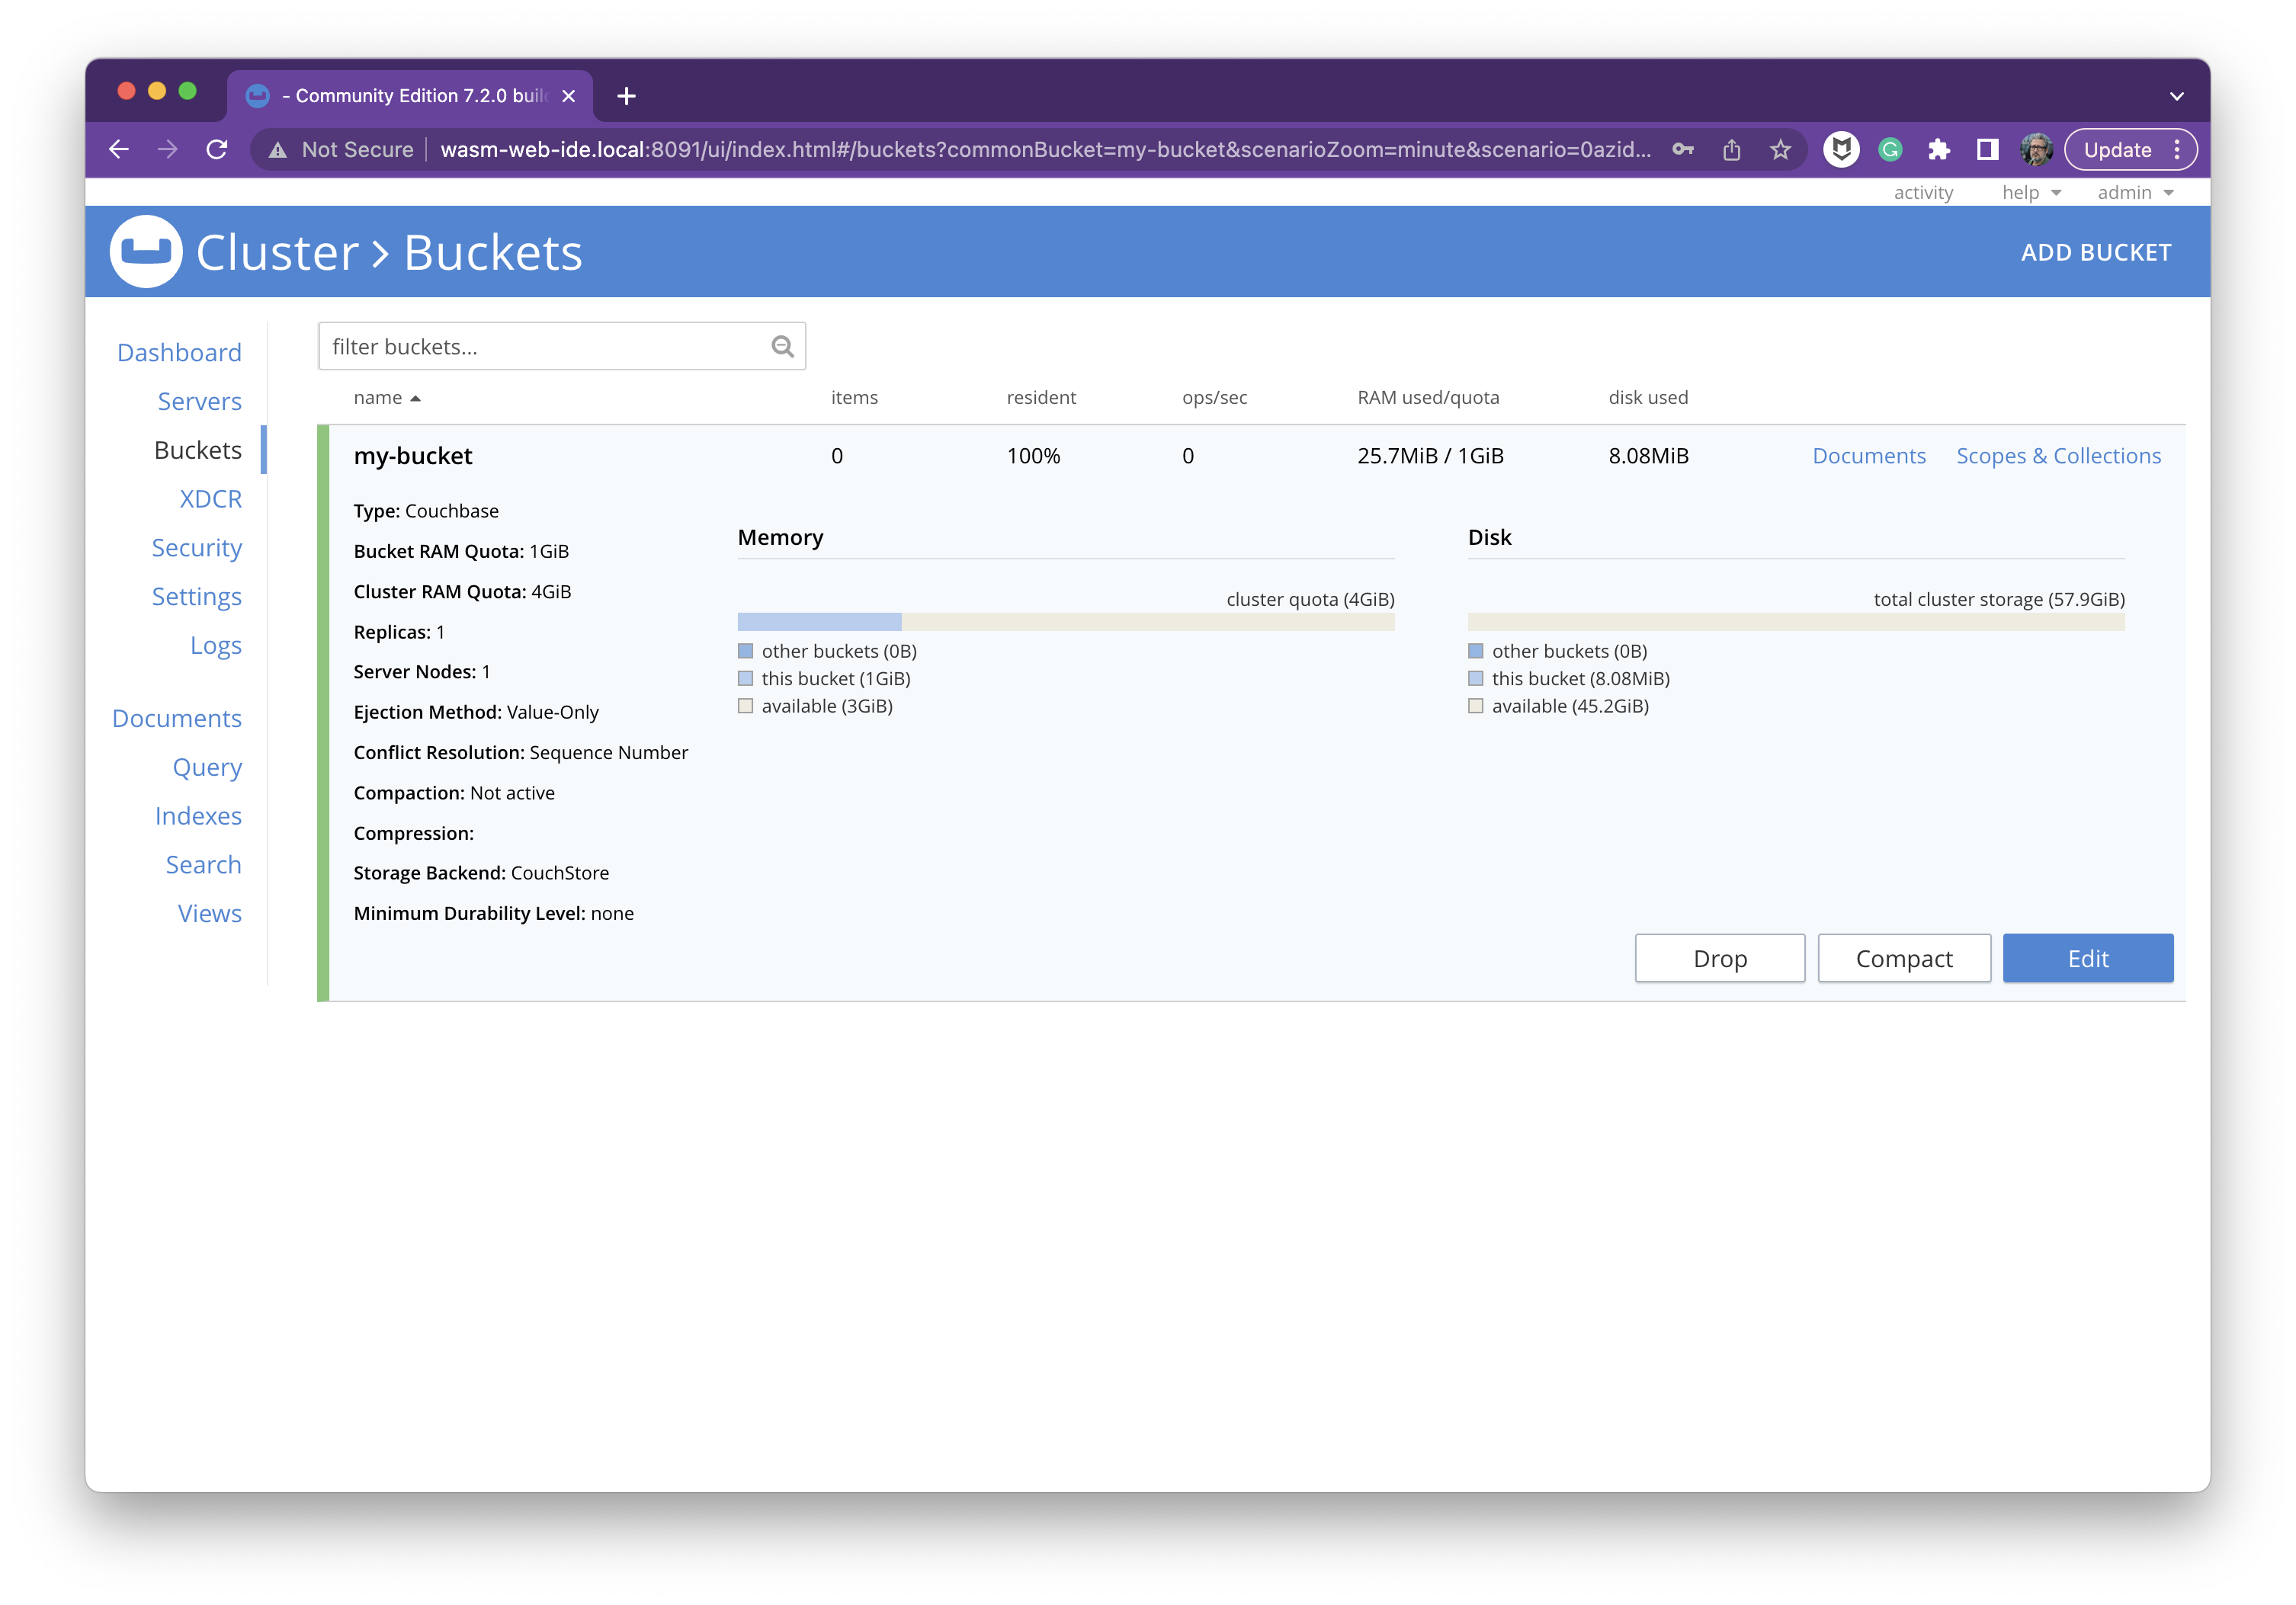
Details of the bucket:
Adding data to the bucket
Before adding any data, we need to create a scope and a collection.
From the documentation of Couchbase: "Scopes and collections allow documents to be categorized and organized, within a bucket. A collection is a data container, defined on Couchbase Server, within a bucket whose type is either Couchbase or Ephemeral. A scope is a mechanism for the grouping of multiple collections."
Create a scope named "paris"
Go to the Query option of the menu and copy-paste this command:
CREATE SCOPE `my-bucket`.paris
And click on the Execute button:

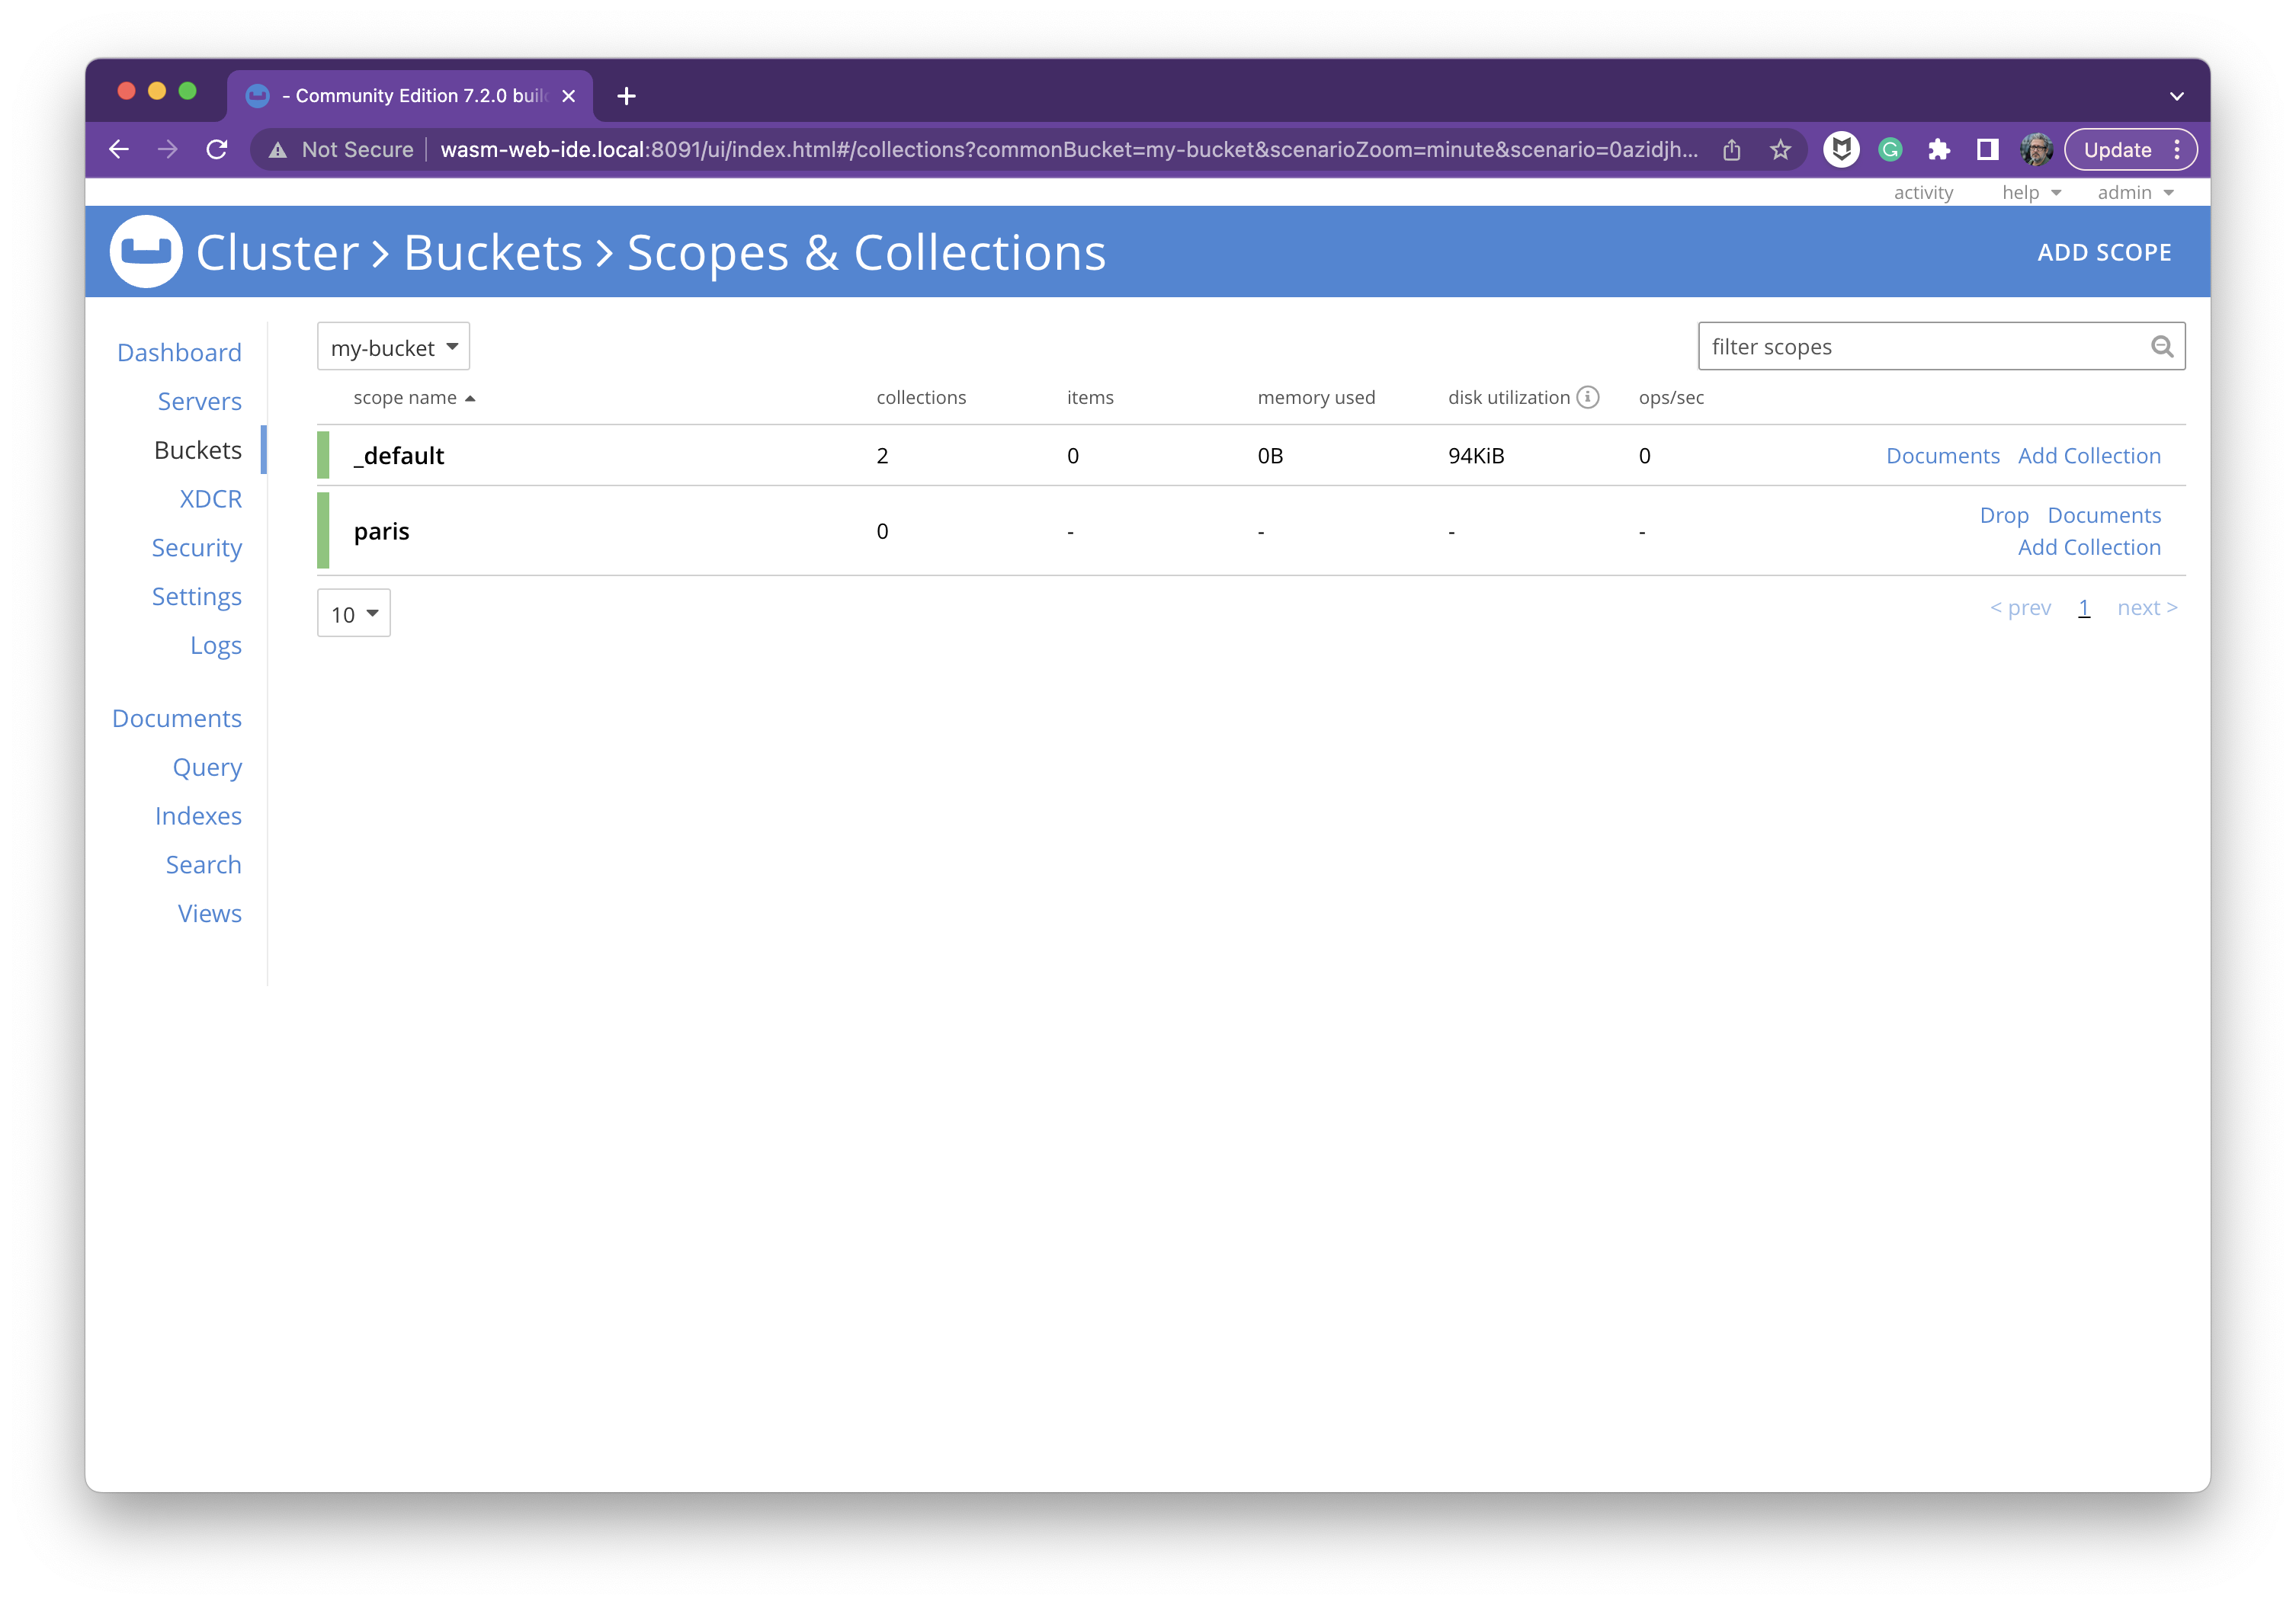
If you go to the list of Buckets, you can check that the new scope (paris) has been created into the my-bucket Couchbase bucket:
Create a collection named "restaurants"
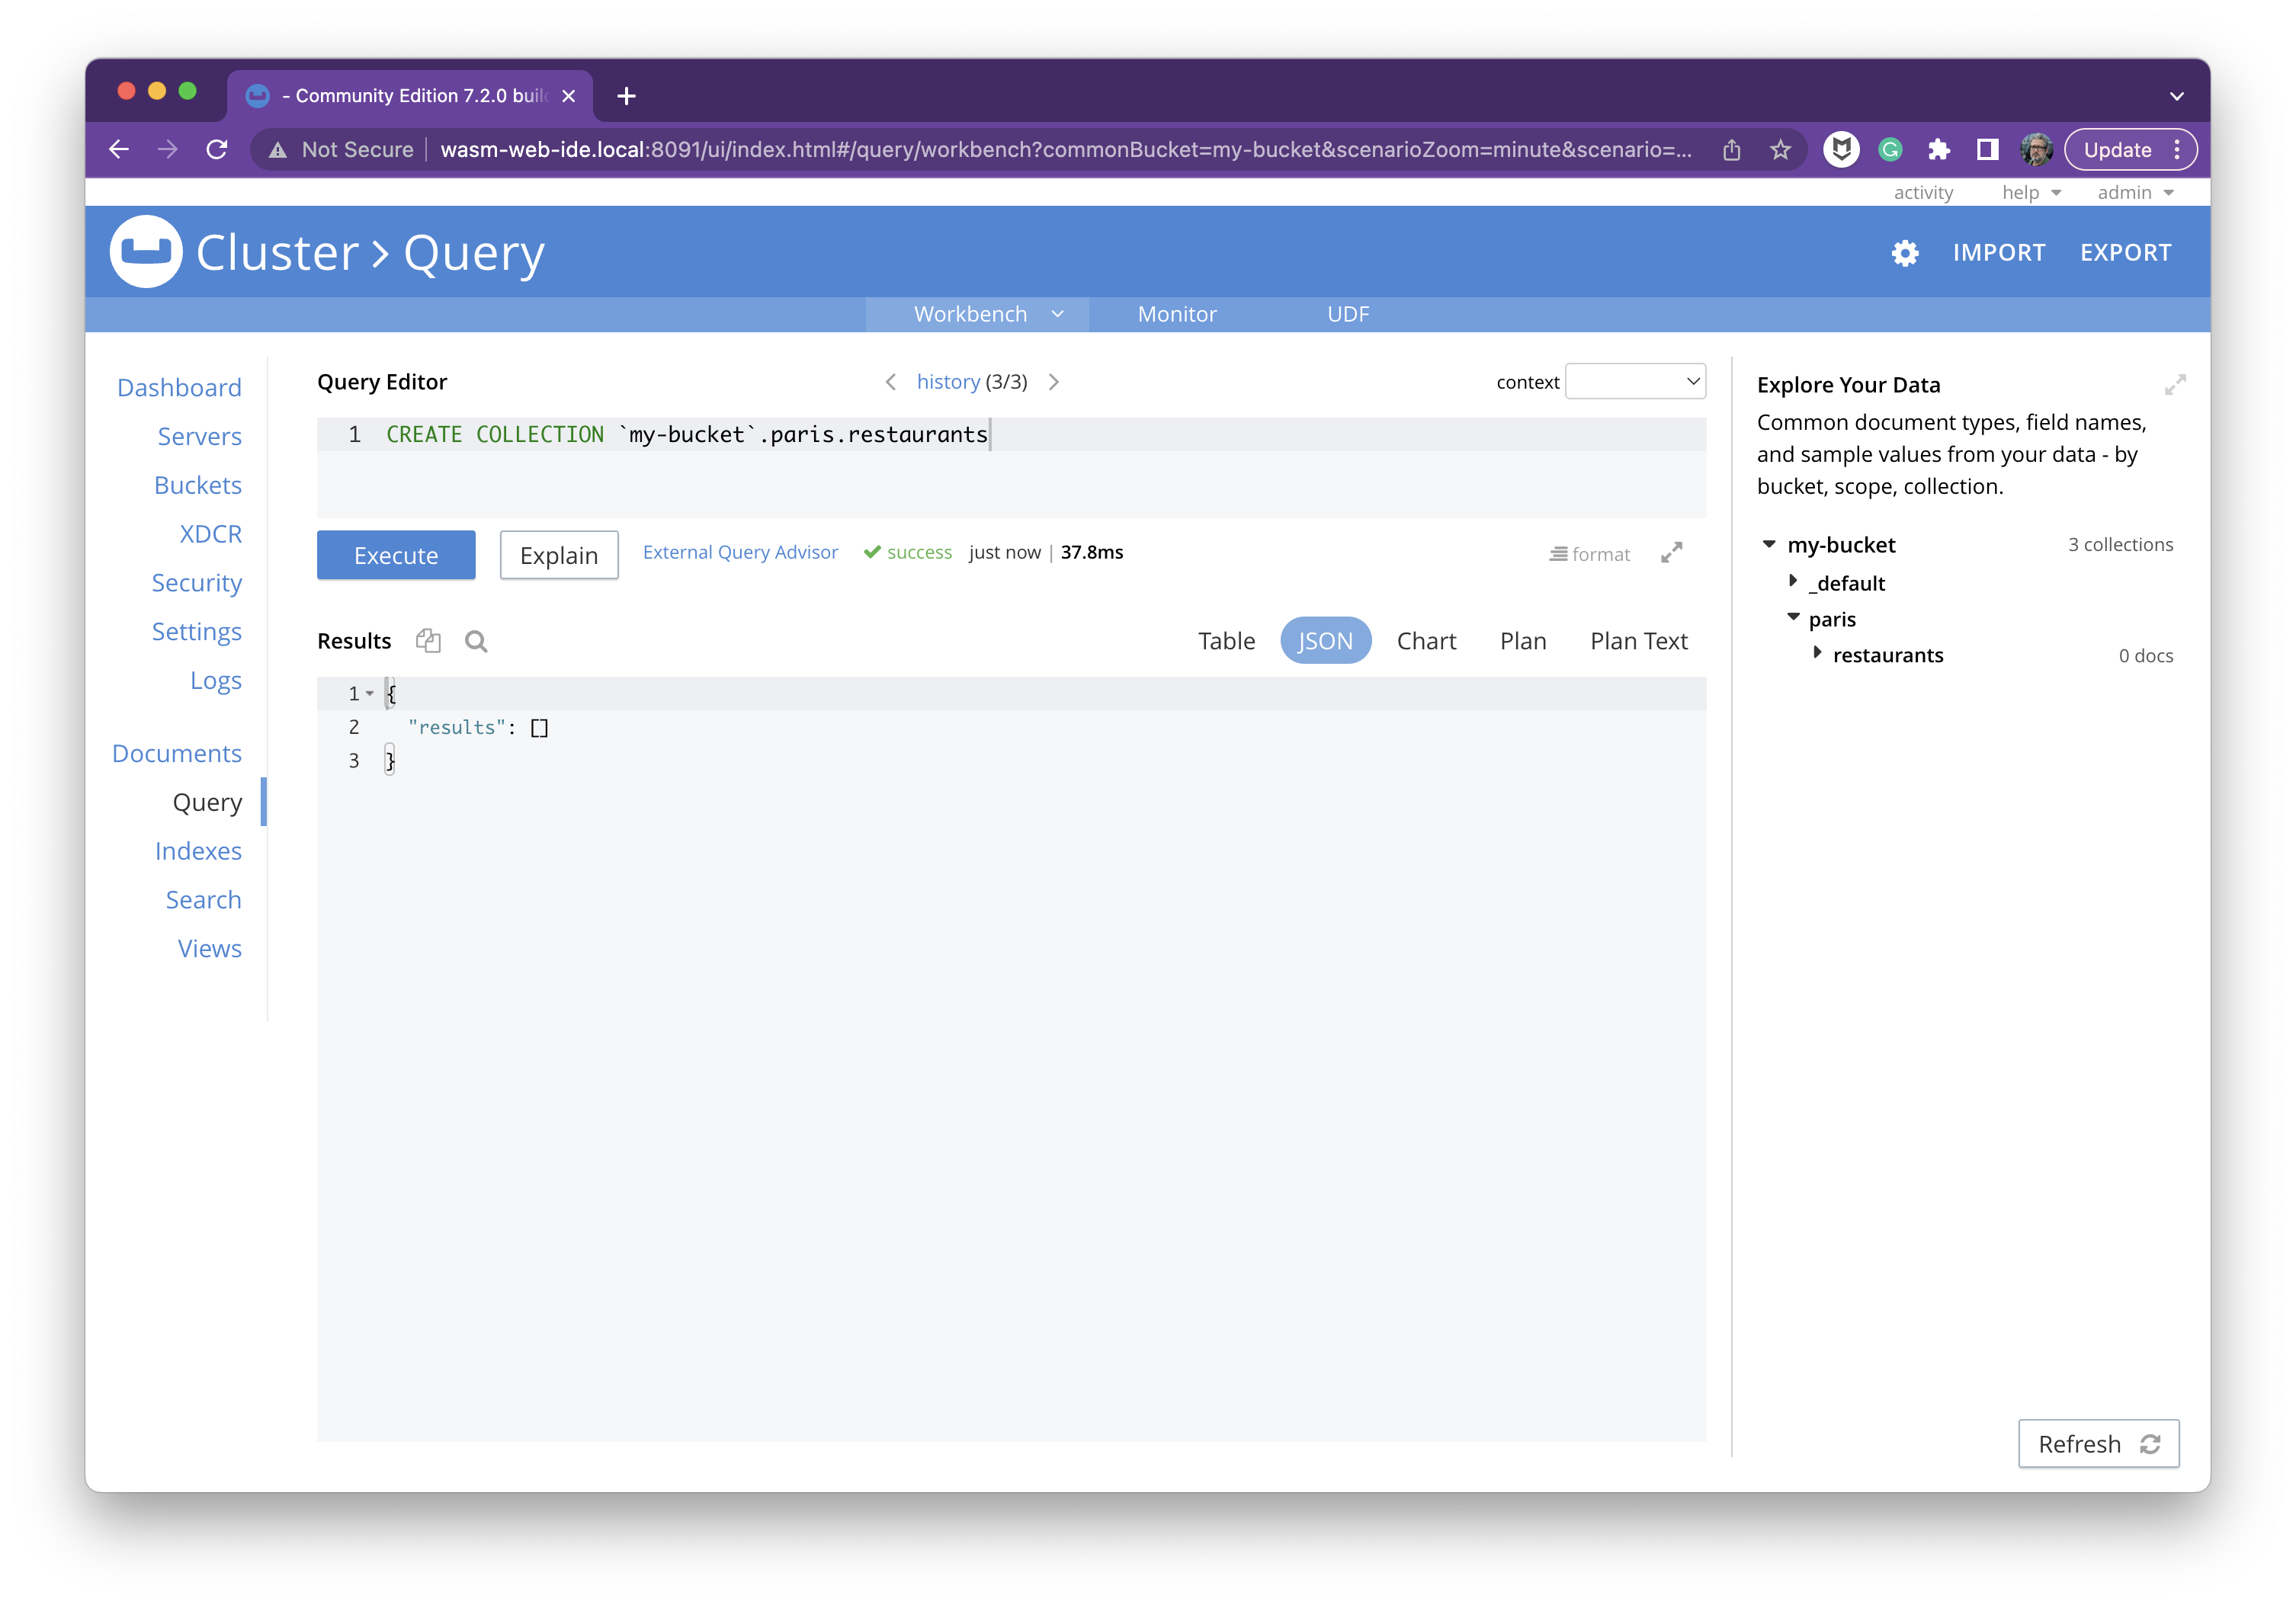
Go to the Query option of the menu and copy-paste this command:
CREATE COLLECTION `my-bucket`.paris.restaurants
And click on the Execute button:
Add some JSON documents to the collection
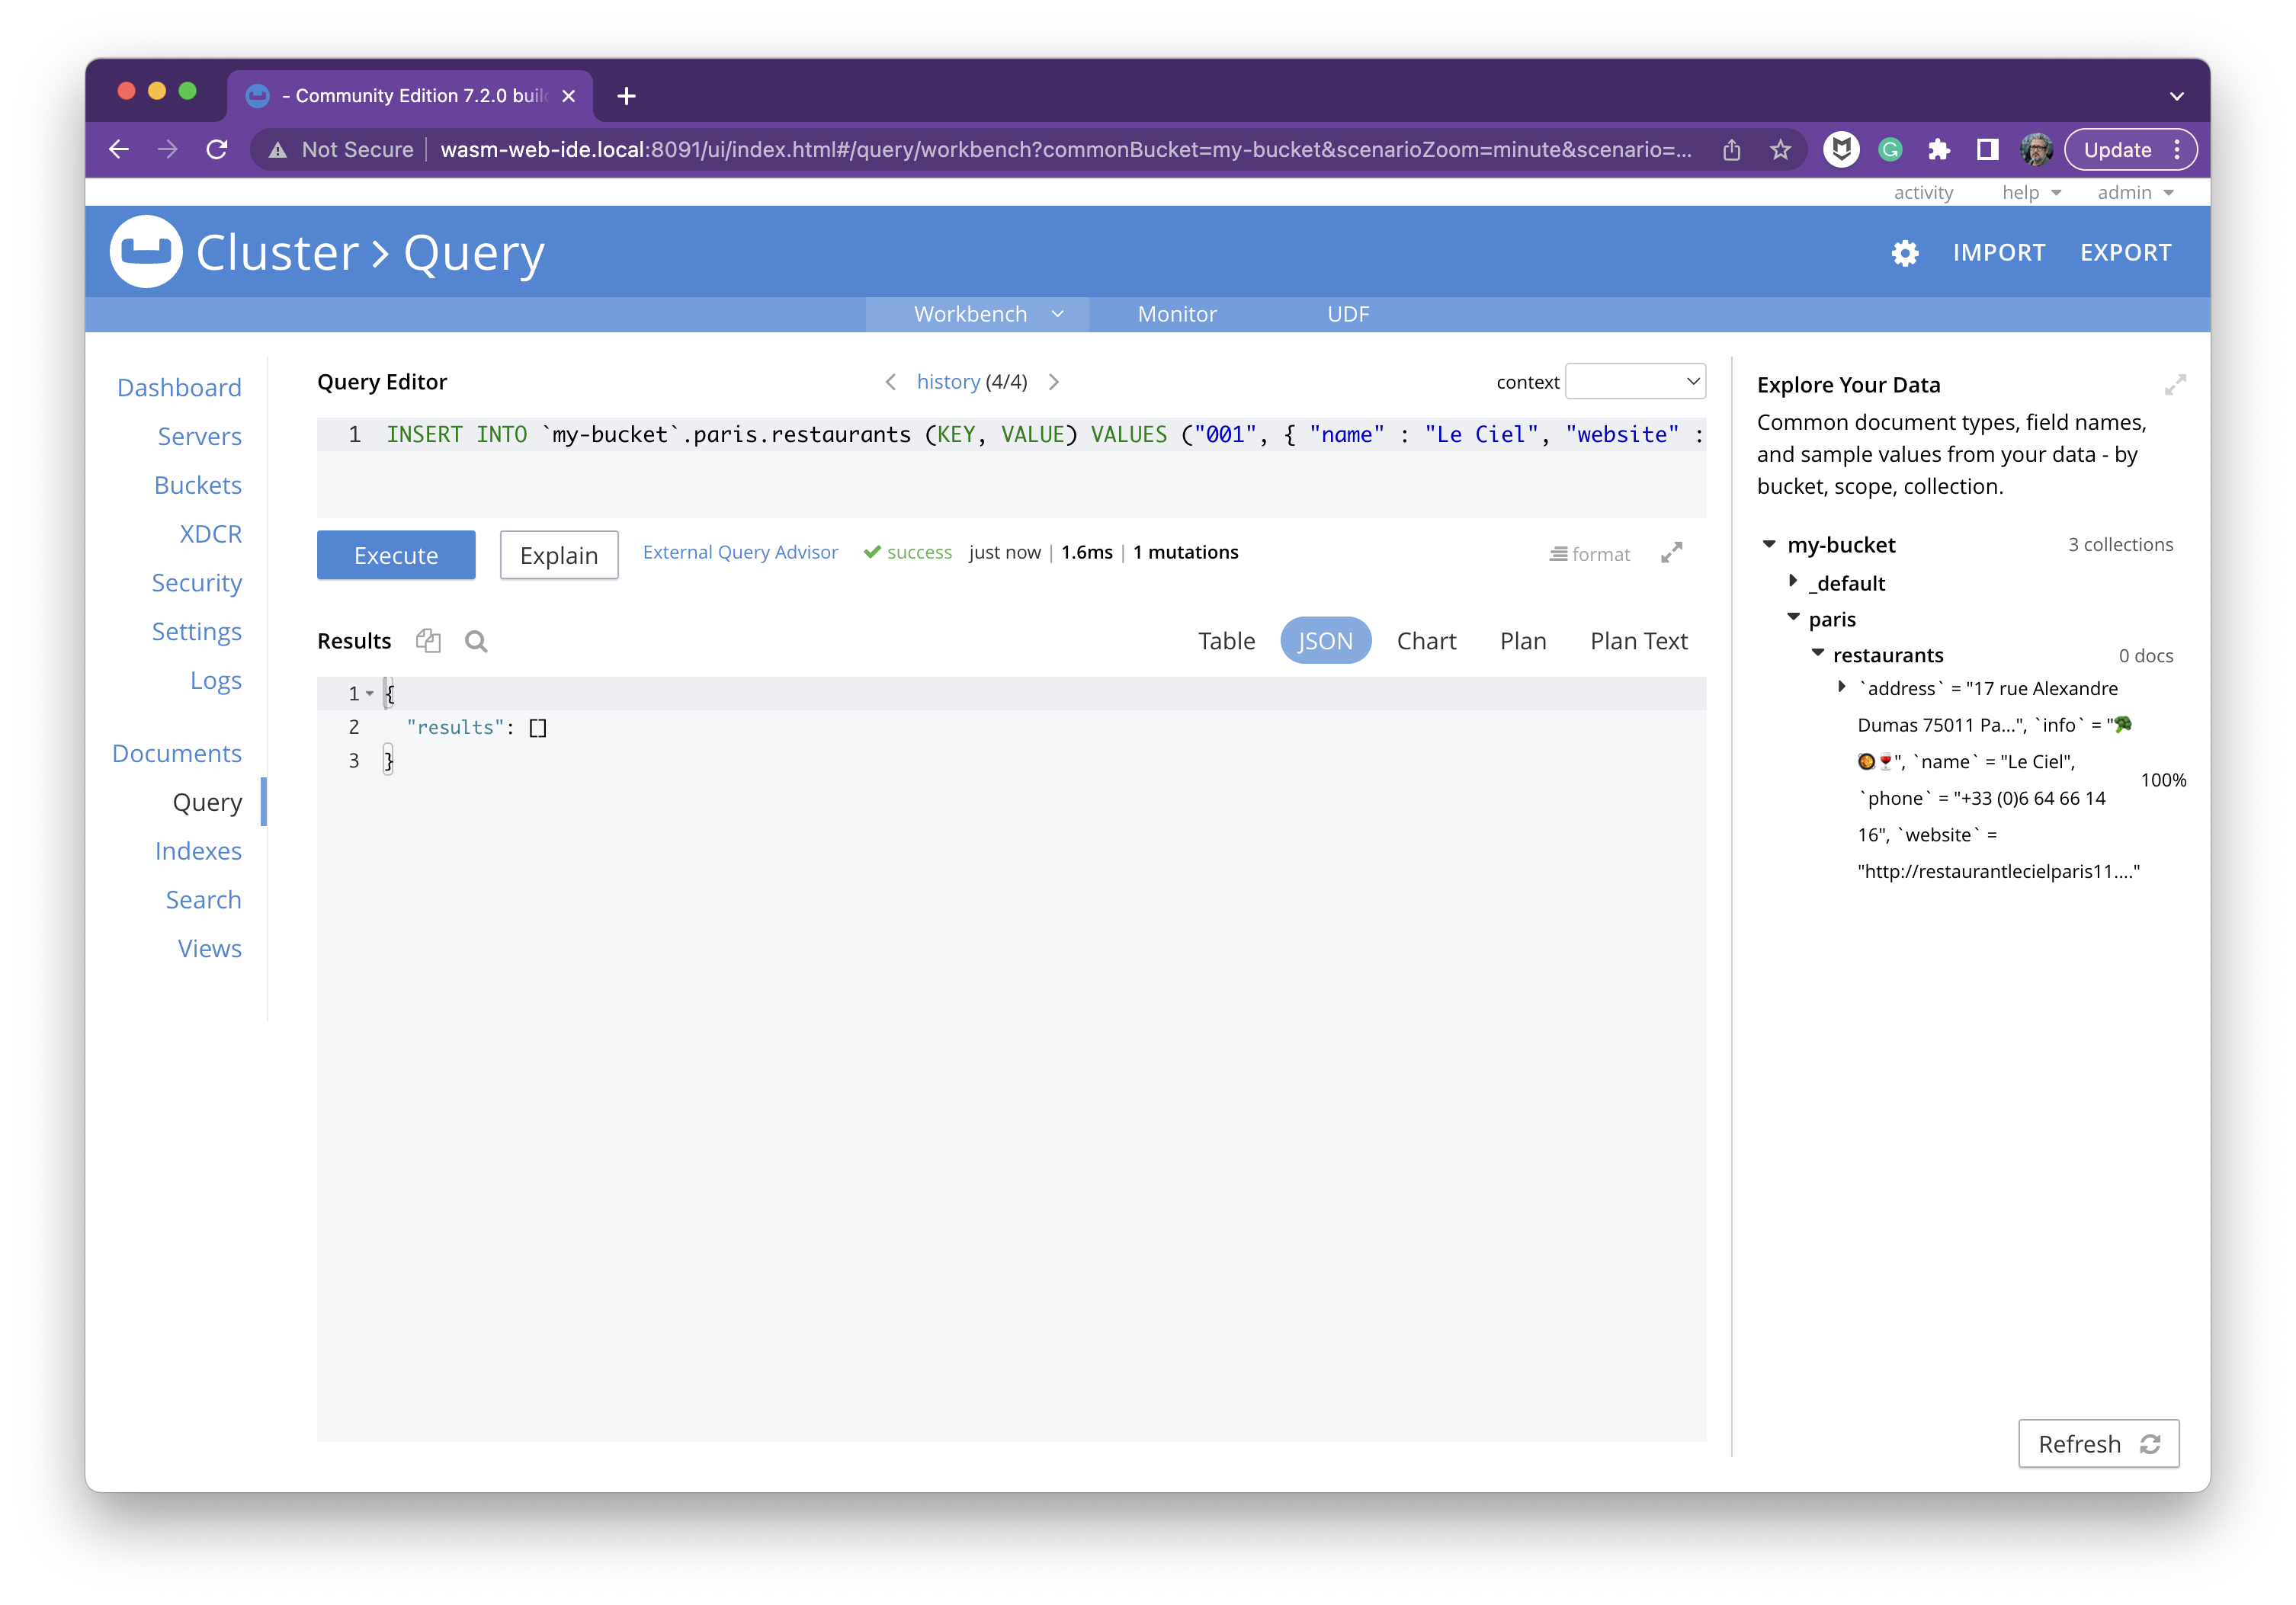
Go to the Query option of the menu and copy-paste these commands:
INSERT INTO `my-bucket`.paris.restaurants (KEY, VALUE) VALUES ("001", { "name" : "Le Ciel", "website" : "http://restaurantlecielparis11.com/", "info":"🥦🥘🍷", "address":"17 rue Alexandre Dumas 75011 Paris", "phone":"+33 (0)6 64 66 14 16" });
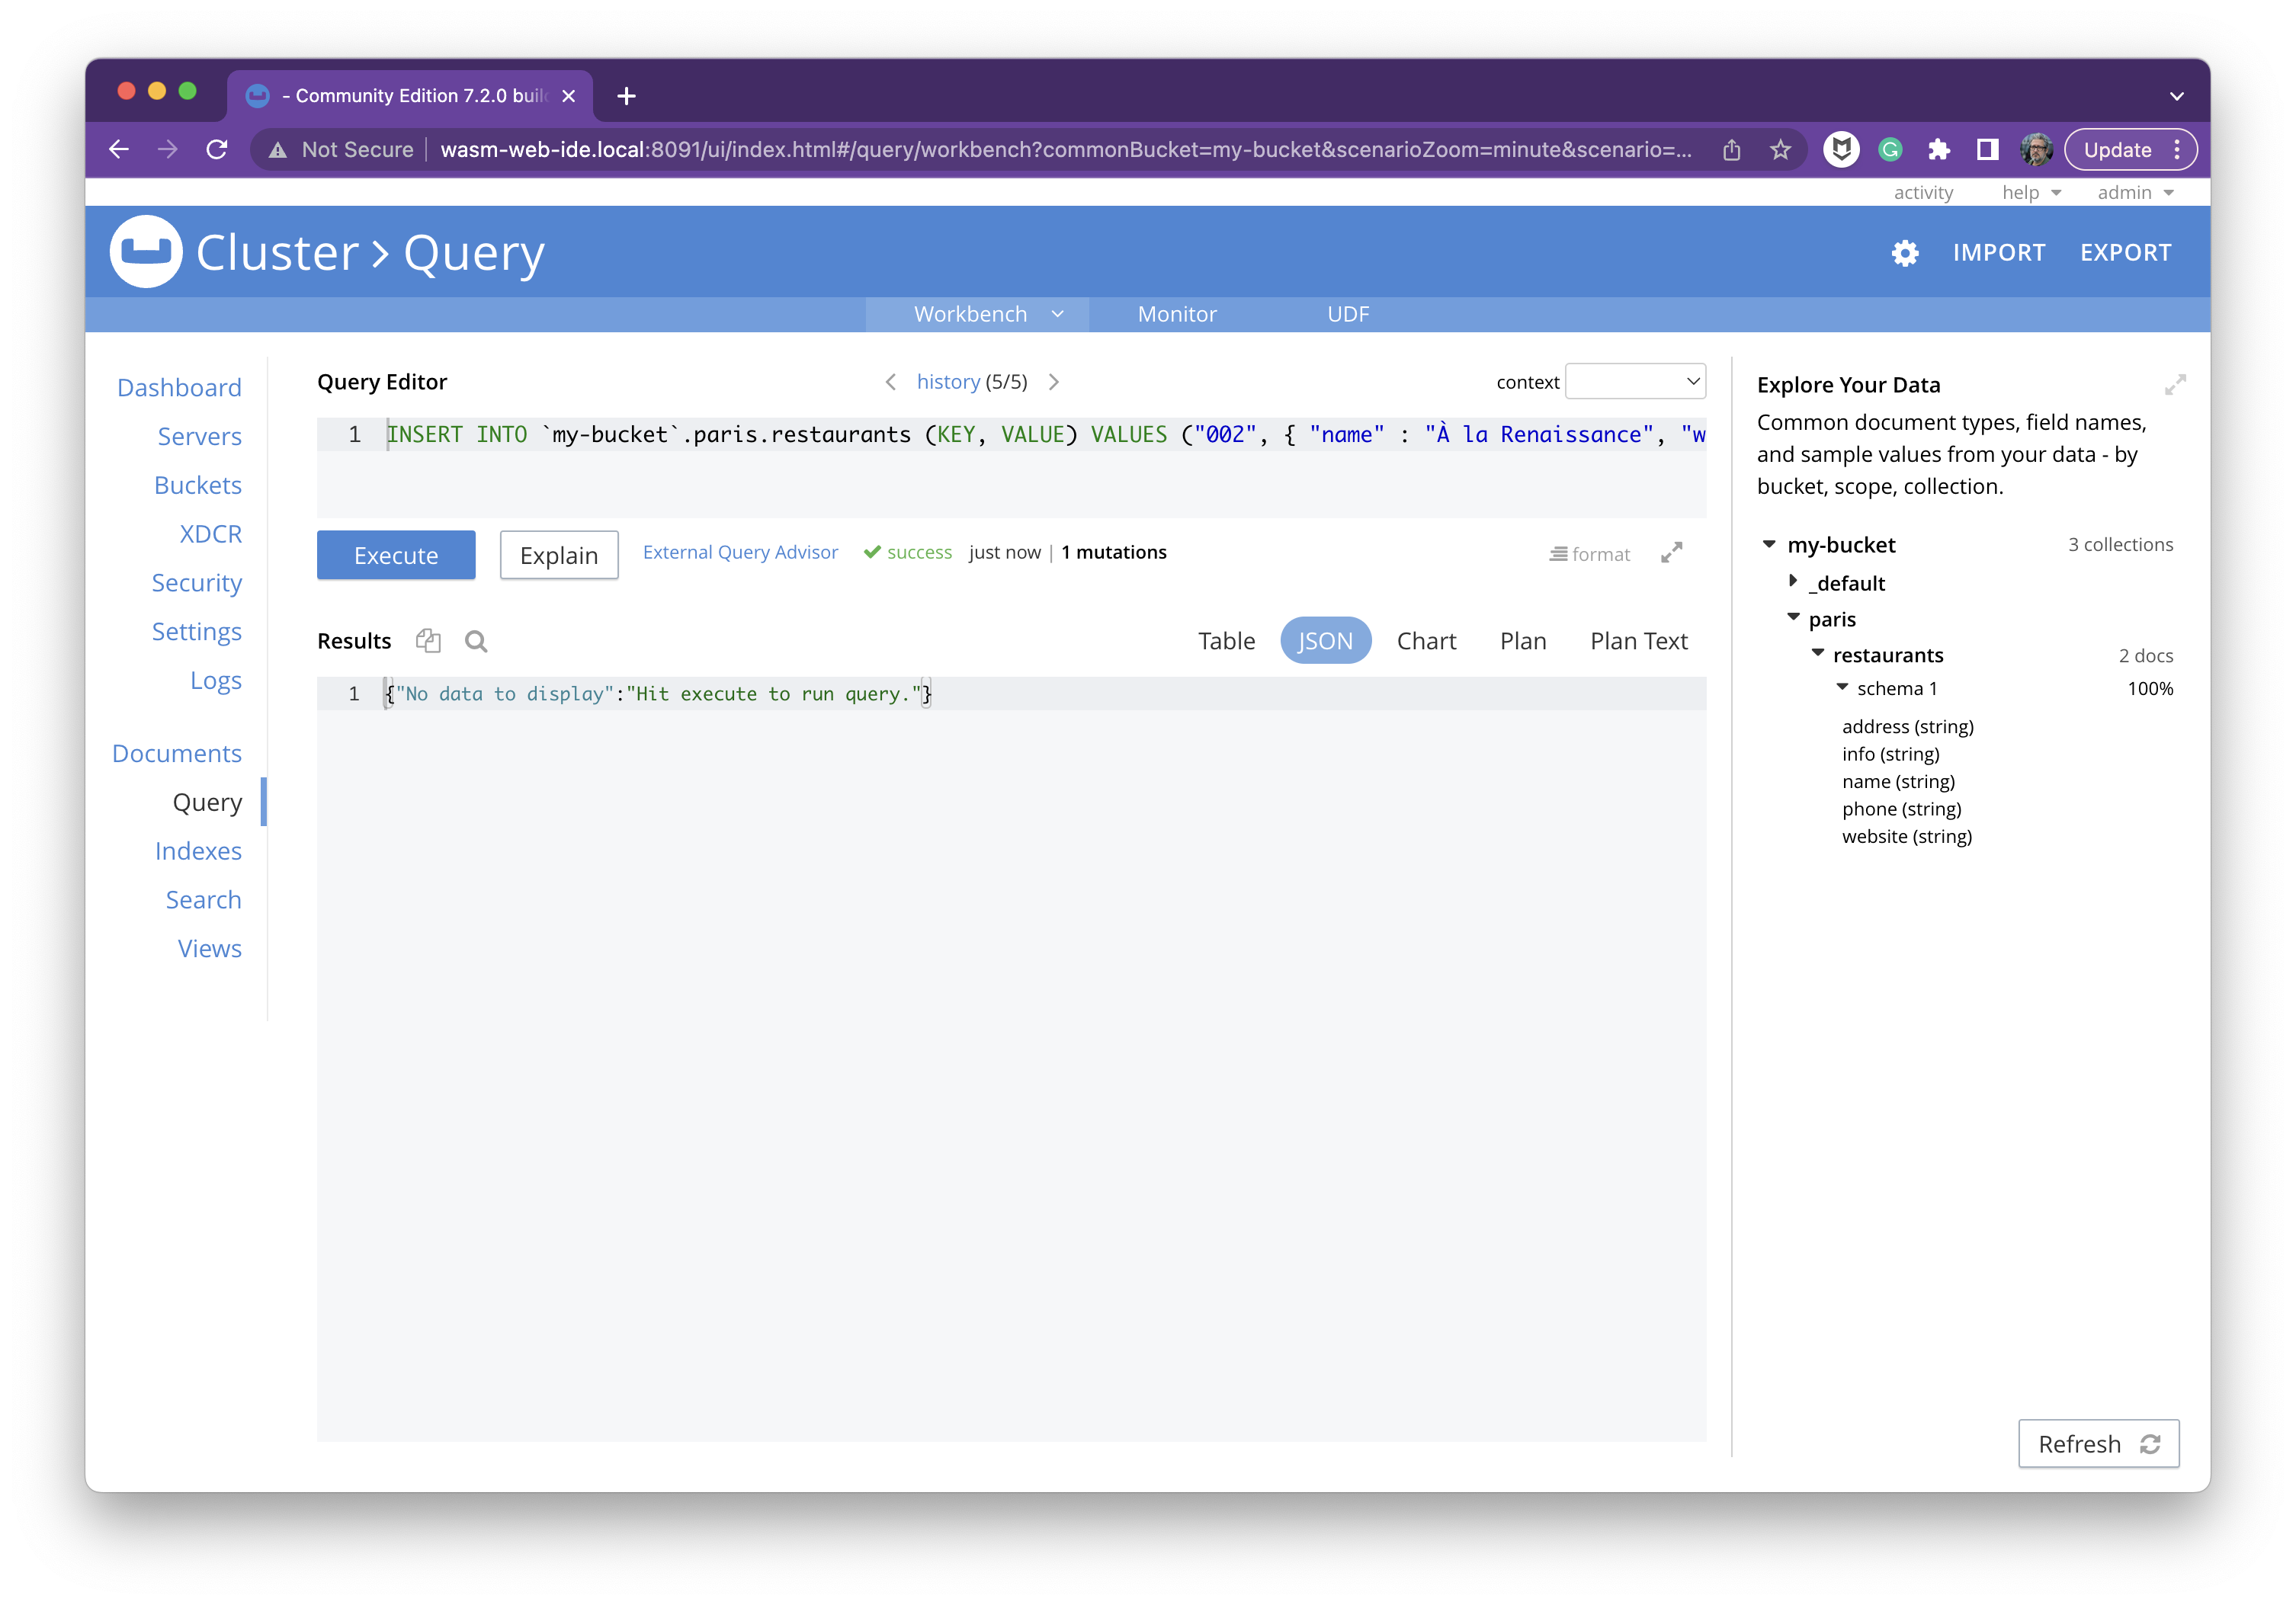
INSERT INTO `my-bucket`.paris.restaurants (KEY, VALUE) VALUES ("002", { "name" : "À la Renaissance", "website" : "https://www.tripadvisor.com/Restaurant_Review-g187147-d786075-Reviews-A_la_Renaissance-Paris_Ile_de_France.html", "info":"🥘🍷", "address":"87 rue de la Roquette, 75011 Paris, France", "phone":"+33 (0)1-43-79-83-09" });
Couchbase can detect the structure of the schema:
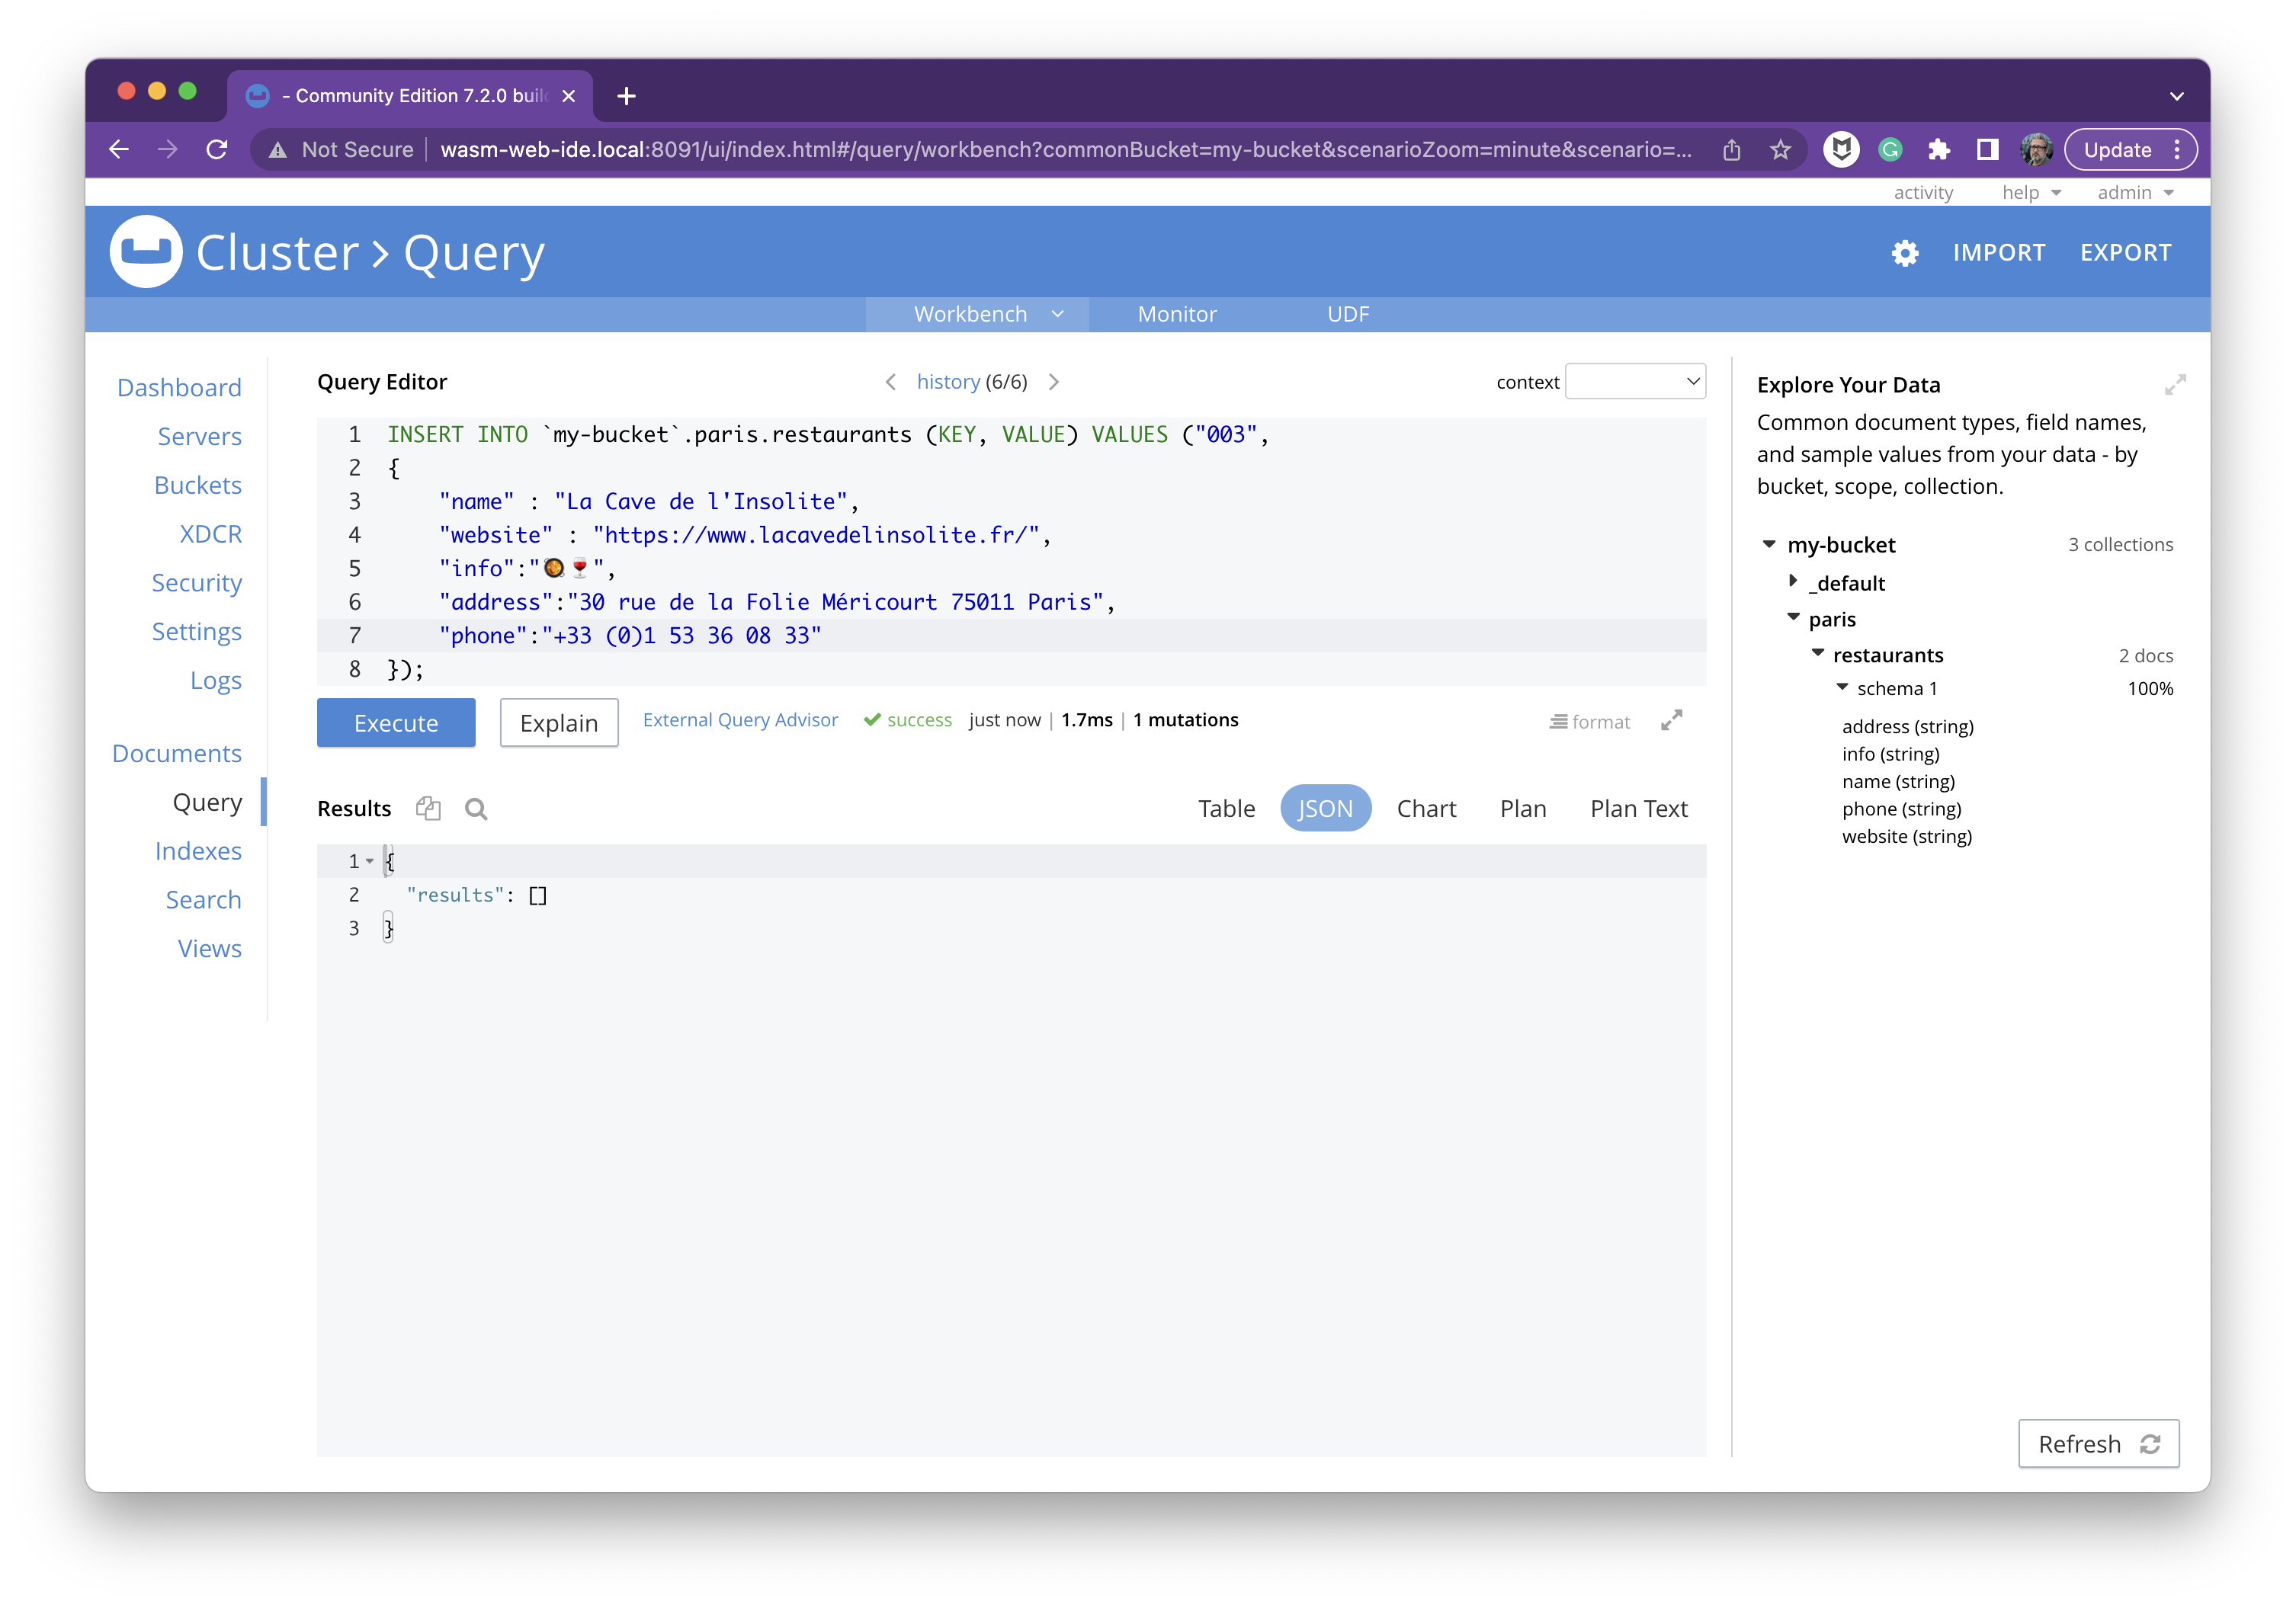
Of course, the query editor can accept multiline strings query:
INSERT INTO `my-bucket`.paris.restaurants (KEY, VALUE) VALUES ("003",
{
    "name" : "La Cave de l'Insolite",
    "website" : "https://www.lacavedelinsolite.fr/",
    "info":"🥘🍷",
    "address":"30 rue de la Folie Méricourt 75011 Paris",
    "phone":"+33 (0)1 53 36 08 33"
});
Use the cbq CLI:
When you installed the Couchbase server, it came with two CLI. We used the first for the cluster provisioning and the creation of the bucket. There is another one named cbq and you can use it to send a query from the command line:
PATH=$PATH:/opt/couchbase/bin

read -r -d '' SCRIPT << EOM
INSERT INTO \`my-bucket\`.paris.restaurants (KEY, VALUE) VALUES ("004",
{
"name" : "Au Nouveau Nez",
"website" : "https://www.facebook.com/aunouveaunez/",
"info":"🥦🥘🍷",
"address":"04 Rue Saint-Maur, 75011 Paris",
"phone":"+33 (0)1 43 55 02 30"
});
EOM

cbq -u admin -p ilovepandas -e "http://localhost:8091" --script="$SCRIPT"
You should get a result like this one:
Connected to : http://localhost:8091/. Type Ctrl-D or \QUIT to exit.

Path to history file for the shell : /home/ubuntu/.cbq_history

INSERT INTO `my-bucket`.paris.restaurants (KEY, VALUE) VALUES ("004",
{
"name" : "Au Nouveau Nez",
"website" : "https://www.facebook.com/aunouveaunez/",
"info":"🥦🥘🍷",
"address":"04 Rue Saint-Maur, 75011 Paris",
"phone":"+33 (0)1 43 55 02 30"
});
{
    "requestID": "4171a51f-31d9-40f2-9b46-fc072539bca5",
    "signature": null,
    "results": [
    ],
    "status": "success",
    "metrics": {
        "elapsedTime": "950.333µs",
        "executionTime": "920.541µs",
        "resultCount": 0,
        "resultSize": 0,
        "serviceLoad": 6,
        "mutationCount": 1
    }
}
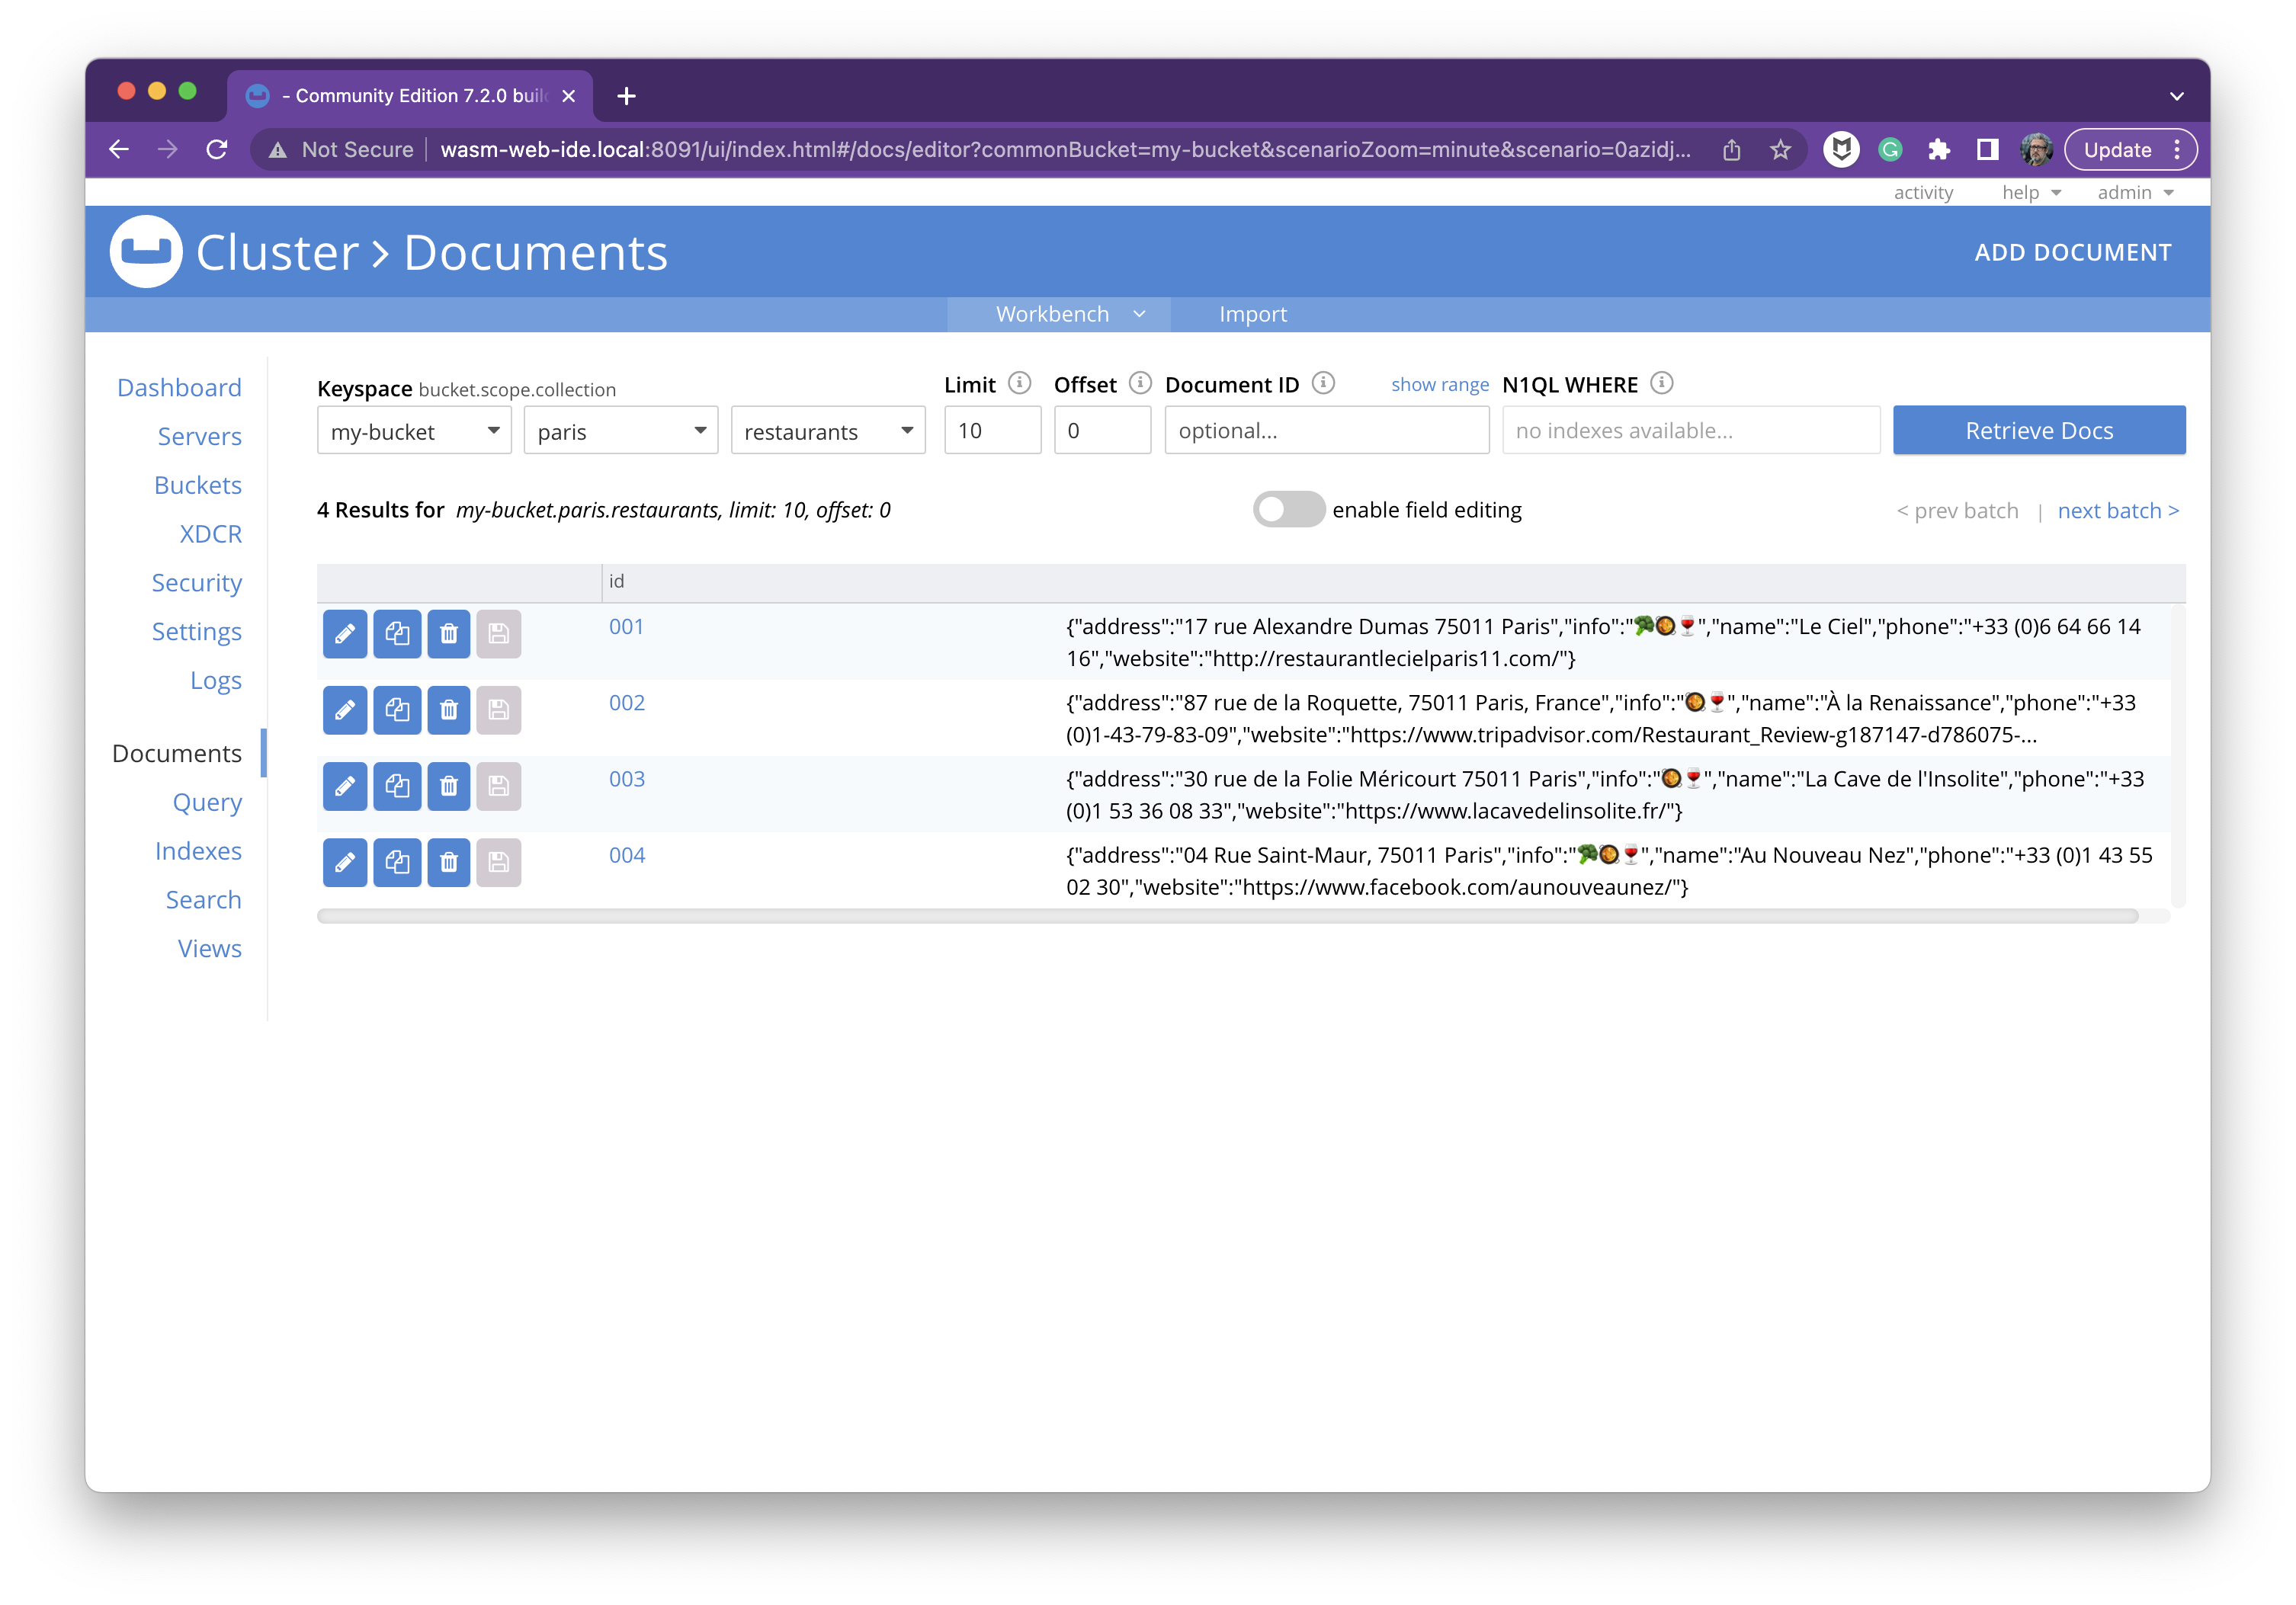
Let's have a look at the list of the documents
Go to the Documents option of the menu:
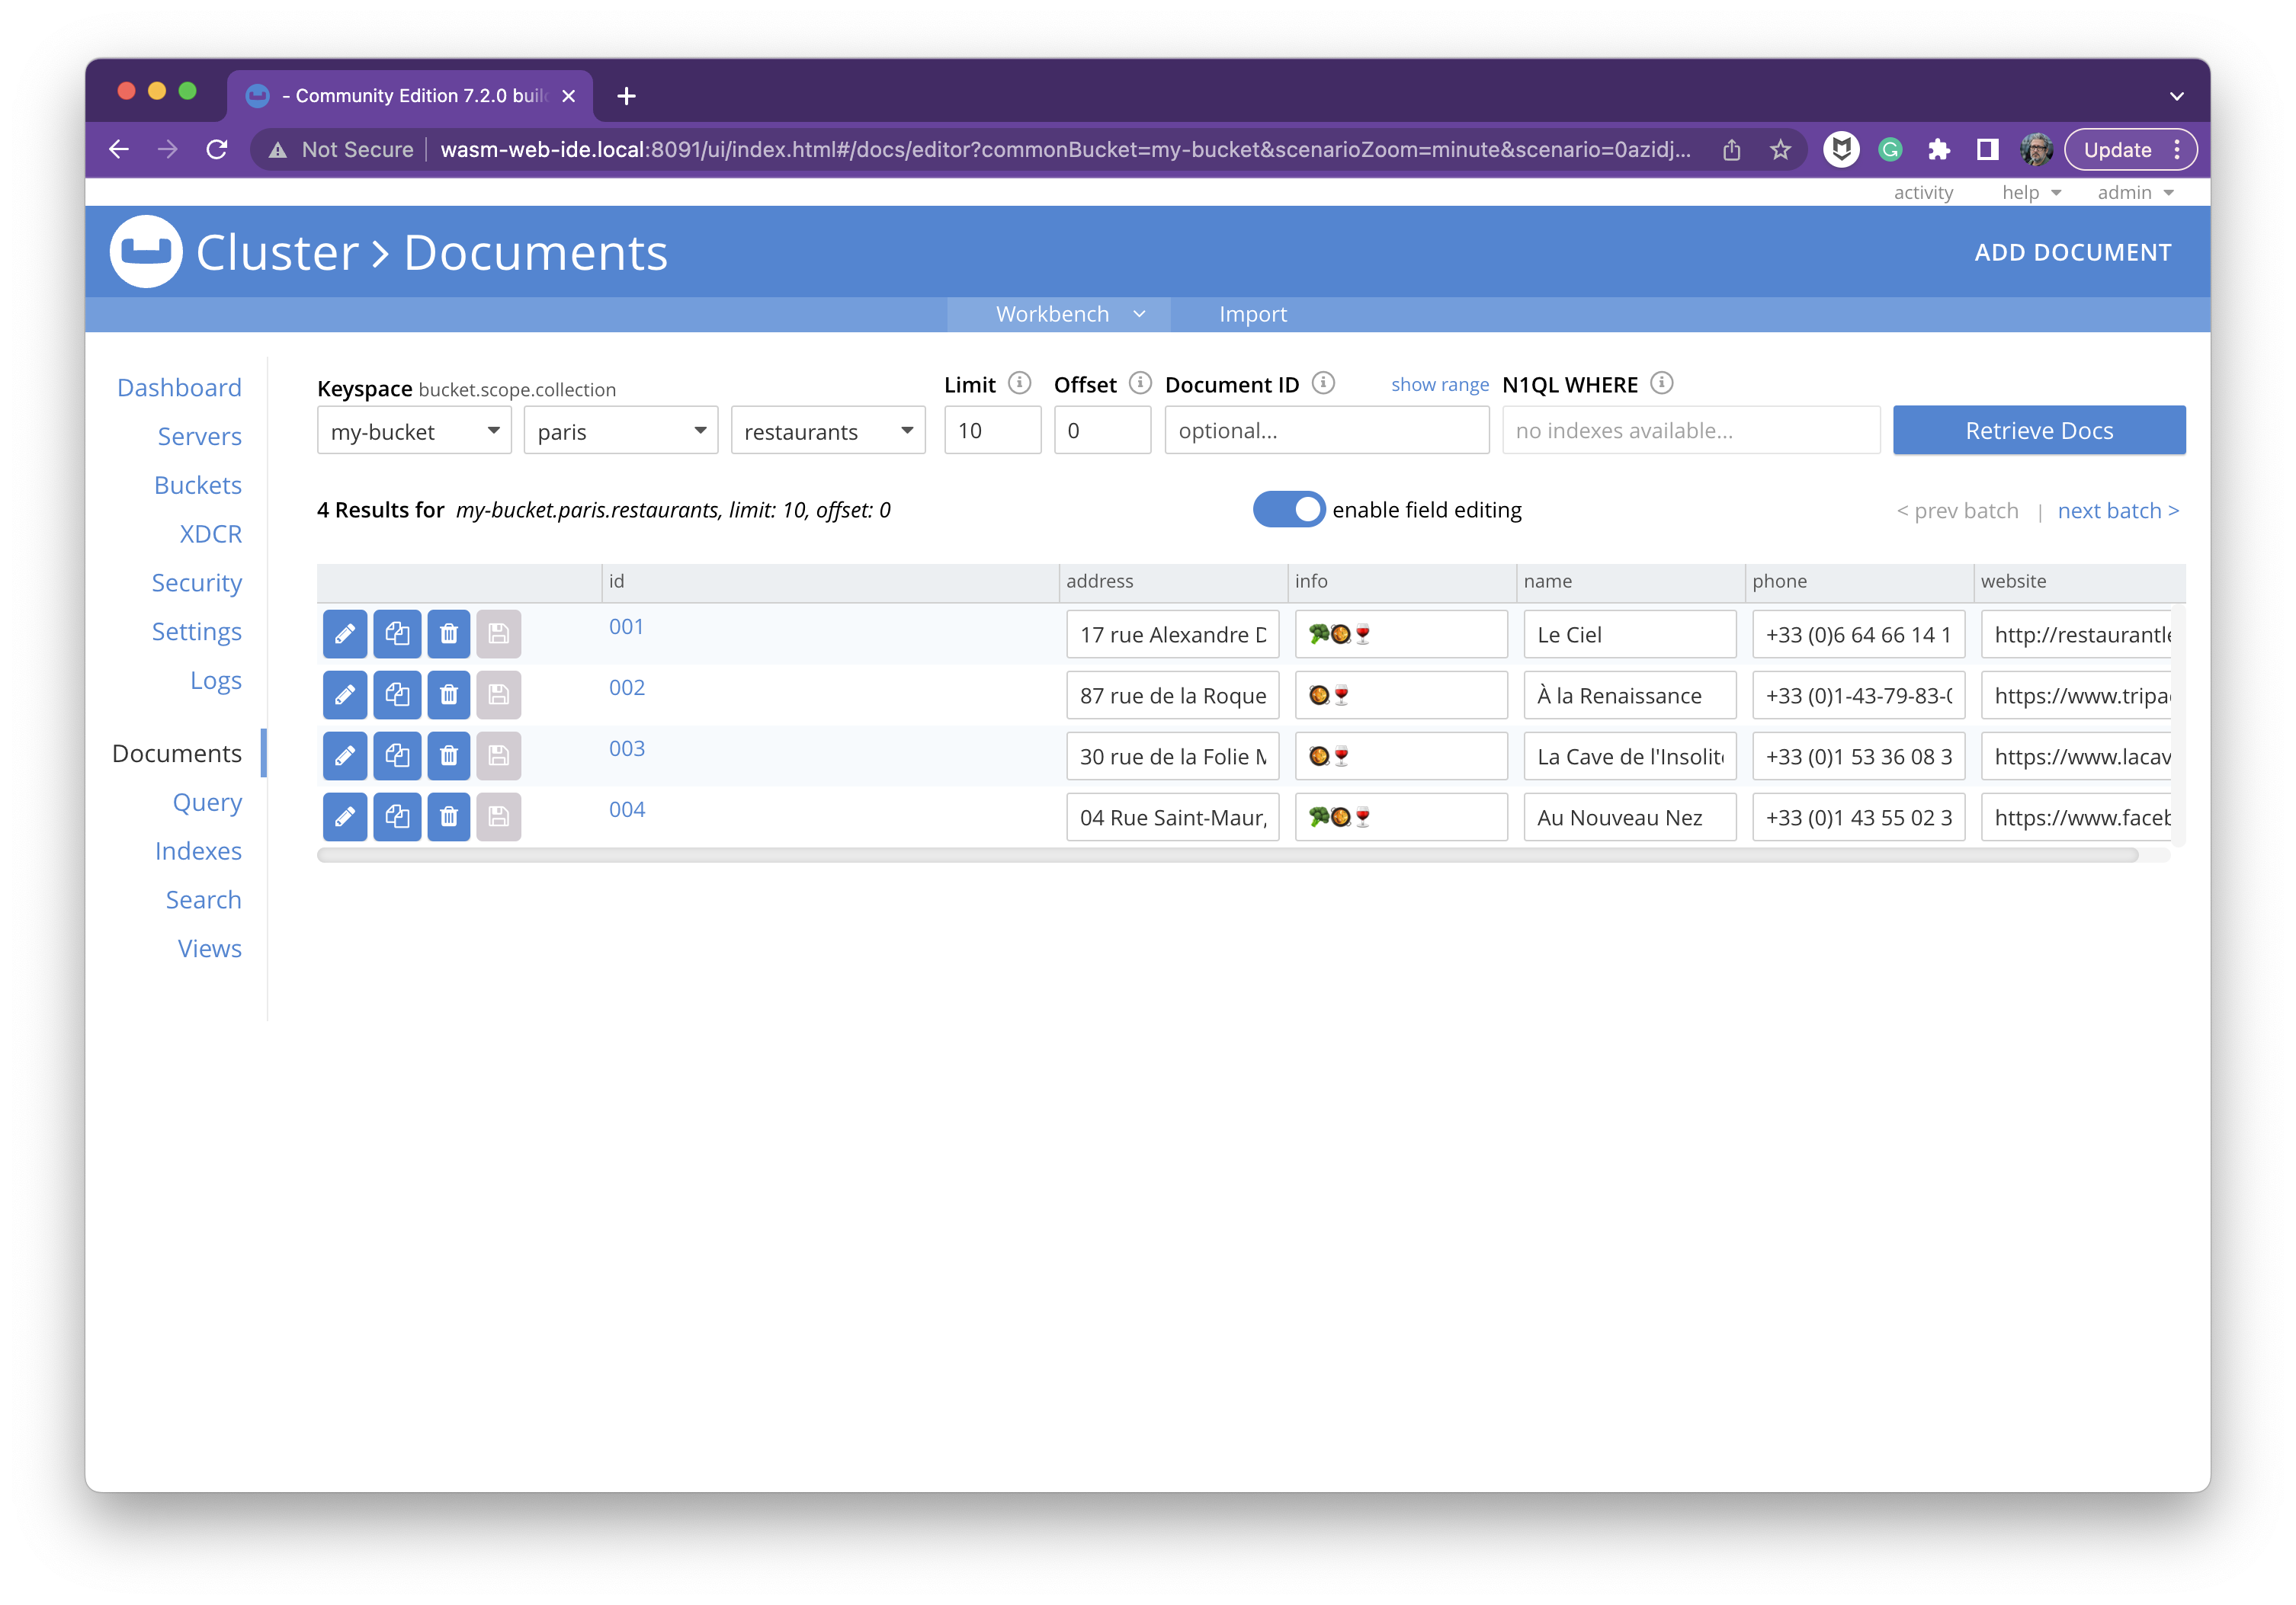
If you activate the "enable field editing" option, you can edit every JSON field of the documents:
Create an index
For query optimization, it's better to create indexes:
SCRIPT='CREATE PRIMARY INDEX `#primary` ON `my-bucket`.`paris`.`restaurants`'
cbq -u admin -p ilovepandas -e "http://localhost:8091" --script="$SCRIPT"
You should get a result like this one:
Connected to : http://localhost:8091/. Type Ctrl-D or \QUIT to exit.

Path to history file for the shell : /home/ubuntu/.cbq_history

 CREATE PRIMARY INDEX `#primary` ON `my-bucket`.`paris`.`restaurants`
{
    "requestID": "443165d2-c791-4734-b8ea-18fdec962de9",
    "signature": null,
    "results": [
    ],
    "status": "success",
    "metrics": {
        "elapsedTime": "2.109443482s",
        "executionTime": "2.109390357s",
        "resultCount": 0,
        "resultSize": 0,
        "serviceLoad": 6
    }
}
Query the "restaurants" collection
Of course, you can either use the CLI or the web administration console.
Get all the restaurants
Run this command:
QUERY='SELECT * FROM `my-bucket`.`paris`.`restaurants`'
cbq -u admin -p ilovepandas -e "http://localhost:8091" --script="$QUERY"
You should get this result:
Connected to : http://localhost:8091/. Type Ctrl-D or \QUIT to exit.

Path to history file for the shell : /home/ubuntu/.cbq_history

SELECT * FROM `my-bucket`.`paris`.`restaurants`
{
    "requestID": "91546c4b-fbbd-4f6b-9349-422b10983277",
    "signature": {
        "*": "*"
    },
    "results": [
    {
        "restaurants": {
            "address": "17 rue Alexandre Dumas 75011 Paris",
            "info": "🥦🥘🍷",
            "name": "Le Ciel",
            "phone": "+33 (0)6 64 66 14 16",
            "website": "http://restaurantlecielparis11.com/"
        }
    },
    {
        "restaurants": {
            "address": "87 rue de la Roquette, 75011 Paris, France",
            "info": "🥘🍷",
            "name": "À la Renaissance",
            "phone": "+33 (0)1-43-79-83-09",
            "website": "https://www.tripadvisor.com/Restaurant_Review-g187147-d786075-Reviews-A_la_Renaissance-Paris_Ile_de_France.html"
        }
    },
    {
        "restaurants": {
            "address": "30 rue de la Folie Méricourt 75011 Paris",
            "info": "🥘🍷",
            "name": "La Cave de l'Insolite",
            "phone": "+33 (0)1 53 36 08 33",
            "website": "https://www.lacavedelinsolite.fr/"
        }
    },
    {
        "restaurants": {
            "address": "04 Rue Saint-Maur, 75011 Paris",
            "info": "🥦🥘🍷",
            "name": "Au Nouveau Nez",
            "phone": "+33 (0)1 43 55 02 30",
            "website": "https://www.facebook.com/aunouveaunez/"
        }
    }
    ],
    "status": "success",
    "metrics": {
        "elapsedTime": "3.836821ms",
        "executionTime": "3.765196ms",
        "resultCount": 4,
        "resultSize": 1215,
        "serviceLoad": 6
    }
}
Get only the restaurants with a vegan option (🥦)
Run this command:
QUERY='SELECT * FROM `my-bucket`.`paris`.`restaurants` WHERE info="🥦🥘🍷"'
cbq -u admin -p ilovepandas -e "http://localhost:8091" --script="$QUERY"
You should get this result, with only two restaurants:
Connected to : http://localhost:8091/. Type Ctrl-D or \QUIT to exit.

Path to history file for the shell : /home/ubuntu/.cbq_history

SELECT * FROM `my-bucket`.`paris`.`restaurants` WHERE info="🥦🥘🍷"
{
    "requestID": "aec4d5e6-72da-42d9-8c50-770678d52cbe",
    "signature": {
        "*": "*"
    },
    "results": [
    {
        "restaurants": {
            "address": "17 rue Alexandre Dumas 75011 Paris",
            "info": "🥦🥘🍷",
            "name": "Le Ciel",
            "phone": "+33 (0)6 64 66 14 16",
            "website": "http://restaurantlecielparis11.com/"
        }
    },
    {
        "restaurants": {
            "address": "04 Rue Saint-Maur, 75011 Paris",
            "info": "🥦🥘🍷",
            "name": "Au Nouveau Nez",
            "phone": "+33 (0)1 43 55 02 30",
            "website": "https://www.facebook.com/aunouveaunez/"
        }
    }
    ],
    "status": "success",
    "metrics": {
        "elapsedTime": "5.441147ms",
        "executionTime": "5.360231ms",
        "resultCount": 2,
        "resultSize": 558,
        "serviceLoad": 6
    }
}
🎉 That's it for this Sunday morning (CEST time). Next time we'll see how to use the Couchbase Go SDK to use our restaurant collection.