
Create a Java GenAI Stack
With Docker Compose, Ollama, LangChain4J and Vert-x


In this series, "AI Experiments with Ollama on a Pi5," I explained that you could run LLM locally, even on a small machine. This is possible using "small" LLMs like DeepSeek Coder, TinyLlama, TinyDolphin, etc.
I ran all my examples with Docker Compose to orchestrate the running of Ollama (to serve the LLM), the downloading of the LLM and the GenAI application (the API to query the LLM and the front end to use the API).
My previous experiments were developed in Python and JavaScript. Today, I will explain how to create a Java GenAI Stack with Docker Compose, Ollama, Vert-x and LangChain4J.
This is the structure of the project:
.
├── compose.yaml
├── Dockerfile
├── pom.xml
├── src
│  └── main
│     └── java
│        └── garden
│           └── bots
│              └── genai
│                 └── MainVerticle.java
└── webroot
   ├── css
   │  └── bulma.min.css
   ├── index.html
   └── js
      └── markdown-it.min.js
The
Dockerfileis used to dockerize the Java ApplicationThe
compose.yamlfile allows Docker Compose to orchestrate all the components of the stack.
Let's see the content of the compose.yaml file.
You can find all the source code of the stack in this repository: https://github.com/genai-for-all/java-docker-genai-stack
The compose file
The compose file contains 3 services: ollama, download-llm and web-app:
services:

  ollama:
    profiles: [container]
    image: ollama/ollama:0.1.28
    volumes:
      - ollama-data:/root/.ollama
    ports:
      - 11434:11434

  download-llm:
    profiles: [container]
    image: curlimages/curl:8.6.0
    entrypoint: ["curl", "ollama:11434/api/pull", "-d", "{\"name\": \"${LLM}\"}"]
    depends_on:
      ollama:
        condition: service_started

  web-app:
    profiles: [container, webapp]
    build:
      context: .
      dockerfile: Dockerfile
    environment:
      - OLLAMA_BASE_URL=${OLLAMA_BASE_URL}
      - LLM=${LLM}
      - HTTP_PORT=8888
    ports:
      - 8888:8888
    develop:
      watch:
        - action: rebuild
          path: ./webroot
        - action: rebuild
          path: ./src

volumes:
  ollama-data:
The Ollama service will start an Ollama server and will store all the data in a volume:
ollama-dataThe
download-llmservice will use a curl image to request that Ollama download the LLM of your choice (by setting theLLMenvironment variable). This service starts only if the Ollama service is started. The first time you start the stack, Ollama will download the LLM and store the data in the volume namedollama-data. Next time, Ollama will detect that the LLM has already been downloaded.The
web-appservice is the GenAI application (Vert-x + LangChain4J). The first time you start the stack, Docker Compose will build the image of the Java application thanks to theDockerfileand start the application.The environment section defines the environment variables needed to run the application (the URL of the Ollama server, the name of the LLM, and the HTTP port of the web application).
The develop section lets you use the
docker compose watchcommand to automatically update your running Compose services as you edit and save your code. (See documentation: use compose watch).
Remark about the compose profiles
You certainly noticed that I used the profiles notation with the Docker compose services:
ollama:
  profiles: [container]
download-llm:
  profiles: [container]
web-app:
  profiles: [container, webapp]
Using the profiles allows you to select the services you want to run. Thanks to that, I can start the Docker Compose Stack in two ways:
Run all services in containers:
If I want to start all the services in containers, including the Ollama server, I will use the following command with the "container" profile and the deepseek-coder LLM:
LLM=deepseek-coder OLLAMA_BASE_URL=http://ollama:11434 docker compose \
--profile container up
Docker compose uses its own network, then the DNS name of the Ollama service is the name of the compose service, then the
OLLAMA_BASE_URLwill behttp://ollama:11434(where11434is the default HTTP port of Ollama).
Run the web application in a container and use a native installation of Ollama:
If you have a Mac M1 (or M2 or M3) workstation and want to benefit from the GPU's speed, you will want to start Ollama outside a container (that means you need to install Ollama with its installer: https://ollama.com/download) and the web application into a container. In this case, I will use the following commands:
First, I will tell Ollama to download the deepseek-coder LLM:
LLM=deepseek-coder ollama pull ${LLM}
Then, I will start the compose stack with the "webapp" profile:
LLM=deepseek-coder OLLAMA_BASE_URL=http://host.docker.internal:11434 \
docker compose --profile webapp up
✋ The Ollama "native" install is listening on localhost:11434, to allow an application in a container to query localhost, you need to use host.docker.internal instead of localhost.
Now, let's have a look at the Dockerfile.
The Dockerfile
The Dockerfile of the GenAI stack is used to dockerize the Java application. I used a multi-stage build to generate a small image:
The
builderstage build the jar file with Maven.The
jre-buildstage generates a jre with only the needed components (to optimize the image size).Then, I will copy the Java runtime from the
jre-buildstage and the jar file from thebuilderstage to the final stage.
FROM maven:3.9.6-eclipse-temurin-21 AS builder
COPY . .
RUN mvn clean package

# Create a Java runtime
FROM eclipse-temurin:21 AS jre-build

RUN $JAVA_HOME/bin/jlink \
         --add-modules java.base,java.logging,java.net.http \
         --strip-debug \
         --strip-java-debug-attributes \
         --no-man-pages \
         --no-header-files \
         --compress=2 \
         --output /javaruntime

FROM bitnami/minideb:bullseye

ENV JAVA_HOME=/opt/java/openjdk
ENV PATH "${JAVA_HOME}/bin:${PATH}"
COPY --from=jre-build /javaruntime $JAVA_HOME
COPY --from=builder target/*-fat.jar app.jar
COPY webroot /webroot

EXPOSE 8888
ENTRYPOINT [ "java", "-jar", "app.jar" ]
Now, let's have a look at the Vert-x source code.
The web application
The web application is composed of an API (made with Java, Vert-x and LangChain4J) and a Single Page Application (made with HTML, CSS and JavaScript).
The Vert-x API
This is an extract of the source code. The complete code is available here: https://github.com/genai-for-all/java-docker-genai-stack/blob/main/src/main/java/garden/bots/genai/MainVerticle.java
package garden.bots.genai;

public class MainVerticle extends AbstractVerticle {

  @Override
  public void start(Promise<Void> startPromise) throws Exception {

    var llmBaseUrl = Optional.ofNullable(System.getenv("OLLAMA_BASE_URL")).orElse("http://localhost:11434");
    var modelName = Optional.ofNullable(System.getenv("LLM")).orElse("deepseek-coder");

    var staticPath = Optional.ofNullable(System.getenv("STATIC_PATH")).orElse("/*");
    var httpPort = Optional.ofNullable(System.getenv("HTTP_PORT")).orElse("8888");
    // 1️⃣ define the Chat model
    StreamingChatLanguageModel streamingModel = OllamaStreamingChatModel.builder()
      .baseUrl(llmBaseUrl)
      .modelName(modelName).temperature(0.0).repeatPenalty(1.0)
      .build();

    // 2️⃣ define a system message
    SystemMessage systemInstructions = systemMessage("""
      You are an expert in computer programming.
      Please make friendly answer for the noobs.
      Add source code examples if you can.
      """);

    // 3️⃣ define a template to create the prompt for the LLM
    PromptTemplate humanPromptTemplate = PromptTemplate.from("""
      I need a clear explanation regarding my {{question}}.
      And, please, be structured.
      """);

    Router router = Router.router(vertx);

    router.route().handler(BodyHandler.create());
    // Serving static resources
    var staticHandler = StaticHandler.create();
    staticHandler.setCachingEnabled(false);
    router.route(staticPath).handler(staticHandler);

    // 4️⃣ create the prompt route
    router.post("/prompt").handler(ctx -> {
      // 5️⃣ get the body of the request
      var question = ctx.body().asJsonObject().getString("question");

      Map<String, Object> variables  = new HashMap<String, Object>() {{
        put("question", question);
      }};

      // 6️⃣ generate the human message from the
      var humanMessage = humanPromptTemplate.apply(variables).toUserMessage();

      // 7️⃣ define the final prompt for the LLM with
      // the system and the human message
      List<ChatMessage> messages = new ArrayList<>();
      messages.add(systemInstructions);
      messages.add(humanMessage);

      HttpServerResponse response = ctx.response();

      response
        .putHeader("Content-Type", "application/octet-stream")
        .setChunked(true);

      // 8️⃣ generate a stream with the answer of the LLM
      streamingModel.generate(messages, new StreamingResponseHandler<AiMessage>() {
        @Override
        public void onNext(String token) {
          System.out.println("New token: '" + token + "'");
          // 9️⃣ send the chunk of data to the client (the SPA)
          response.write(token);
        }

        @Override
        public void onComplete(Response<AiMessage> modelResponse) {
          System.out.println("Streaming completed: " + modelResponse);
          response.end();

        }

        @Override
        public void onError(Throwable throwable) {
          throwable.printStackTrace();
        }
      });

    });

    // Create an HTTP server
    var server = vertx.createHttpServer();

    //! Start the HTTP server
    server.requestHandler(router).listen(Integer.parseInt(httpPort), http -> {
      if (http.succeeded()) {
        startPromise.complete();
        System.out.println("GenAI Vert-x server started on port " + httpPort);
      } else {
        startPromise.fail(http.cause());
      }
    });
  }
}
Create an instance of the ChatModel
Create instructions for the system
Create a prompt template for the human question
The
/promptroute defines the API called by the single page application (the SPA will post the question to the API)Get the value of the body of the request (the question to create the prompt)
With the value of the body, insert the question in the prompt template
Create a list of messages with the system instructions and the human message (from the prompt template) - This list of messages will compose the final prompt for the model
Pass the set of messages to the
generate()method of the model to start a stream response from the answer of the LLM.Send chunks of the response to the HTTP client.
The JavaScript code of the SPA is straightforward (I used vanilla JS, except for the rendering of the LLM response text to HTML)
The Single Page Application
This is an extract of the source code. The complete code is available here: https://github.com/genai-for-all/java-docker-genai-stack/blob/main/webroot/index.html
try {
  // 1️⃣ make a fetch request to the Java API
  const response = await fetch("/prompt", {
    method: "POST",
    headers: {
      "Content-Type": "application/json",
    },
    // 2️⃣ send the question to the LLM
    body: JSON.stringify({
      question: txtPrompt.value,
    })
  })

  // 3️⃣ start to reading the stream
  const reader = response.body.getReader()

  while (true) {
    const { done, value } = await reader.read()

    if (done) {
      responseText = responseText + "\n"
      txtResponse.innerHTML = markdownit().render(responseText)
      return
    }
    // 4️⃣ use the current chunk of data to update the display
    const decodedValue = new TextDecoder().decode(value)
    console.log(decodedValue)
    responseText = responseText + decodedValue
    txtResponse.innerHTML = markdownit().render(responseText)
  }

} catch(error) {
  console.log("😡", error)
}
Use the fetch API of JavaScript to request the
/promptJava APISend this object
{"question":"the sentence of the question"}to the APIStart to read the stream of the response of the LLM
At every chunk of the stream, update the display with the content
Start and test the application
Again, you will find all the source code of the Java Docker GenAI Stack in this repository github.com/genai-for-all/java-docker-genai-..
Clone the directory and start the Docker Compose project with the DeepSeek-Coder LLM:
git clone https://github.com/genai-for-all/java-docker-genai-stack.git

LLM=deepseek-coder OLLAMA_BASE_URL=http://ollama:11434 docker compose \
--profile container up
and open this URL: http://localhost:8888/
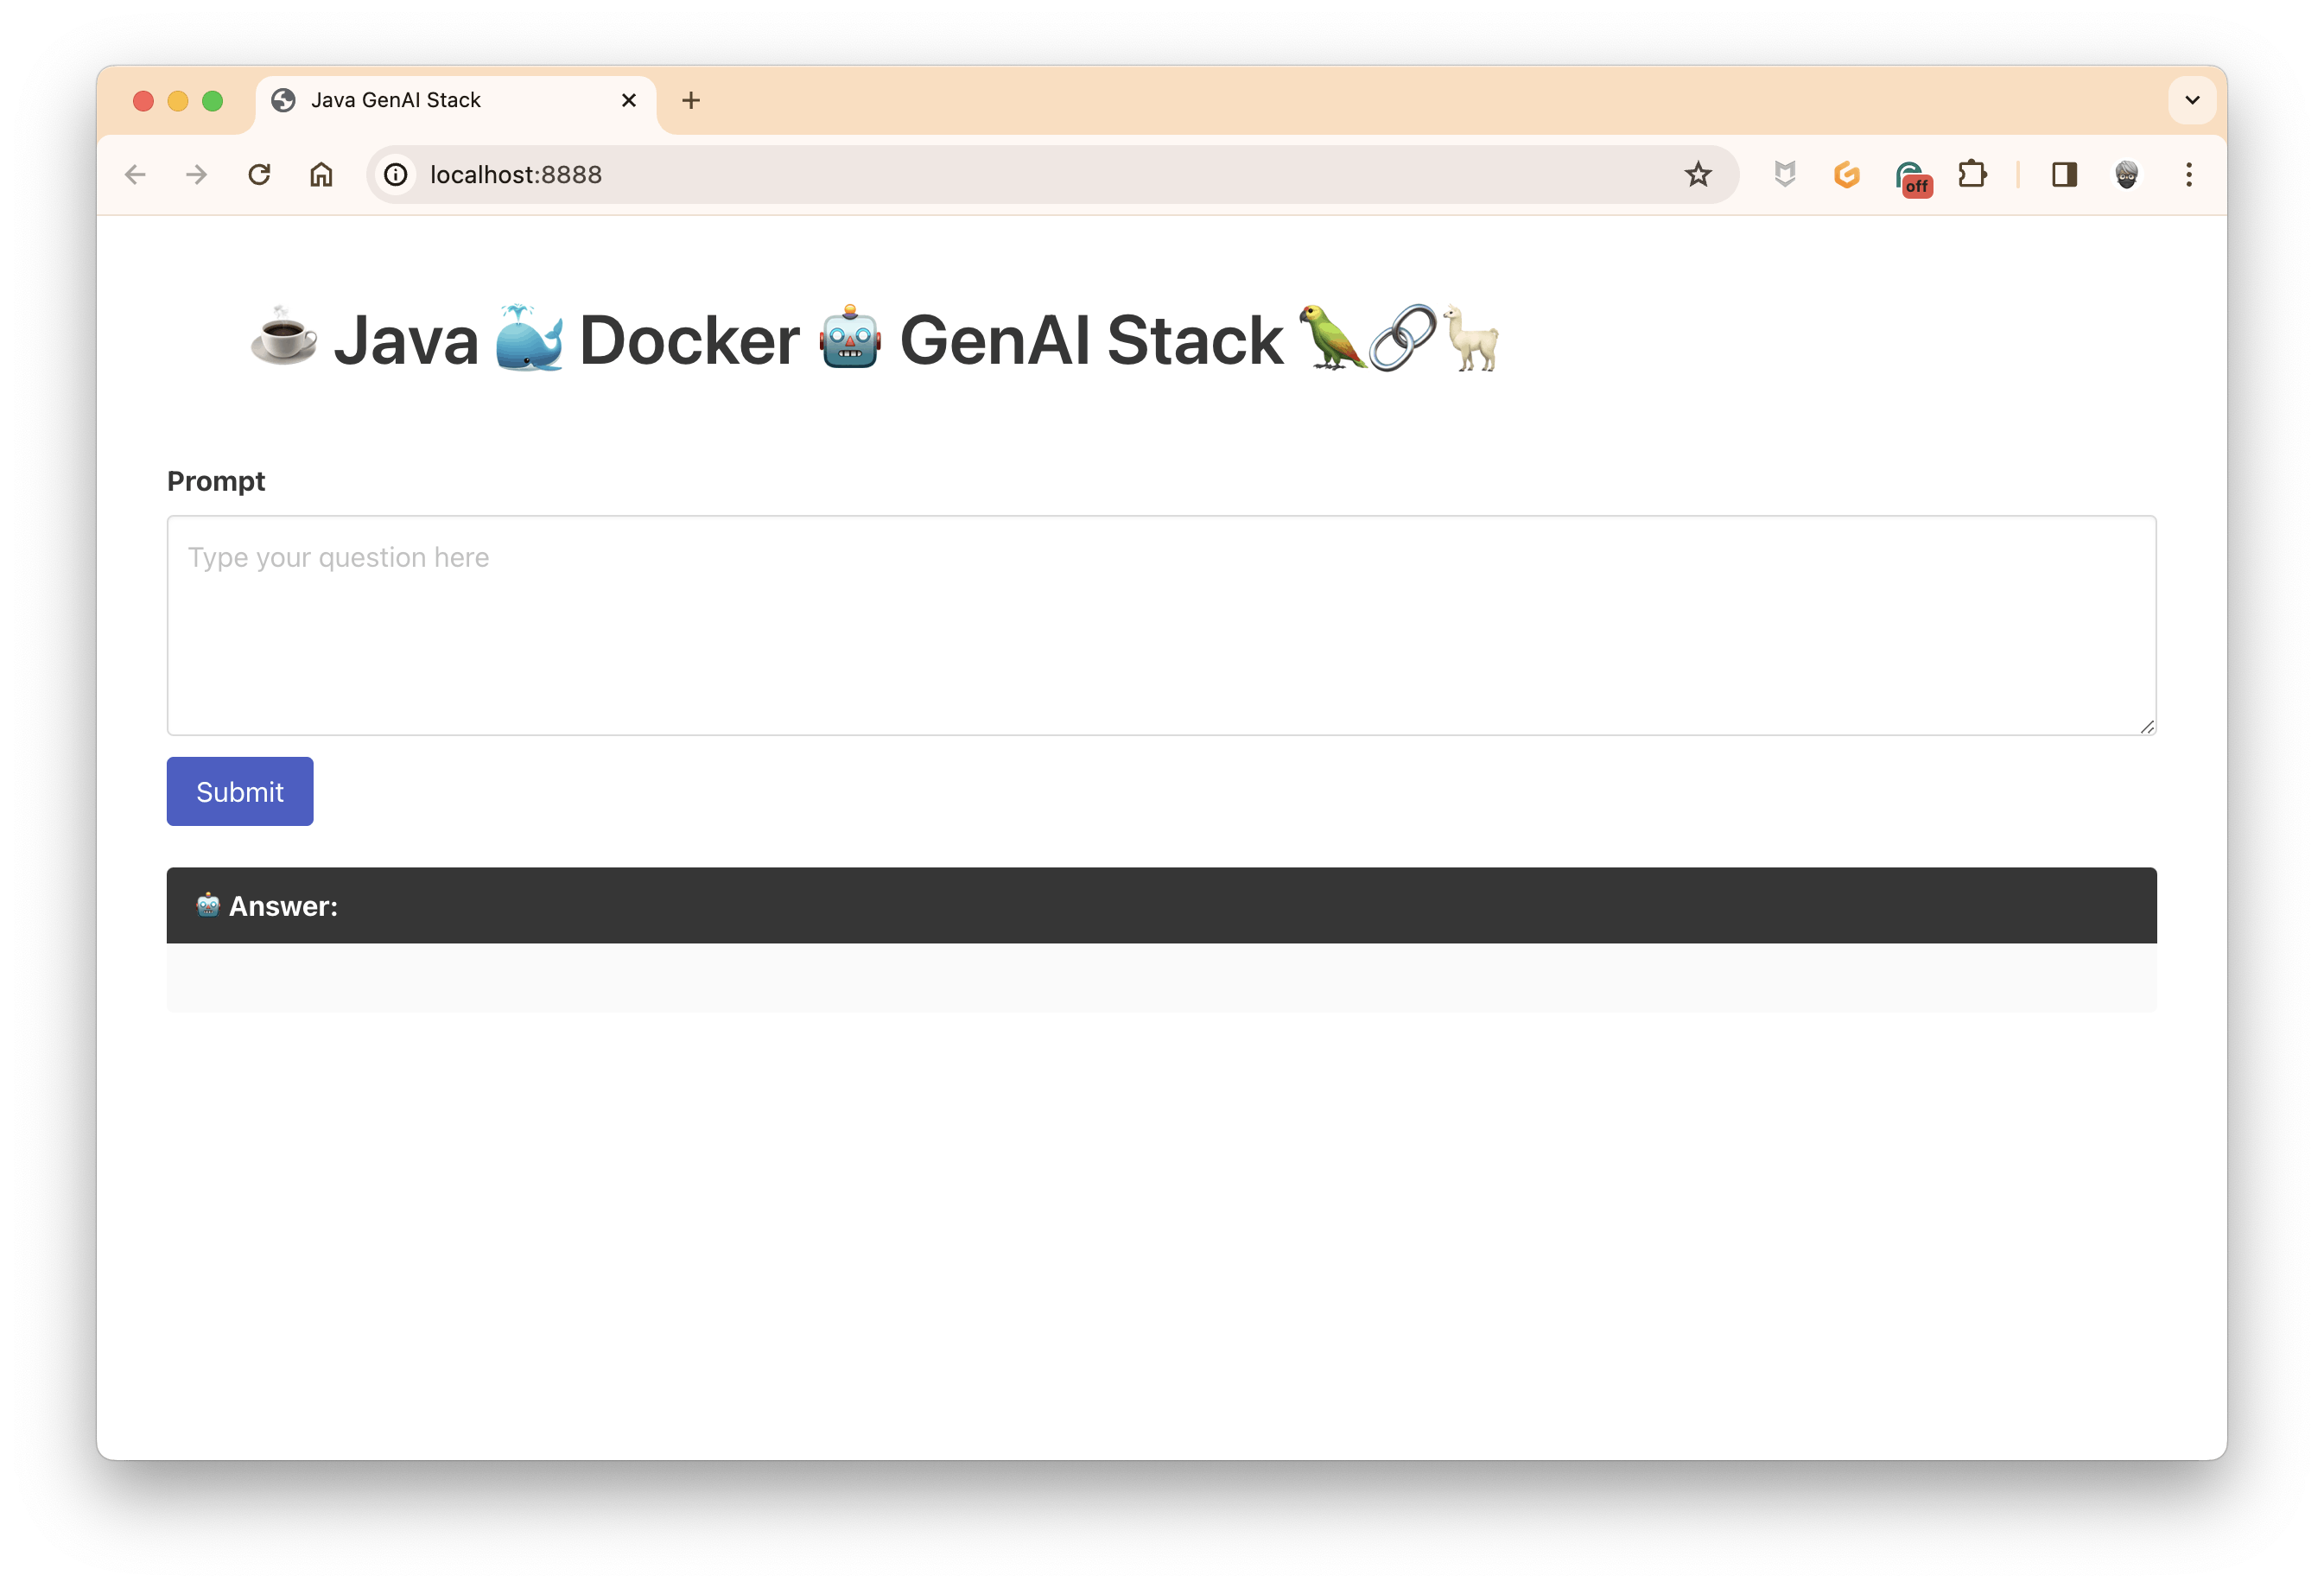
And now, ask your question and click on submit (remember, the system is an expert in computer programming):
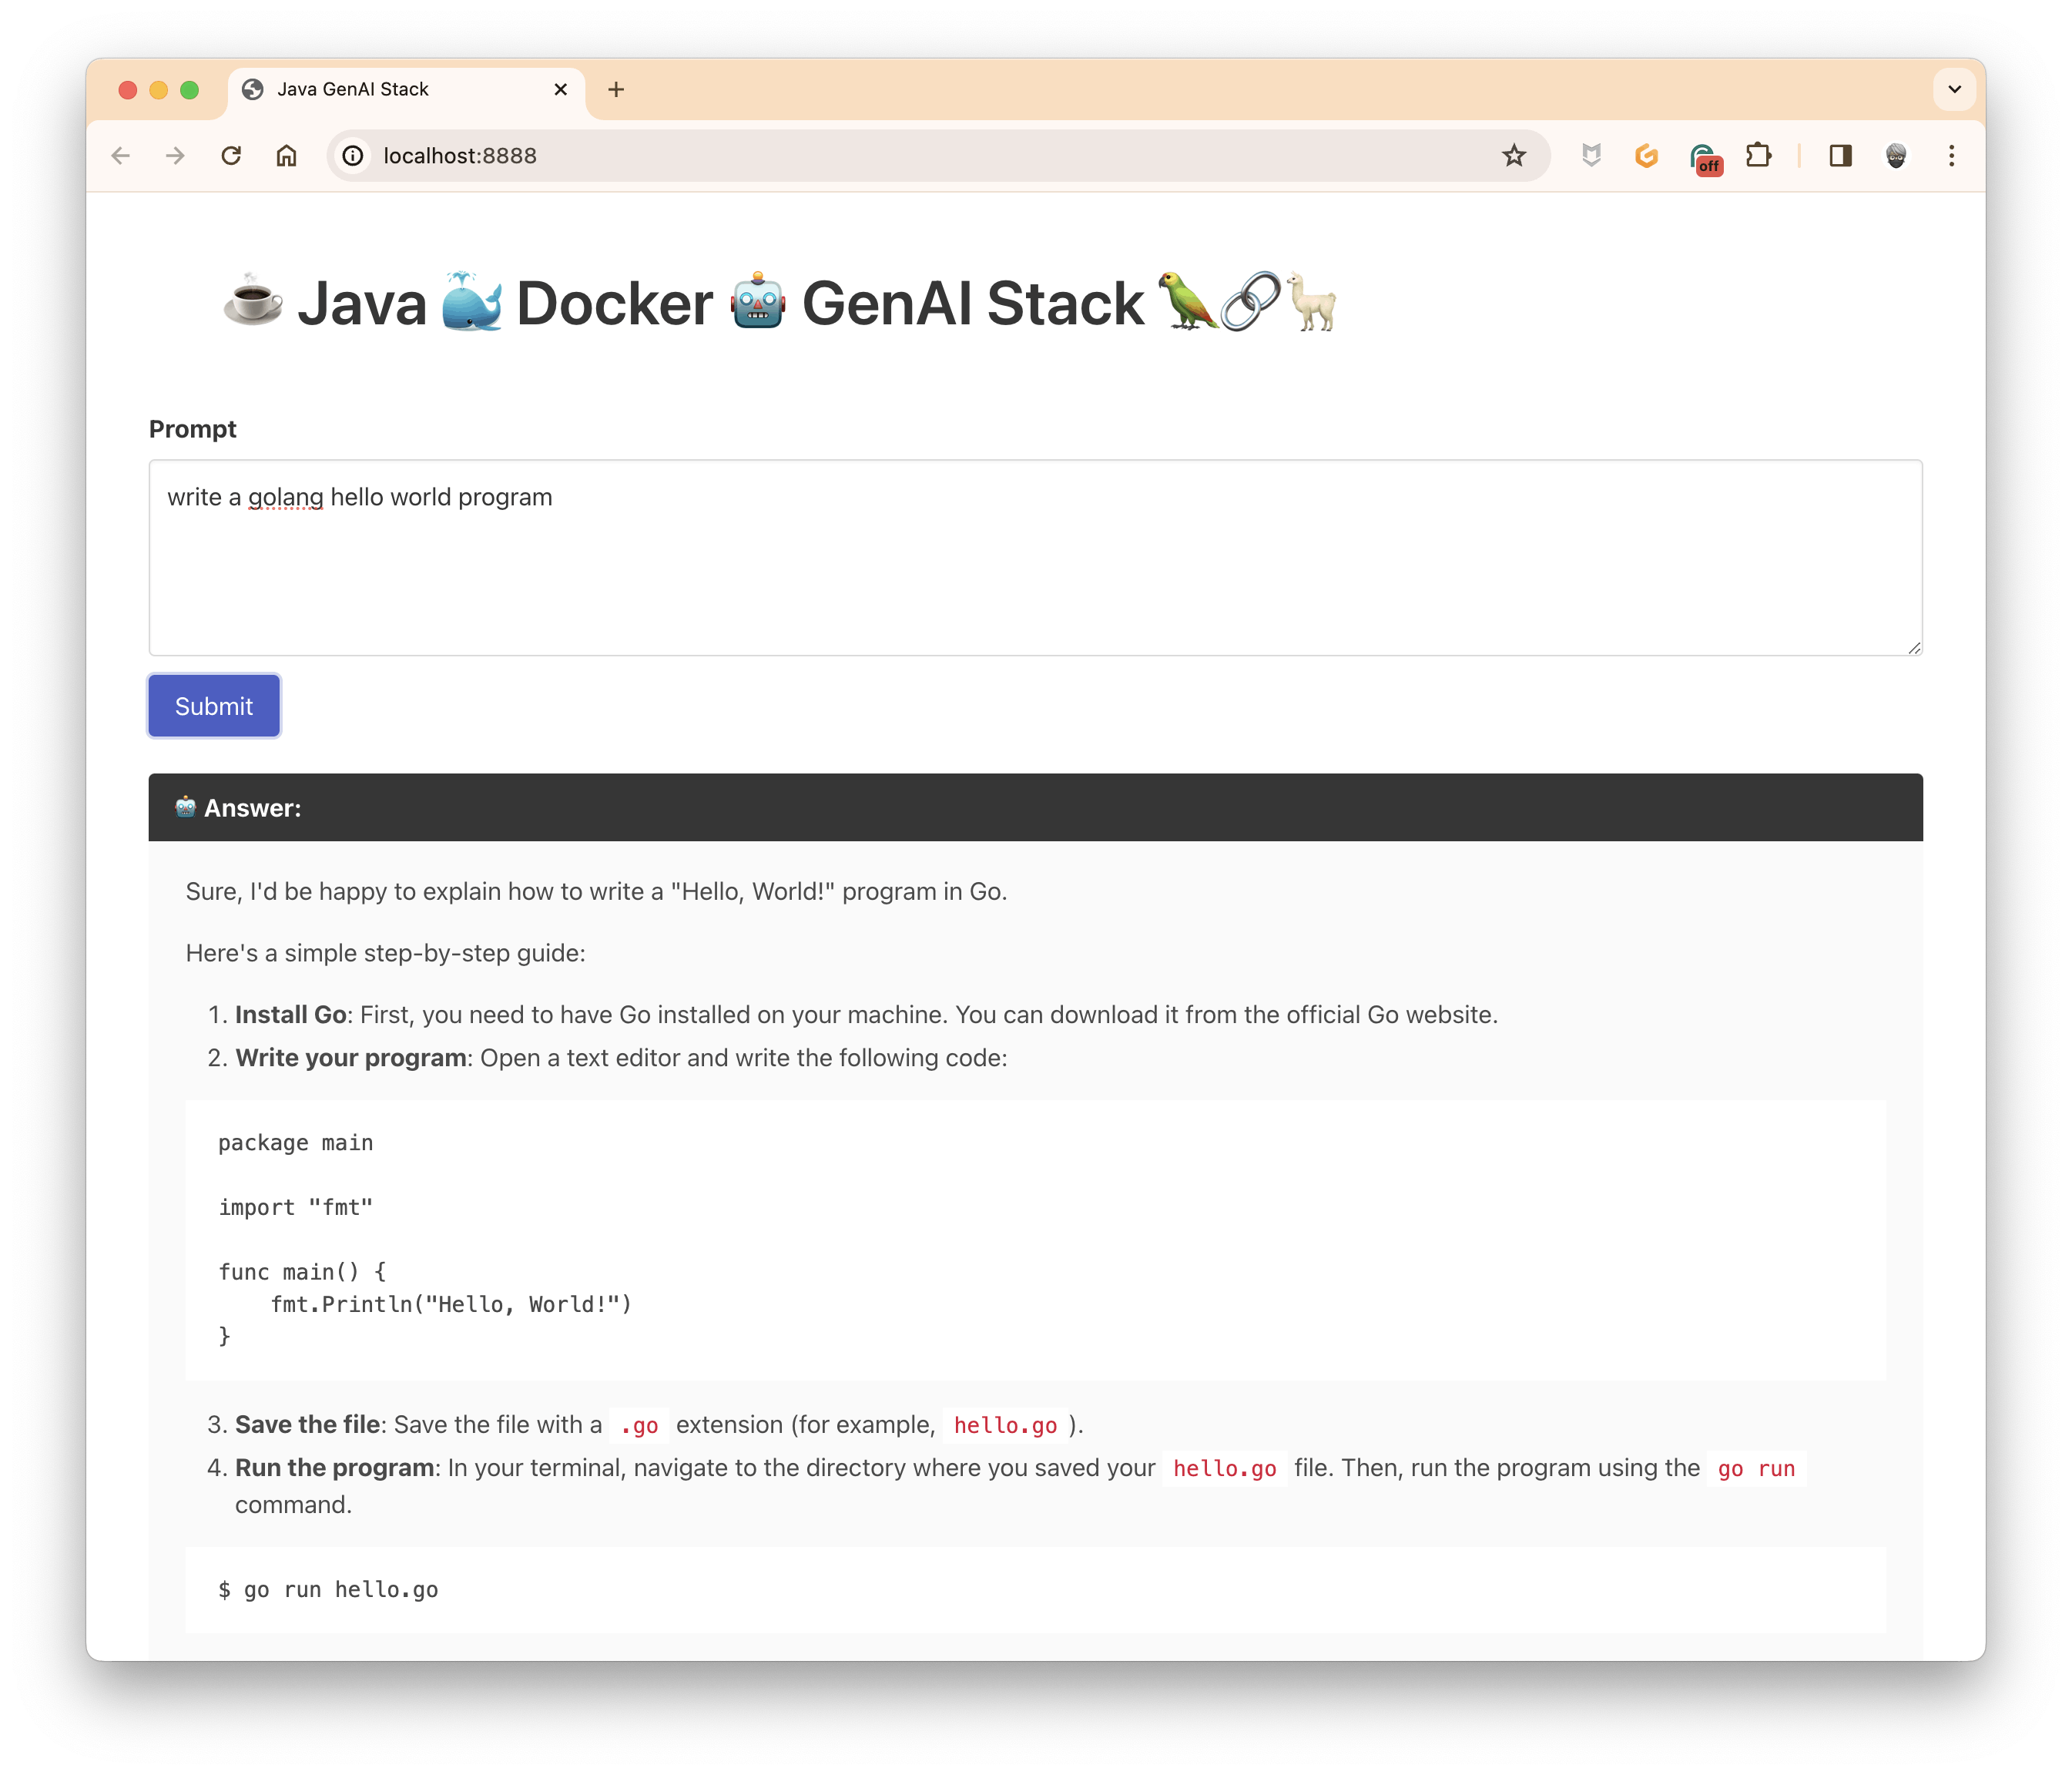
And that's it! In the next post, I will explain how to add memory to the model to keep the context during the conversation and how to stop the stream if the model becomes mad and generates an endless stream of the response.
Last but not least, if you don't want to install Java on your workstation, the current project is DevContainer compliant, so you can run your development workspace in a container and even start Docker Compose in this container.